


Wireless communication with Arduino using module HC-11 and HC-12.
Shows an example of a method of wireless communication using the modules HC-12.
|
Attention! Module HC-11 and OK-12 do not interact. |
In the example, we used the following elements:
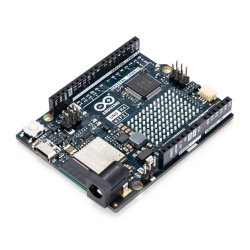
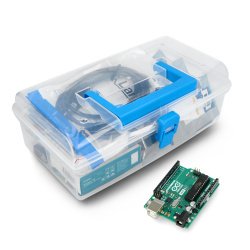
- Arduino Uno - 2 PCs.
- Wireless module HC-12- 2 PCs.
- Tile male connector and wires
Connection with Arduino
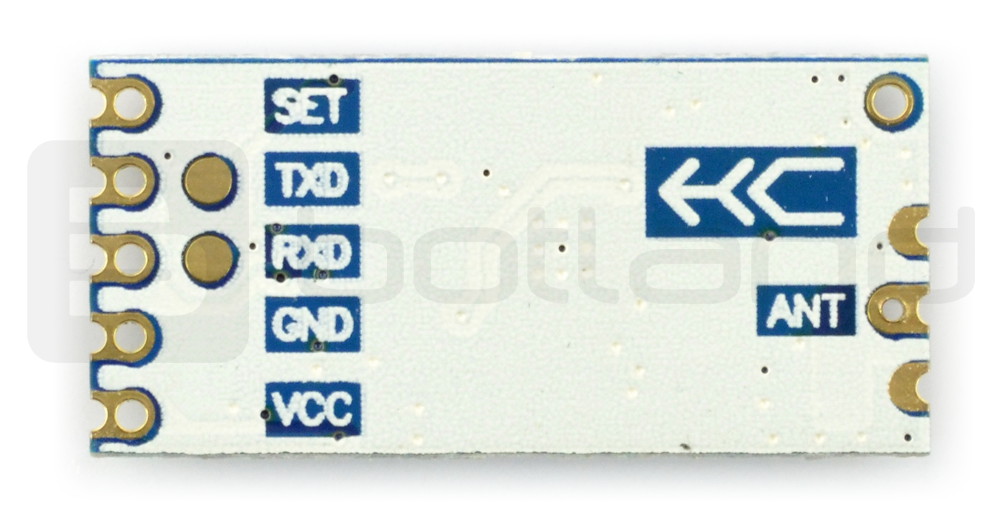
| Pin-HC-12 | Pin Arduino |
|---|---|
| SET | not connected |
| TXD | 2 |
| RXD | 3 |
| GND | GND |
| VCC |
5 V |
Sets of connected pairs in the same way, one Arduino Board from one module HC-12. The next step is to download the relevant software. Program created based on the example from the Arduino environment (Examples -> SoftwareSerial -> SoftwareSerialExample).
- The program for the Arduino, acting as a transmitter:
#includeSoftwareSerial mySerial(2, 3); // TX, RX void setup() { // Open port for communication Serial.begin(9600); mySerial.begin(9600); } void loop() { mySerial.println("Hello, world?"); // loop sends "Hello, world?" message every second delay(1000); }
- The program for the Arduino, acting as a receiver:
#includeSoftwareSerial mySerial(2, 3); // TX, RX void setup() { // Open port for communication Serial.begin(9600); mySerial.begin(9600); } void loop() { if (mySerial.available()) Serial.write(mySerial.read()); // if it receives a message, displays it on the serial monitor }
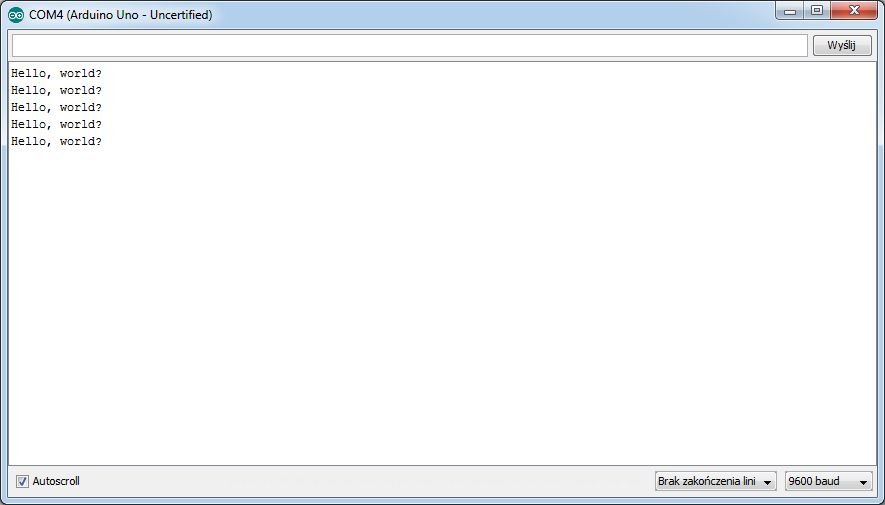
After you download both programs and connecting a set that works as a receiver, you must run a serial monitor (Tools> Serial monitor). The received message should look like the screenshot below: