Table of Contents:
The years have flown by, and Arduino modules and ideas implemented by its community have been surprising us continuously since 2005.
Today, some ideas on how to use the duo in the form of the world’s favorite programming platform and OLED display technology.
Where did OLED come from? Is it worth it?
History of technology OLED dating back without the slightest exaggeration to at least the 1980s.
The history of OLED technology dating back, without the least exaggeration, to the 1980s, when scientists and researchers from under the banner of the giant Kodak initiated research into the use of organic materials for light emission, we will rather skip.
Originally, OLED was used in small displays, such as low-resolution screens, but over time the technology evolved and found its way into larger, advanced devices.
However, it turns out that there is no problem going back to its roots and using it precisely in these small devices and modules related to the platform Arduino.
OLED offers excellent contrast, a wide range of colors and deep blacks, which are lacking, for example, in display alternatives such as TFTand this translates into excellent image quality.
OLED is created on flexible substrates, allowing for thin, flexible and curved screens ideal for mobile devices and any new wave wearables.
The fast response time is also not insignificant, resulting in smooth and responsive display of content.
This is important for interactive user interfaces.
It also stands out for its energy efficiency relative to traditional display technologies.
There is no need for backlighting, i.e. additional juggling of modules, because OLED emits light on its own.
The increasing use of OLEDs in modern electronic devices thus seems to have a solid foundation.
Connecting OLED to Arduino
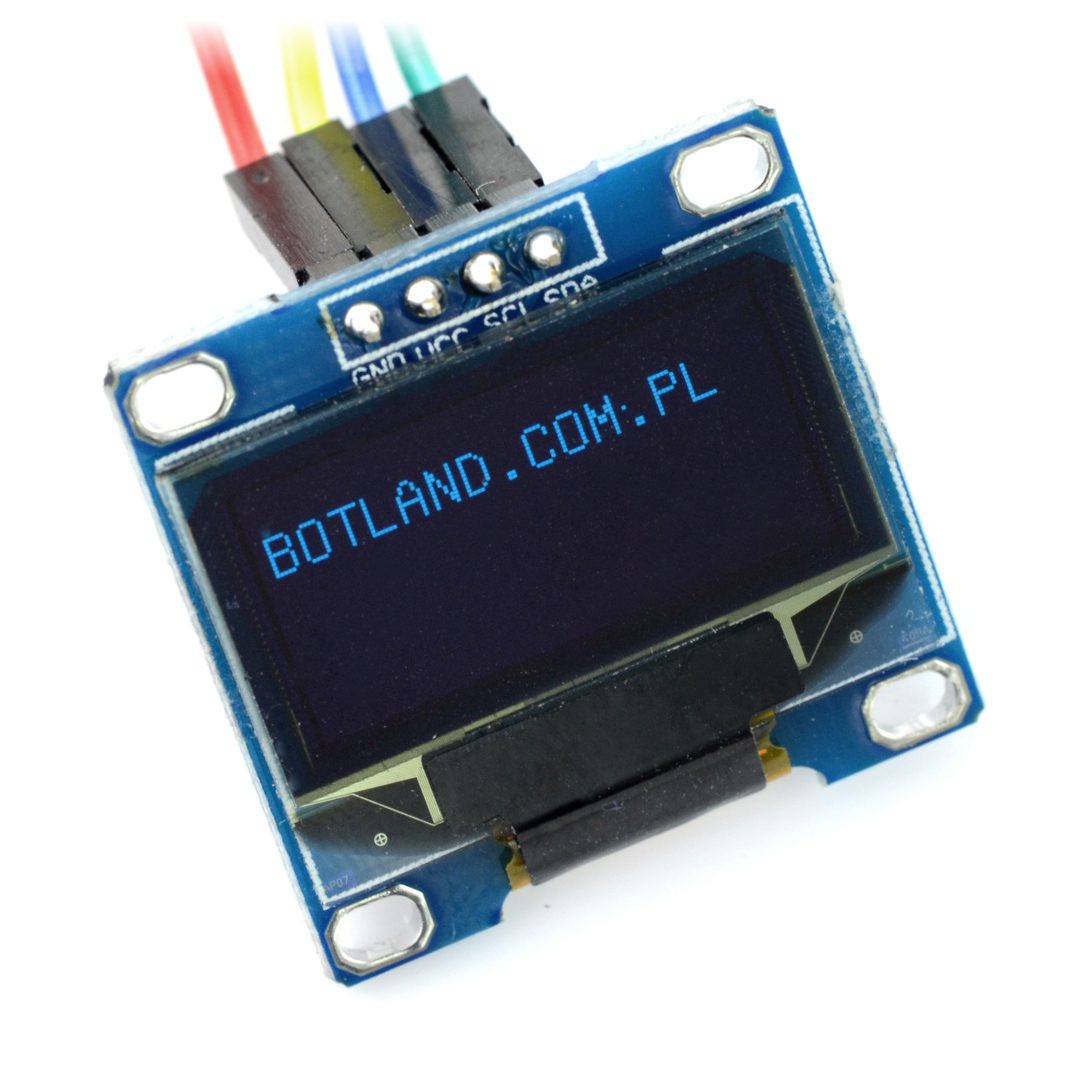
OLED displays usually connect to the Arduino via an I2C (Inter-Integrated Circuit) interface.
This is a popular way of communication especially when it comes to controlling displays from microcontrollers. OLED displays usually have a built-in controller that supports communication via the I2C interface, and this facilitates integration not only with Arduino, but also with various microcontroller platforms.
This makes it easy to display text, images and other information on the OLED display using Arduino and libraries to support the I2C interface.
For example, available from Botland OLED displays Sparkfun Electronics have Qwiic connectors developed by the manufacturer itself.
OLEDs with QWIIC connectors can be easily connected via a simple cable to Arduino microcontrollers or other devices that support the I2C interface.
The QWIIC itself is also an interesting one for electronic system designers in general, as the 4-pin connector prevents miswiring – there is no problem in matters of where to connect SDA and SCL just as the GND and VCC wires will not be confused either.
This is a convenient solution that eliminates the need to solder or use additional wires, which in turn facilitates prototyping and quick connection of electronic devices when most QWIIC modules have a second connector to connect more boards.
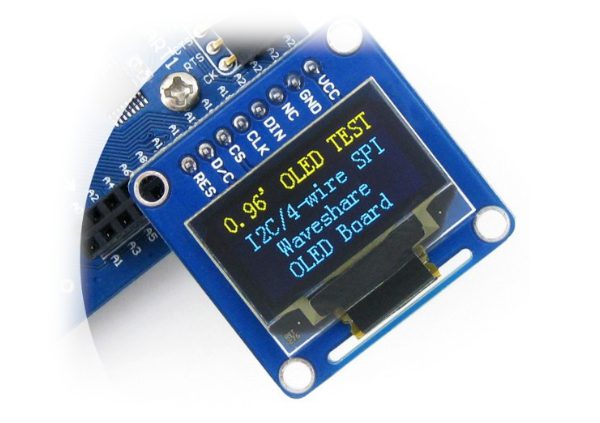
It is less common to encounter the SPI interface, and far less common to encounter the UART.
And while OLED displays rarely use this interface, there are supporting models, so it is possible to connect them to the Arduino via the serial port.
It is also possible to directly connect an OLED display to the Arduino’s digital pins, with operation being done directly by controlling the microcontroller’s pins.
Projects with Arduino and OLED
The listed projects are just the tip of the iceberg, which can be seen on community forums and instructional sites.
However, it is worthwhile to search among these countless ideas.
The possibilities for using OLED displays with Arduino are endless.
The pool grows when you decide to combine them with sensors, communication modules and other devices to create innovative and interesting applications.
- Clock display.
A digital clock displayed on an OLED screen.
You can add features such as date display, alarms, or even changing backgrounds depending on the time of day. - Thermometer and humidity meter.
You can use the temperature and humidity sensors to measure the current weather conditions and present them on the OLED display. - Sound Level Meter.
Build a sound level meter that measures ambient volume and displays the results on an OLED display. - Message display.
Here a lot of freedom – a device for displaying various text or graphic messages, such as a message board for the home or office, will work virtually anywhere. - Video game.
Implementation of simple games on the OLED display, such as Tetris, Snake or Pong will awaken layers of nostalgia in many users.
Controls can be implemented using buttons connected to the Arduino. - Weather display: weather data from the Internet, or more precisely acquired with the help of a Wi-Fi or Ethernet module, allows the current forecast to be displayed on an OLED display.
- Remote control display.
Or rather, an entire remote control interface that will allow you to control various devices, such as lighting or audio devices, if you add the appropriate buttons to the Arduino and OLED.
OLED selection from Botland
We already know the perks OLED – are high image quality with deeper blacks and contrast than LCDs, low power consumption, fast response and the fact that the displays are thin and lightweight. The disadvantages of using OLED displays with Arduino can be greatly reduced by choosing models from reputable manufacturers at Botland.
However, it is worth remembering that OLEDs can have a tendency to age pixels, there is a risk of image burn-in on some OLED displays especially if a static image is displayed for a long time, and that they are sometimes more expensive than traditional LCD displays.
Although, compared to LCDs, the choice of available sizes of OLED displays is quite limited, which can make it difficult to match the display to a specific project, their rather modest size, on the other hand, makes them ideal for projects where weight and dimensions are important.
How useful was this post?
Click on a star to rate it!
Average rating 0 / 5. Vote count: 0
No votes so far! Be the first to rate this post.