Table of Contents:
Raspberry Pi is a family of small single-board computers created in 2012 by the educational institution – Raspberry Pi Foundation. These computers are designed for use in educational and hobbyist projects. They are not much bigger than a credit card, but can be used for many tasks that normally require much larger computers – the Raspberry Pi is suitable for many older games, running word processors, spreadsheets or as a multimedia player. In addition, this single board computer is the perfect base for home automation systems, robots and similar projects.
The discussed single board computers use ARM core processors. The latest version of the Raspberry Pi – Raspberry Pi 4 – has a quad-core processor with ARM Cortex-A72 cores clocked at 1.5 GHz. The Raspberry Pi 4B can be equipped with up to 4 GB RAM. The computer has numerous integrated network interfaces – Wi-Fi (802.11ac) and a wired Ethernet interface with a speed of 1 Gb per second. It is also equipped with two USB 2.0 ports, two USB 3.0 ports and three video outputs in the form of microHDMI ports.
Furthermore, the computers in the Raspberry Pi family have the ability to interact with the outside world through the GPIO port. This is a 40-pin connector to which the low-level interfaces of the processor are routed – digital input and output lines, I2C, SPI and others. They enable the connection of additional expansion modules in the form of, for example, the so-called HAT overlays, which are plugged into the top of the single-board computer. They can be equipped with additional inputs and outputs, as well as motor controllers, sensors, etc.
Operating systems for every application
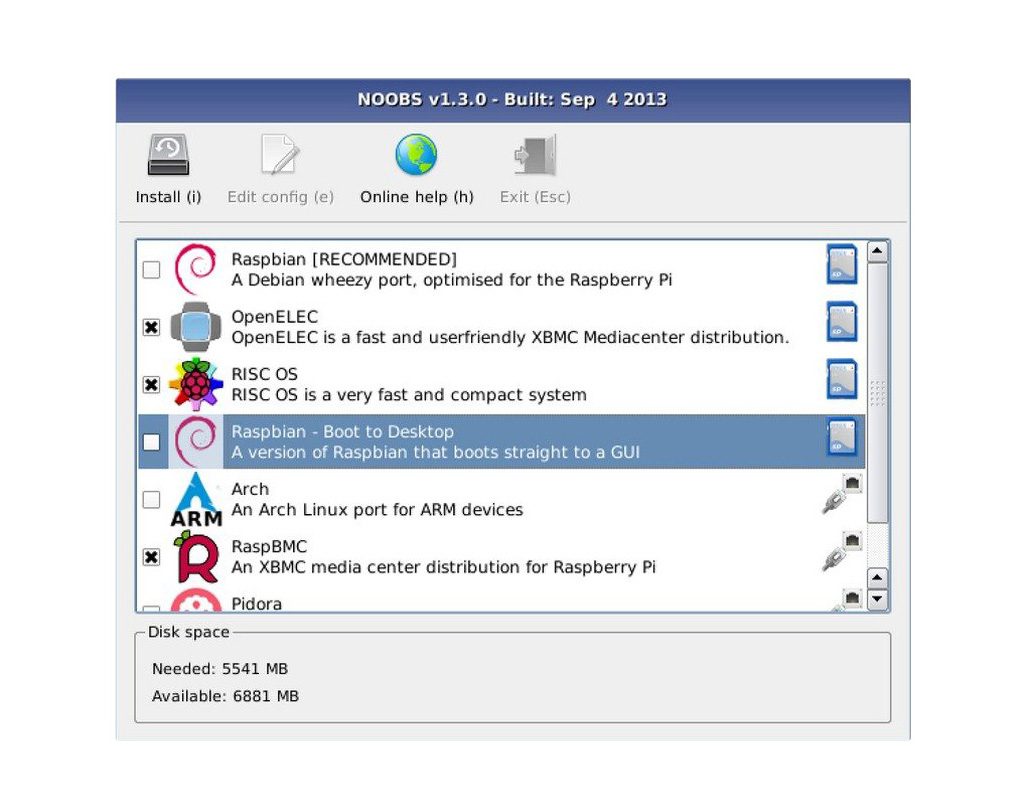
The Raspberry Pi single-board computer has been optimized to run under the Linux operating system. However, there are many distributions of this operating system on the market that are tailored to specific applications. The most general distribution designed specifically for the Raspberry Pi is Raspbian – based on Debian and designed specifically for this computer. It is a general system for users of the Raspberry. Raspbian uses the Openbox window manager and the improved environment Pi Xwindows Lightweight. It also has some pre-installed software, such as Minecraft Pi, Java, Mathematica and Chromium. It is an official operating system that is fully supported by the module manufacturer.
While Raspbian can do anything you want, there are also other distributions designed for more specialized applications. Most of them come with additional libraries and pre-installed software needed for a specific task.
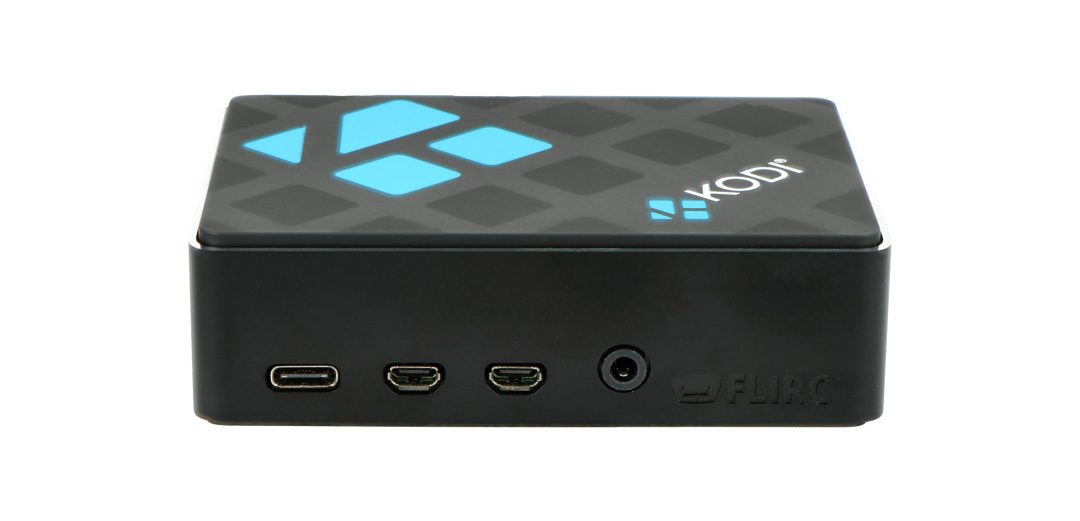
- OSMC (Open Source Media Center) is a free, simple, open, and easy-to-use operating system for the Kodi player. This software can play virtually any media format, has a modern, minimalist interface, and is fully customizable. OSMC is a good choice if you want to build a home media center using the Raspberry Pi.
- OpenELEC (Open Embedded Linux Entertainment Center) is a small Linux-based JeOS operating system built developed from scratch, also suitable for Kodi. OpenELEC is a great alternative to OSMC if it does not give us what we are looking for.
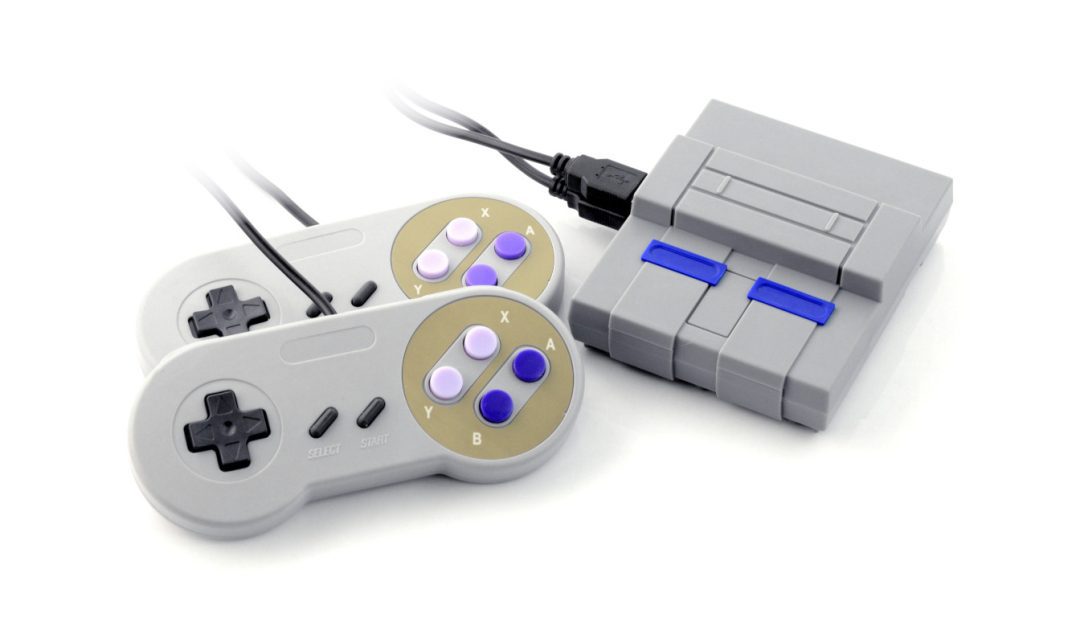
- Lakka is a free, lightweight and open-source distribution, thanks to which you can turn any computer into a full-fledged gaming console without having to connect a keyboard or mouse. Lakka has a beautiful user interface and many customization options. Perfect for gamers.
- RetroPie is a Debian-based distribution dedicated to emulating retro games on the Raspberry Pi platform, ODroid. Currently, it is the most popular distribution for this task. RetroPie uses EmulationStation to provide users with a retro experience on any type of computer.
- Ubuntu Core is the version of the Ubuntu operating system (one of the Linux distributions) dedicated to Internet-of-Things applications. Ubuntu is the most popular Linux-based operating system in the world with over 20 derivative distributions. With an active and friendly community, it will be easy for anyone to get started with Ubuntu Snappy Core on their Raspberry Pi.
- Linutop OS is a secure, Raspbian-based system for interactive kiosks and visual identification players. It is dedicated for professionals who want to create public interactive kiosks and digital signage solutions using the popular and inexpensive Raspberry. This system is perfect if our application works in a hotel, a restaurant, a shop or even a city hall or museum.
- RaspBSD is a free FreeBSD 11 image that is pre-configured for Raspberry Pi. FreeBSD is not a Linux distribution – it is a completely different operating system, but it is Unix-based and completely open-source and free. It is one of the most popular operating systems today – it is the basis of the operating system of the PlayStation 3 and 4 consoles, as well as the popular macOS and other Apple systems.
- RISC OS is a unique operating system. It was designed specifically for ARM processors by the developers of the original, first ARM core. It is not based on Unix, Linux or Windows – it is completely independent and supported by a community of volunteers. RISC OS is very different from any Linux distribution or Windows operating system, so it may take some time to become familiar with it.
- Windows IoT is a Windows operating system compiled specifically for the Raspberry Pi. It is primarily a development platform for developers who want to use the Raspberry Pi to build prototype IoT devices using Raspberry Pi and Windows 10 single-board computers.
Retro game consoles
RetroPie allows you to turn your Raspberry Pi single board computer into a complete retro game emulator. It allows you to play almost any old favourite game from slot machines, classic consoles or computers. For advanced users, this system also offers a large number of configuration tools that let you customize the system to your needs. RetroPie works on a normal operating system, so you can install it on an existing system or use a pre-built installation image of RetroPie to immediately enjoy a configured platform to emulate old games.
If we want to create a complete console to emulate classic games, the operating system alone with the emulator installed is not enough. We can build a desktop game console from our Raspberry. In this case, all we need is a suitable case – do not forget to provide cooling, especially if we choose the Raspberry Pi 3 or 4, which are known to heat up. For most applications, heatsinks will suffice, but if you plan to spend more time gaming, it’s a good idea to have a case that allows you to install a fan.
If we plan to build a portable console, in addition to the appropriate case, we need to obtain some additional modules to connect them to our Raspberry Pi. In the case of a portable compact console, it is good to use the Raspberry Pi Zero due to the small size of this single board computer. In addition, we will need to buy an appropriate power supply module – there are dedicated HATs etc with a place for a lithium-ion cell and universal 5V stabilization converters to power the computer. We will also need a display – there are many different sized displays that can be connected to Raspberry Pi computers.
We can add controllers to the console as well. They come in a variety of styles, from USB-compatible pads to mechanical joysticks with digital outputs. When choosing the controller we want to integrate with our console, we should pay attention to whether there is software and drivers for the device for the Raspbian operating system.
Useful at home
The Raspberry Pi single-board computer can be used for many things at home. Depending on the application chosen, the computer should be supplemented with appropriate peripherals and expansion modules to enable it to work in that particular role. Some of the Raspberry Pi home applications require little expansion, while others need a lot of additional accessories. However, regardless of their complexity, all of the Raspberry-based home projects presented below are ideal “starter projects” to familiarize yourself with the functionality and operation of this single-board computer.
NAS
NAS (Network Attached Storage) is nothing but a simple network drive. To create such a device based on Raspberry Pi we need to connect a data storage device to our single-board computer – for this we can use an SD card (microSD), a pendrive or an external drive connected to the computer via USB. Especially in the latter case, it is worth choosing the Raspberry Pi 4, as this single-board computer is equipped with two USB 3.0 ports, which allows the entire system to run faster.
The NAS should be equipped with an aesthetically pleasing case – usually such a device is placed in a prominent place, for example, on a chest of drawers or a TV cabinet. When using multiple attached hard drives, the power consumption of the entire device can be significantly higher than in the case of a typical single-board computer with Raspberry Pi. To estimate the total power consumption of the system, the power consumption of all peripherals should be summed (for 2.5″ hard disks, an average consumption of 1A per disk can be assumed), and then the value obtained should be increased by 2.5 A, which a fully loaded Raspberry Pi may require.
Media-center
The Raspberry Pi is one of the most versatile devices you will ever come across. It is also a low-power option to be used as a multimedia center. To turn your computer into a media-center, you need to install Kodi software on it. Installing Kodi is simple and allows you to handle multiple video streams – content from both your personal hard drive library (local or network) and from the Internet.
The easiest way to install Kodi is to use any Linux distribution that comes with it by default. There are two distributions of dedicated media-center systems: LibreELEC and OSMC. They are quite similar, except OSMC keeps more of the underlying Linux operating system available to the user to allow more flexibility in configuration – this makes it easy to install network directories and the additional software needed for certain Kodi add-ons like Netflix.
To set up a media center, you will need a few basic things. You can modify this list a bit to better suit your needs, but most of these items are absolutely essential. You will need a Raspberry Pi 3 B + or 4 single-board computer (because of the processing power required), a USB power supply (microUSB for Model 3, USB-C for Model 4), and a suitable case. A microSD card with a capacity of at least 16 GB must be installed in the computer, and a wireless keyboard and mouse should be connected to it as well (e.g. via Bluetooth). Last but not least, we need a suitable HDMI cable to connect our TV or projector to the Raspberry Pi – remember that the latest Raspberry Pi module (model 4) is equipped with miniHDMI connectors, so you will need an appropriate adapter.
Home automation system
In simple terms, such a system is an integrated device that controls many other devices in our house, allowing for extensive automation of many processes. Typically, such systems are used to control lighting, heating, and more and more often locks and other more complex devices: refrigerators, washing machines, dryers, and coffee makers. To set up a simple home automation system, we need a Raspberry Pi (any version) and a power supply. After configuring the system, our computer can connect and control all the devices in the house that can be controlled externally (for example, via Wi-Fi or Bluetooth). In addition, the computer can connect to the Internet, for example to download information from weather services – which is extremely important when controlling the heating system, for example.
Furthermore, it is possible to supplement the single-board computer with external expansion cards that enable the control of devices with mains power (230 V). In most cases, relays (electromechanical or electronic) are used to control this type of load while providing galvanic isolation between the control system and the high- voltage network.
There are many ready-made, open-source platforms for controlling such systems that can be downloaded for free and installed on a Raspberry Pi. The most popular platforms for creating your own home automation systems are Home Assistant and Domoticz.
Home Assistant is considered by many to be the best choice for smart home automation. It is a smart operating system for the Raspberry Pi that supports everything from complete system installation to user interface management. There are many extensions for this system, including Let’s Encrypt for supporting Amazon Alexa and Google Assistant. On the other hand, Domoticz is a smart home automation platform that ensures compatibility with many devices – you can connect many gadgets to this system, such as remote controls, remote light switches or Wi-Fi thermostats. Due to its extensive integration, including with MQTT and Apple HomeKit, Domoticz is a great choice for Raspberry Pi – thanks to its relatively low system requirements, it works perfectly on a single-board computer. An added bonus of this platform is the great documentation, including an extensive wiki page dedicated to Raspberry Pi, and the extensive support from the user and developer community.
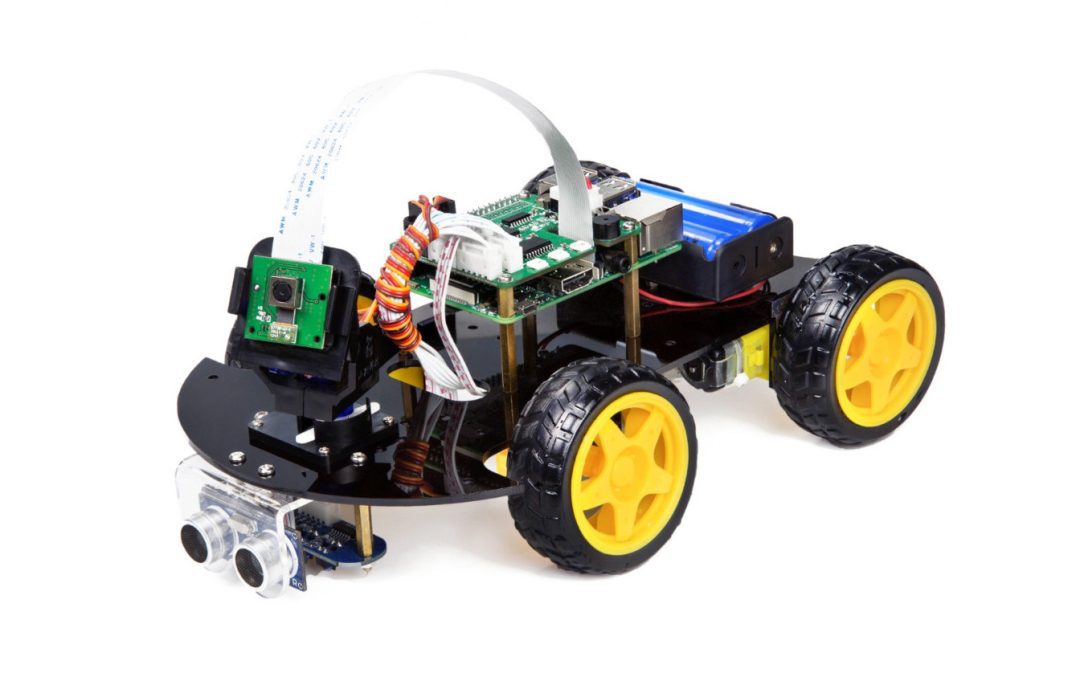
Robots
There are many different designs and projects under this name. What they all have in common is motion. All robots that can be built based on Raspberry P single-board computers are machines with at least one axis of freedom in which some of their elements can move. For example, an example of the simplest robot is a box with an electromagnetic lock that moves the latch that closes the box. This type of design is perfect for beginners. To set it up, we need a solenoid – a linear electromagnetic actuator where the electromagnet coil moves a steel pin. Such a coil consumes a considerable amount of power, so it cannot be powered directly from the GPIO output of the Raspberry Pi. For this you need to buy an appropriate card with power transistors, relays or an integrated H-bridge (the latter allows us to pass the current through the coil winding in two directions, which also allows you to reverse the direction of the magnetic field). The box with an electromagnetic lock can additionally be supplemented with, for example, an RFID reader to open it or with a Bluetooth module to open the lock using your smartphone.
Advanced robots have more freedom axes and more complex drive systems. For example, a simple caterpillar robot or a wheeled robot can be built with two DC motors and a suitable undercarriage. These motors are best controlled by H-bridges to freely change the direction of their rotation. In this way, the robot can move forward and backward, but also rotate and turn freely. If you supplements it with at least simple sensors, one can create an autonomous platform that moves according to a predefined algorithm. Adding a simple reflective optocoupler to such a vehicle, we can construct a robot that follows a line drawn on the ground. On the other hand, after we add ultrasonic distance sensors to the structure, it is easy to construct a robot that avoids obstacles.
When we feel strong enough to create a truly advanced structure, we can reach for more complex platforms. A good example of such devices are robotic arms controlled by stepper motors that use many degrees of freedom. Stepper motors are precisely rotating motors that can move at a certain angle. To control them, you need dedicated drivers and two digital GPIO lines with a Raspberry Pi – one controls the direction of rotation, the other is a clock that with each “tick” causes the motor to take a step (a movement by an angle, depending on the motor design, the use of a microstep by the driver engine, etc.). In this way you can connect many stepper motors to a single Raspberry Pi module and thus – create a very complex moving structure with many degrees of freedom.
Weather stations
The Raspberry Pi single-board computer is an excellent base for building a wireless weather station. Since such a computer – especially modules from the Raspberry Pi Zero family – consumes little power, it can be battery-powered, e.g. using a power bank. In this way, the weather station can be completely wireless – it does not need any cables for power or communication, as it can use Wi-Fi. It is enough to add a suitable set of sensors to the computer to measure many parameters of the environment.
There are various sensors for monitoring weather, air quality, etc. The simplest weather station should include a temperature sensor – a digital thermometer that can be connected to the Raspberry Pi via the digital I2C interface. The same interface can be used to connect, for example, a hygrometer (sensor for measuring humidity) or other systems for measuring air quality. In addition, the weather station can have a sensor for measuring wind direction and strength (anemometer) and a rain detector.