Table of Contents:
This article presents an example technical solution of a web server prototype based on the Arduino platform and the Arduino Ethernet Shield module.
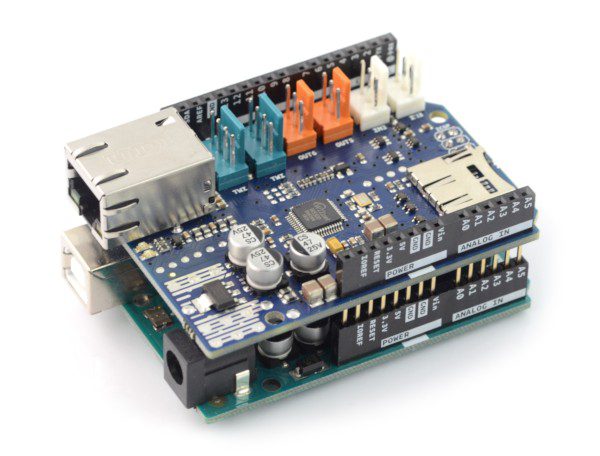
Application of the Ethernet Shield module
To turn Arduino into a miniature centre for managing various processes over the Internet, just connect the Ethernet Shield overlay. Then, Arduino becomes a miniature web server, which can be accessed from a browser on a mobile device or PC. Using such remote communication system, we can perform various activities, including reading states of switches and buttons, controlling operating parameters of devices and components connected to Arduino, as well as reading parameters from measurement sensors.
Miniature home web server on Arduino – components needed for the project
To make a miniature web server using the Arduino ecosystem, you will need the following components:
- Arduino UNO R3 or Arduino MEGA2560 platform
- Arduino Ethernet Shield extension board
- Ethernet/LAN wired connection with 10/100Mbps bandwidth
- Ethernet connection cable
- Wi-Fi router
- pin board
- Connector wires for PCB
- resistor 10k/0.6W
- Power supply DC 2x9V
- monostable button (microstick)
Miniature home web server on Arduino – connecting system components
The components should be connected as follows: to digital pin 8 on the Arduino, a monostable button is connected and configured as an input. When the button is pressed, the Arduino will read a low state on this pin. Consequently, the Arduino will then set the output to a high state. When the button is released, the output will again read and maintain a low state. Information about the recorded change in the button’s position state, will be sent to the web server.
Specifying the IP address
An IP address (Internet Protocol address) is a numerical label assigned to each device participating in a computer network that uses the Internet Protocol for communication. Specifying an IP address is done by typing a line:
The IP address must be changed to match one custom configuration. For example, to assign the Ethernet shield IP address to 192.168.0.30, enter the line:
Specifying the MAC address
A MAC address (media access control address) is a unique identifier assigned to each device participating in a physical network. Each network device has a unique serial number that identifies itself on the network, and this is usually permanently programmed into the device’s firmware. However, in the case of the Arduino, we can define the MAC address ourselves:
You can set the subnet and gateway using the following commands:
So, to configure the Ethernet shield, the code block is given below:
Arduino as a web server – target program code
The above script tells the browser to refresh the page. When the page is reopened, the Arduino reads the state of the switch again and displays that state. When the button is pressed, we can watch the changing state of the switch as shown in the video demonstration. You can also set the hardware to work without a router. To do this, manually assign an IP address to the Arduino’s Ethernet network, e.g. 192.168.0.2, and a default subnet mask address of 255.255.255.0. Use a crossover Ethernet cable to connect the two devices (e.g. the PC and the Arduino). You should then be able to download the Arduino site at http://192.168.0.2 from your PC.