Table of Contents:
Resins are an extremely popular group of materials, used in a huge number of applications – not only professional (such as boat lamination or floor finishes), but also amateur. Among the many types of products, epoxy resin deserves special attention – it is easy to form and handle, thanks to which it can be used in many DIY projects, both for making casts and laminating surfaces.
Essential facts about epoxy resin
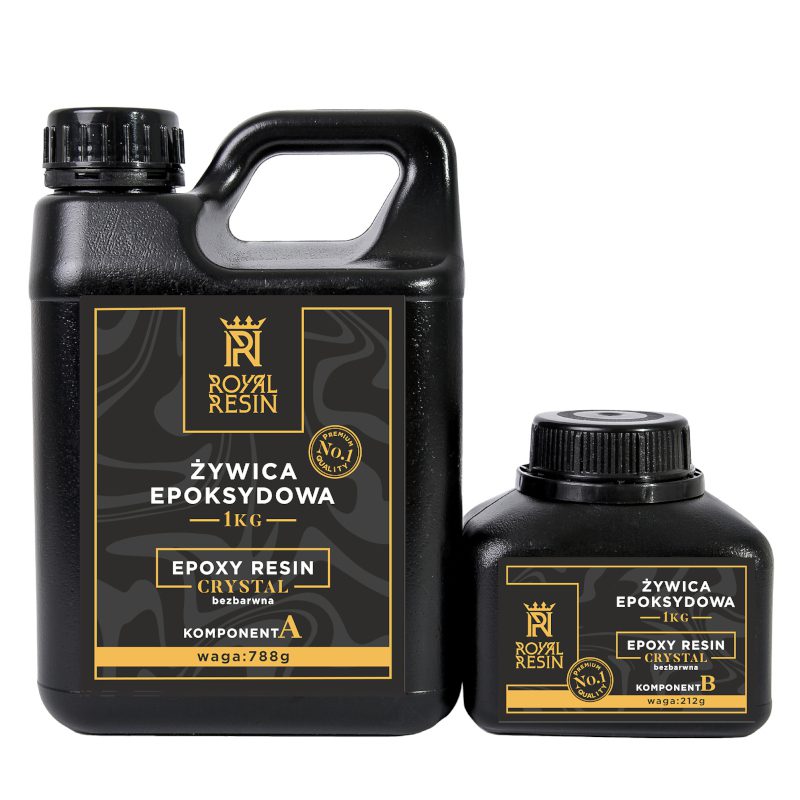
Epoxy resins are offered for sale as two-component preparations: semi-liquid resin and hardener packaged separately, usually in smaller containers. It is worth noting that these materials cure spontaneously as a result of chemical processes occurring within them. Therefore, they do not require either UV light (as is the case with resins for 3D printers working in SLA technology), or heating. Apart from resins, epoxy adhesives – intended only for joining elements made of different materials – are also available for sale. Epoxy adhesives are much denser – they have the form of a gel – they dry faster and strongly bind the glued elements. Because of their purpose, they are offered in small tubes (as opposed to bottled resins).
Epoxy resin – how to start working with this material?
An important issue in working with epoxy resin is the selection of the right material. If in the prepared project the epoxy part will have a considerable volume (thickness), a casting resin should be chosen. It is characterised by slightly longer drying time, but allows for obtaining a durable structure with a thickness of up to 4 – 5 cm (depending on the specific product). However, if the selected elements of the project are to be covered only with a thin layer of resin, used to refine the surface, give it a shine and create the effect of “glass”, epoxy resin for lamination will be suitable – with a shorter drying time and the possibility of obtaining a layer of several millimetres.

Before applying (pouring) a layer of resin it is necessary to combine it with the hardener, strictly observing the manufacturer’s recommendations in this matter. Usually the ratio of resin to hardener is 2:1 or similar. The two components must be mixed thoroughly until smooth and streak-free and then left to stand for approx. 1 – 2 hours to allow the air to escape from the liquid. After waiting, the resin is poured into the prepared mould and left to cure, which can take from 24 hours to several days, depending on the type of material chosen and the thickness of the layer.
What else is worth bearing in mind?
The above tips on how to use epoxy resin do not exhaust the list of practical advice that may be useful for beginners in this technology. Practice is very important here – usually the first project may still contain some imperfections, but with the next one it will certainly turn out easier to achieve the desired effect.
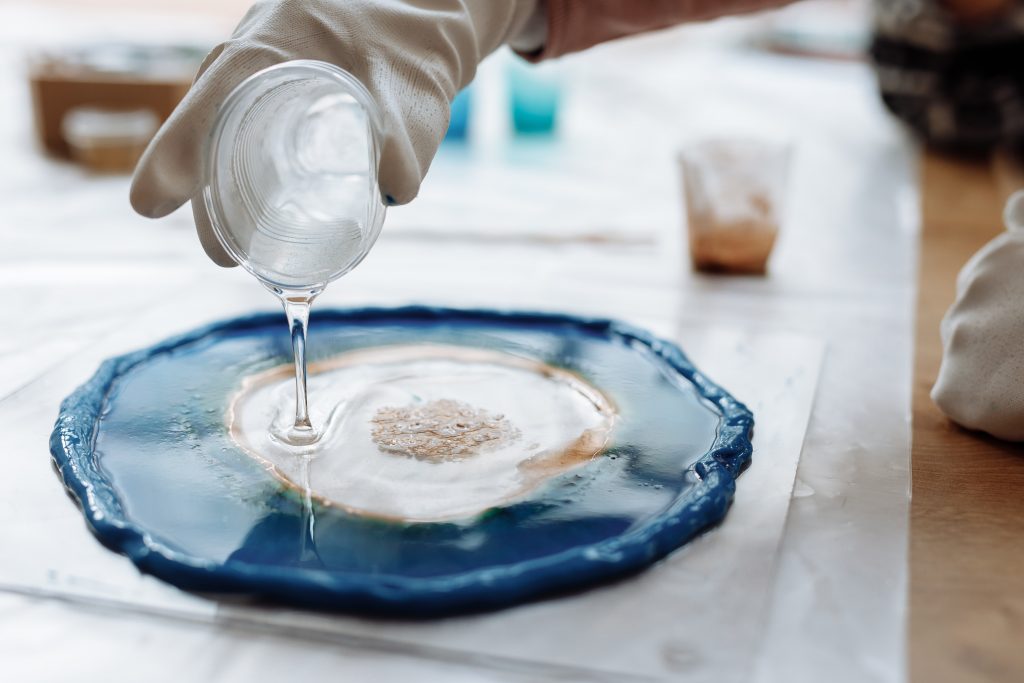
A common mistake of makers of resin models or ornaments is to leave air bubbles in the mass. In order to avoid them, it is necessary to assure an appropriate temperature of a work place (usually up to 25°C), because air can escape more easily from liquid resin. Extremely interesting colour effects can be achieved with resin dyes – however, their dosage is a process that needs to be practised experimentally. You should also always remember to mix the coloured mass very carefully.
When pouring the layer make sure that it fills the mould protruding slightly over its edges, as it reduces its volume slightly during curing. It is advisable to wear gloves when working with epoxy as it is completely non-toxic when set but can be irritating to the skin when in liquid form.
What can be made from epoxy resin?
The number of applications for resin is enormous. The material allows a perfectly smooth surface and a perfectly transparent coating to be obtained without additional treatments. However, it can also be processed by grinding with sandpaper, polishing with water paper and polishing paste or even drilling. The resin adapts to the shape of any mould – silicone moulds, demountable wooden plank constructions, etc. are particularly suitable for amateur projects. – It is important that they are easy to remove once the resin has set. In this way you can obtain both furniture details, such as elements of table tops or cabinets, as well as lamp casings (particularly effective when using resin coloured with transparent dyes). Resin can also be used to make custom guitars, decorative objects and even jewellery.