Reading time: 3 min.

Arduino allows you to create software for embedded systems and build your own electronic projects. Check out how to start your adventure with Arduino!

What is Arduino?

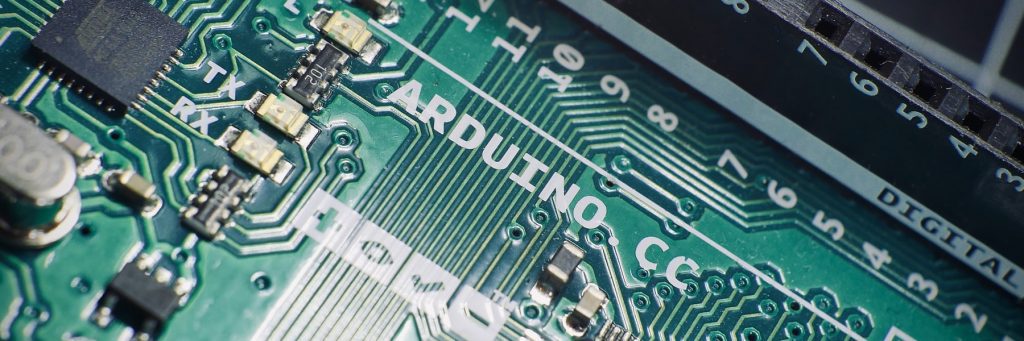
Arduino is a platform created by the Italian organisation of the same name. It includes software with a special C-based language and the Arduino IDE environment, as well as hardware in the form of a series of boards with a microcontroller in a single printed circuit and leads.

It is an open source project, so it is possible not only to buy an Arduino board from the manufacturer, but also to build it yourself and program it based on provided schematics and source code.

Arduino UNO

CHECK AT STORE

Application of Arduino boards

Arduino can be used to build a variety of projects such as robots, plant and equipment controllers, electronic devices, RC vehicles, toys, lighting decorations and much more. This is possible using compatible extensions, electronic components and peripherals, which include Arduino Shield GPIO overlays, sensor modules, audio playback and recording hardware, lead expanders, motor and servo controllers, servos, motors, cameras, displays, keyboards or buttons. Everything can be found in the Botland shop.

Advantages of an Arduino

 data-lazy-src=

Currently, you can find over thirty original Arduino boards and hundreds of clones on the market. With so much choice, a novice user may feel lost. Although most versions of Arduino are suitable for beginners, it is advisable to go for the most popular generations of the board, such as Arduino UNO, to start with. They allow you to use the most extensions and there are hundreds of projects using them available online.

Original Arduino or clones?

You can find in shops both original Arduino boards and their copies created by other producers. If you decide to learn with the help of an Arduino “clone”, make sure to choose a product from a reputable company and reach for a model that will allow you to learn the construction and programming of the original Arduino.

Arduino – where to start?

Once you’ve selected and purchased an Arduino board, you can move on to the actual learning. Unlike more complicated devices such as the Raspberry Pi, you don’t need memory media, power supplies or peripherals to run the Arduino – just a USB cable to connect the board to your computer and start programming.

Arduino programming – how does it work?

Programming Arduino

Arduino is programmed in a special language, which is largely based on the popular C/C++, but thanks to its simplified structure it allows easy programming even for beginners. Coding is done through the Arduino IDE environment. There are plenty of example programs available online and within the IDE, so you can easily learn how to write applications for Arduino. There are also a lot of ready-made libraries from accessory manufacturers and users – thanks to them, the code will become clearer and controlling particular functions will be much easier. Arduino IDE can be downloaded from the project’s official website under the “Software” tab.

First steps

After downloading and installing Arduino IDE, just run the program to access the text editor. After connecting the board to your computer, indicate its model and COM port used (you can check it in “Device Manager”). Everything is ready – you can start programming! If you don’t have any additional accessories, the easiest way is to use a ready-made program, e.g. one that blinks the LED on your board (sample “starter” programs can be found in the “Basics” tab of the sample files menu in Arduino IDE). To do this, after entering the code into the editor, you need to press the verify button (“bird” in the upper left corner), and then load the program onto the board (button representing an arrow pointing to the right).

Additional accessories

You can discover the true possibilities of Arduino by using additional elements connected to the board. These can be GPIO overlays, expansion modules wired to individual pins, contact boards with sets of electronic components or peripherals, which will allow you to build thousands of amazing electronic projects and custom devices.

How useful was this post?

Click on a star to rate it!

Average rating 5 / 5. Vote count: 2

No votes so far! Be the first to rate this post.

Share:

Picture of Maciej Figiel

Maciej Figiel

Versatile, he is eager to take on challenges because he thinks it is the fastest way to progress. He values contact with nature and an active rest. Automotive and new technologies enthusiast.

See more:

Leave a Reply

Your email address will not be published. Required fields are marked *

For security, use of Google's reCAPTCHA service is required which is subject to the Google Privacy Policy and Terms of Use.