Table of Contents:
If you’ve ever lost the data stored on your hard drive, memory card or flash drive, you understand the need for regular backups of your most important files. What’s worse, the loss of data used for professional, scientific or teaching purposes can hurt just as much as the loss of precious souvenirs from holidays or family gatherings in the form of photos and films.
Unfortunately, many computer users still do not do their due diligence when it comes to securing particularly important data sets. Manual backups are time-consuming and inconvenient, and cloud storage raises security concerns for some users. The ideal solution would be to use an external file server, but… these devices are relatively expensive. What about using a Raspberry Pi minicomputer as a local server? In this post, we present a ready-made recipe for setting up a NAS server on a Raspberry Pi.
NAS – construction and principles of functioning
Network Attached Storage is also sometimes called a network drive, and this term perfectly reflects the meaning of the construction and operation of this device. In simple terms, a NAS server is nothing more than a small computer, equipped with a network interface (usually Ethernet connection is used due to the speed of local data transfer) and a hard drive with a large capacity, acting as data storage.
The role of the computer is – in its basic configuration – simply to make files and folders stored on the disk available to clients (i.e. other machines, most often personal computers). In a more advanced version, the NAS server may also use special software, whose task will be to retrieve data from another computer (or computers) and save its image in its own storage space – this solution allows to make backup copies of files automatically, without the user having to undertake any actions related to this.
Another, more entertaining use of a NAS server on a home network would be to share video, music, photos and any other content, saving a significant amount of storage space on each household’s computers. In the case of the Raspberry Pi 4 minicomputer, the NAS can be “set up” by installing just a few necessary free software packages.
Raspberry Pi 4 – low cost NAS server
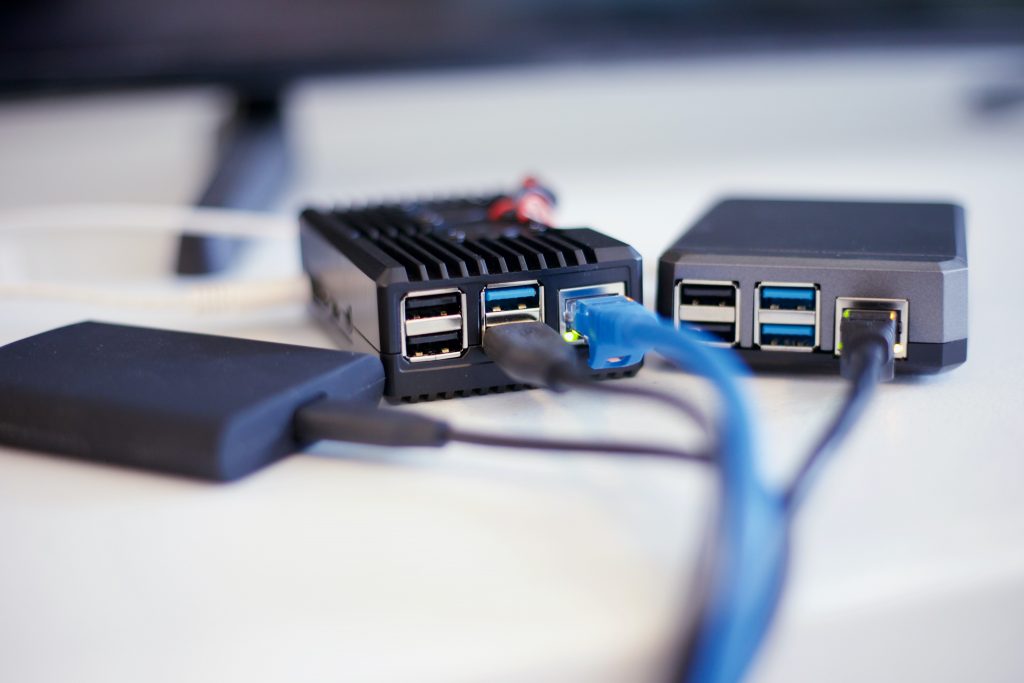
The Raspberry Pi 4 minicomputer is perfect for use as a NAS server – built-in high-speed USB 3.0 ports, superfast Gigabit Ethernet interface (in this version of the Raspberry using a direct native connection to the SoC processor itself), and a really decent amount of RAM and processor performance make the Raspberry perfect for use as the “heart” of a file server. Importantly, data stored on the external drive connected to it can be accessed not only via a wired network, but also via a dual-band 2.4/5 GHz WiFi connection.
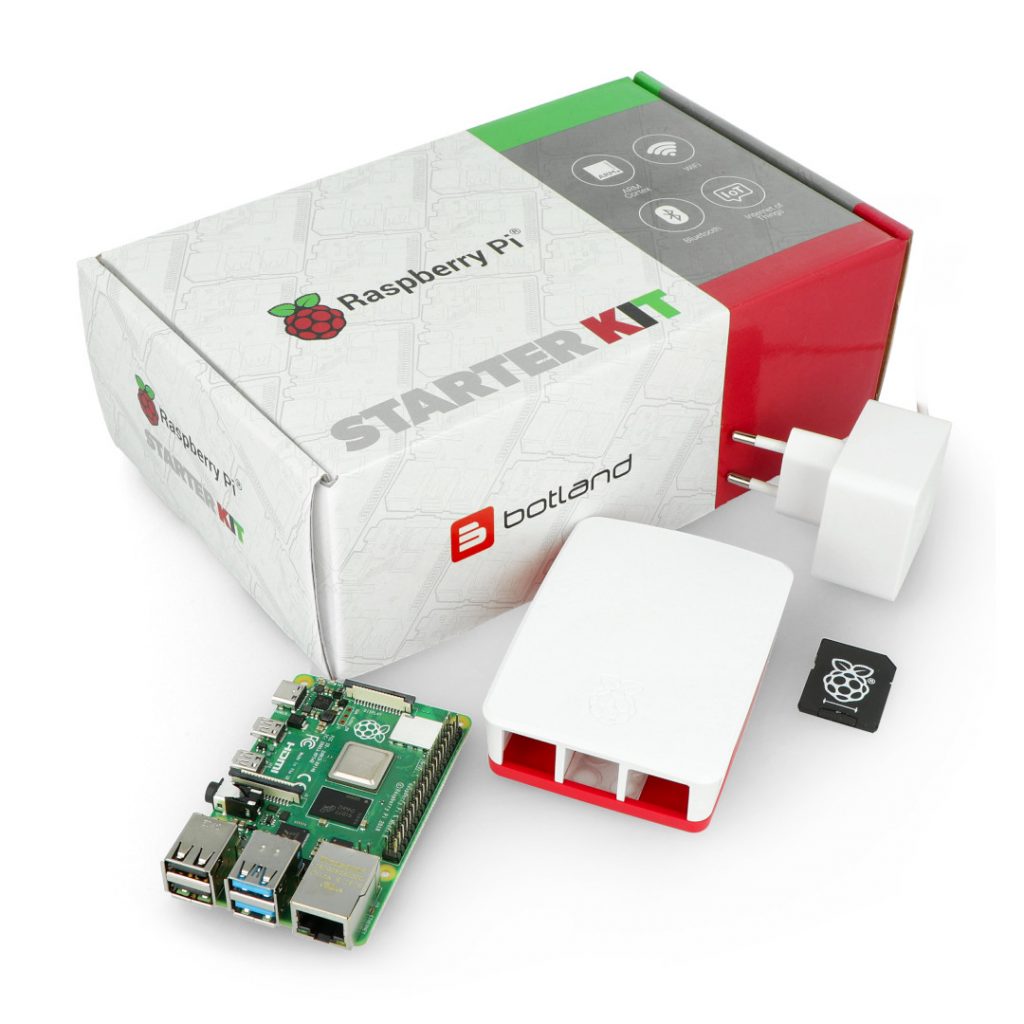
To run the server, all that’s needed is the minicomputer itself, a compatible power supply with USB C output, a microSD card and a USB 3.0 external drive. The entire set of necessary components is therefore no more than a minimal Raspberry starter kit, and what’s important – there’s even no need to connect a monitor, as both the configuration of the server and its subsequent operation can be done completely remotely.
NAS server configuration on Raspberry Pi
After installing the system image (e.g. Raspberry Pi OS) on the microSD card, boot the minicomputer and check the IP address assigned to the Raspberry by the router. In most cases, you will be able to view the address in the router status tab on the device’s administration page.
After logging into the minicomputer via the SSH interface, you need to install and configure the samba and samba-common-bin packages, which allow you to use the Rapsberry as a network drive, natively supported by Windows systems using the SMB protocol. The configuration itself, as is common on Linux systems, consists of editing the relevant settings file – in our case firstly you need to unblock security = user and change the write permissions (read only = no).
Additionally, in order to ensure appropriate power supply for the external drive, it is worth changing the USB port settings in the boot/config.txt file. Linux also allows you to set the option to automatically mount the external drive, so that the media will be available in the system after each reboot.
The final step of the configuration is to set the visibility rules for the NAS server on the local network – this will allow network users to easily access the drive using the built-in Windows Explorer tools (not to mention the equally easy use of the server from Linux computers).