Table of Contents:
Whoops! Something, something failed. 3D printing was going well, but stopped halfway to its goal. We know how frustrating it is when everything was going smoothly, until suddenly you hear a rattling or snapping sound. This is usually an inevitable sign that the 3D printer gets clogged. Fortunately, it does not have to mean a time-consuming visit of our 3D printer in the service. Let us check what can be done about it.
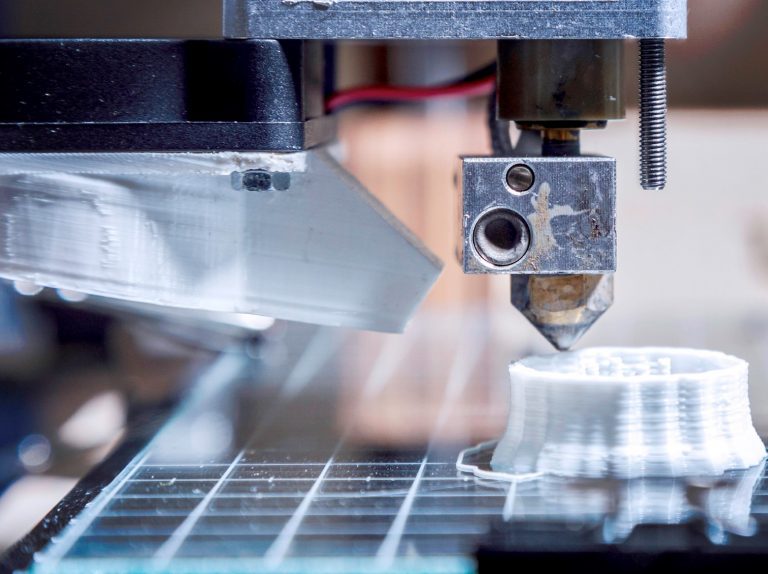
A nozzle in a 3D printer – the villain?
Or a saviour – without a good nozzle there is no 3D printing! It is this part that determines the extrusion of the printer. The material, diameter and other characteristics, on the other hand, determine its performance and service life. Nothing lasts forever, including the work of the nozzle. They degrade over time, especially if they are dirty, clogged or frequently operated.
That is why it is so important to regularly clean the printer nozzle and ensure that it works properly with the other hot end components in the printhead assembly. Doing so will extend the life of the nozzle – this is the first preventive step we advise you to take.
Nozzles… Hot ends… Other components… At first glance these terms may be a source of confusion for the inexperienced. If you are not fluent in the subject of specific construction of 3D printers and at this stage you do not know what all these terms mean, we recommend our article, which will help you catch up.
What causes nozzle clogging in a 3D printer? Identifying the problem
To begin with, you need to understand the problem of clogging. Where does clogging come from? Here are some of the most common causes.
- The filament is not clean or was not sealed tightly before printing.
- The filament is overburnt.
- There is a leakage of material at the leaky joint.
- A blockage forms dust on the filament.
- The nozzle was not cleaned properly after changing the material.
It takes a lot of skill in 3D printing to distinguish the causes of the problem and select a solution “by eye”. Mechanical problems of the 3D printer itself, i.e. its other components, are yet another topic. It is a bit like with a car – first you have to think whether you will need a vulcaniser, mechanic, electrician… or maybe you can deal with the problem yourself?
Pushing the filament – cold pull, atomic pull
The simplest method to try – preferably before you get too hooked on unscrewing the nozzle – is the so-called cold pull. It involves inserting a strand of filament with a molten tip as a squeegee, which can solve many problems before servicing, pulling out impurities or pushing through a blockage. Nylon or other non-slippery, unbreakable material is recommended for pulling. This type of filament can be found in the category “other filaments” in our shop. To differentiate, we suggest using a different colour of the filament than the one being pushed through.
Cold pull step by step:
- Remove the Bowden tube from the extruder head (if present).
- Warm up the nozzle to the printing temperature of the filament you are pulling with.
- In the meantime, remove the old filament gradually.
- Insert the cold filament through the nozzle.
- Cool the nozzle while exerting constant pressure on the filament so that the tip fits the shape of the nozzle.
- Release the pressure when the nozzle reaches a temperature of approximately 60°C. By this time, blockage or dirt has probably already stuck to the cold filament.
- Warm up the nozzle again to the printing temperature of the filament and start pulling it out. Be careful when using PLA, which is popular for printing but not the best for such repairs – it breaks easily.
Other common nozzle problems in 3D printers
Lack of first layer of 3D printing
If you have started printing and almost immediately you see that the nozzle is not extruding the filament for the first layer, this could be caused by a clogged nozzle. Furthermore, this problem can also be caused by the extruder itself, a bad Z-axis offset setting or an unlevel platform.
The nozzle lifts the printed material
The nozzle “lays down” the material and then raises it by moving across the layer. Usually the problem is the nozzle, but here, as in the previous case, the Z axis offset and the working platform need to be checked.
Hot-end jam
Hot end jams often look as if the filament is stuck or trapped in the middle and lower areas. The nozzle is part of the hot end, so it may be responsible for the jam. The PTFE liner may also be the cause.
Inconsistent extrusion
Inconsistent extrusion of filament usually looks as if the printer can’t keep up. Material is extruded in sudden bursts, whereas the 3D printer should be extruding an even amount of material continuously. We make sure that this problem is not caused by wet filament or the extruder stepper motor (specifically, its power).
Under-extrusion
This is a moderate version of the problem described above, which produces a 3D print with visible missing parts. Possible causes: wet filament, loose extruder tension or uneven filament path.
No 3D printout
If you start 3D printing, leave and come back after a while and the layers are not there at all, it could be due to a clogged nozzle. Check the diameter of the filament, the print temperature and whether the extruder is rotating – it’s okay if the filament isn’t coming out, just make sure the motor is working at all.