Table of Contents:
- 1 Raspberry Pi: how to install Android step by step
- 2 What is needed?
- 3 Download and unpack necessary files
- 4 Which version of Android for Raspberry Pi?
- 5 Prepare the storage medium
- 6 Transfer files to storage media
- 7 Boot the flash memory device on the Raspberry Pi and install Android
- 8 Google services on Raspberry Pi running Android
Android is a popular mobile operating system that can also run on Raspberry Pi boards. Find out which version of Android is suitable for the Raspberry Pi and how to install it.
Raspberry Pi: how to install Android step by step
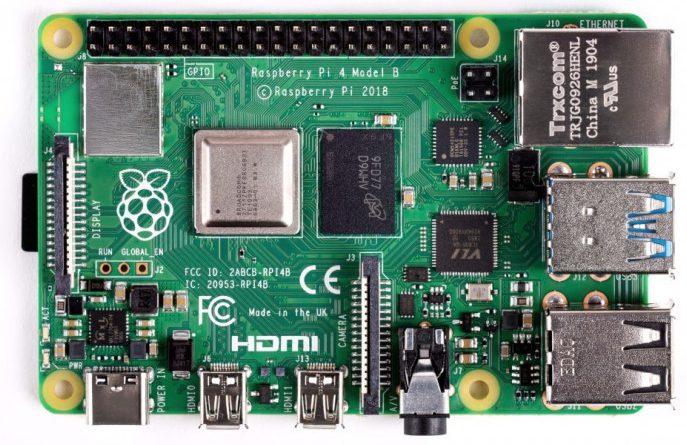
Raspberry Pi minicomputers are very versatile platforms – they are suitable for virtually anything and can run in a wide variety of configurations and operating systems. The applications are numerous, and anyone can find and install the version of the system that best meets the needs of their current project. Using the following tips, you can install different versions of Android on Raspberry boards. This is great for many electronics projects, such as home automation, and also for developing your own Raspberry Pi based mobile devices.
What is needed?
If you are already using a Raspberry Pi running a different operating system (such as Raspbian) and have the necessary peripherals, you will only need additional storage media through which to install additional software. An SD or microSD card will work best for this, although for newer Raspberry Pi models the operating system can also be installed via a USB memory stick.
If you will be using the board for the first time, you will also need components that will allow you to enter data and view current processes: a screen, keyboard and mouse. You will also need a suitable power supply to match the version of Raspberry Pi you are using, and a computer or laptop (with a port that supports your chosen memory stick) to use for downloading and copying files.
Download and unpack necessary files
Although the Raspberry Pi has not yet seen a dedicated version of Android, many developers are creating open source software to use the system. The most popular releases are LineageOS (available Android versions 6 to 11) and OmniROM (Android R and S, the equivalent of the Android 11 and 12 operating systems). We’ve already written about the first one on our blog. Both systems can be safely downloaded directly from the developers’ websites, as well as from other verified sites. Then, you need to unzip the downloaded file – once this is complete, it should be available in .img format.
Which version of Android for Raspberry Pi?
The various versions of the Raspberry Pi work with different generations of Android. The latest board, the Raspberry Pi 4, supports versions of Android 11 and 12, for example, which are available in a recently released compilation from OmniROM. Before matching a particular version of Android to your minicomputer, it’s worth checking its hardware requirements carefully – for example, Android 11 (R) from OmniROM requires a version of Raspberry Pi 4 with at least four gigabytes of RAM.
Prepare the storage medium
Before using an SD or microSD card, you should format it. This is done to make sure that any leftover data will not interfere with the system or cause installation errors. This is not difficult to do and can save a lot of time if you are looking for the cause of a failure. System-accessible tools (such as those offered by Windows) can work with varying results, so it is best to use a dedicated program such as SD Card Formatter.
Transfer files to storage media
Once the memory card has been formatted, you can now record a file image onto it. For this you will need to use a special application that will do this automatically and in the right way. There are quite a few to choose from, the most popular being BalenaEtcher, Win32 Disk Imager or Roadkil’s Disk Image.
Boot the flash memory device on the Raspberry Pi and install Android
When the system card is ready, place it in the SD card slot. Then connect the mouse, keyboard and screen to the appropriate connectors. Finally, connect the power supply to the board.
Warning!
If Android is to be used as a secondary operating system, make sure the Raspberry Pi is not currently connected to a storage device running another operating system (for example, Raspbian, which can be installed via USB).
The installation should start automatically, and the whole process may take a few minutes or so. During this time, your device should be connected to the Internet, if it has one. Finally, restart the board by holding down the F5 key.
Google services on Raspberry Pi running Android
For Android 11 and 12 on the Raspberry Pi 4, Google’s suite of services and access to the Play shop are pre-installed. In other cases, you will need to download and install the ARM version of GoogleApps (the “Pico” variant).