Table of Contents:
We are long past the release of the long-awaited Raspberry Pi 5. However, you will still find a lot of material on the web about the version of the RPi 4b – It’s never too late to start the adventure with Raspberry and understand what it’s actually all about, regardless of the version of the minicomputer. Raspberry Pi 4 is still the lion’s share of the community and new projects involving it will continue to emerge. Four, by the way, defends itself brilliantly, as do the unveilings under the sign of the RPi 3 or mistakenly associated as earlier alternatives, or rather standalone platforms RPi Zero or RPi Pico.
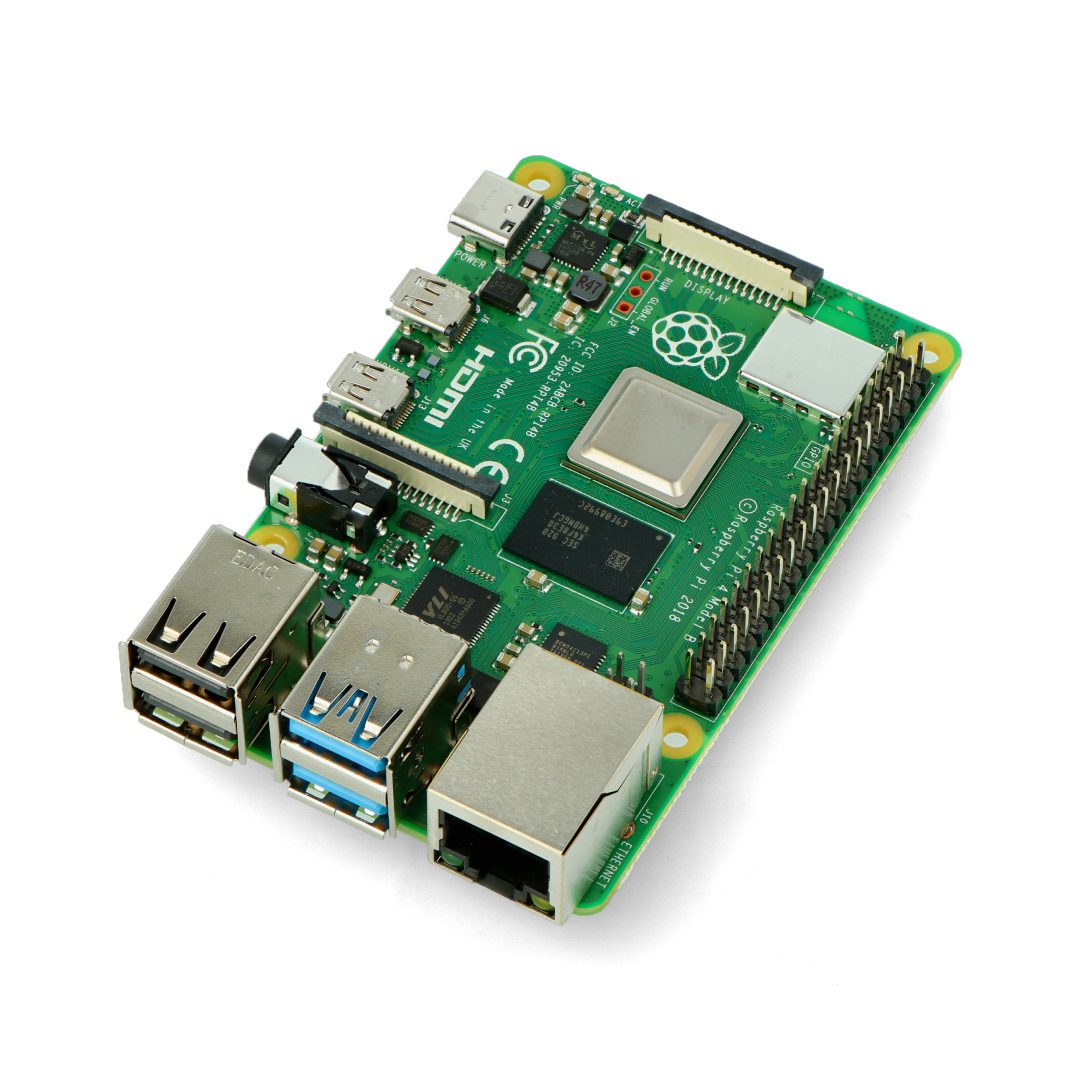
What is the Raspberry Pi 4b?
For good measure – designations like“4” or“4B” refer to different versions of the of the Raspberry Pi miniature single-board computer. They identify specific models that differ from each other in terms of specifications and functions. In the case of the Raspberry Pi 4 and Raspberry Pi 4B, both of these designations refer to the same model. “B” in the designation indicates the presence of improvements that are available in the upgraded version. Different variants with different RAM capacities (e.g. 2 GB, 4 GB, 8 GB) have appeared for the Raspberry Pi 4B, but the basic functions remain the same.
Raspberry Pi 4 is a miniature single-board computer that was designed by the UK-based Raspberry Pi Foundation. This is a versatile microcomputer, which is not inferior in functionality to modern desktop PCs and laptops, and can certainly be said to be the most popular in the world.
From the first unit sold in 2012 to 2022, more than 40 million units – not including accessories and peripherals – have ended up in the hands of users. Basically, the Raspberry Pi 4 was intended to serve the world as a tool for learning programming, but thanks to its various programming languages, integration capabilities and ability to run operating systems, it is appreciated by beginners, “everyday” users, as well as programmers and developers performing high-level tasks.
Beginnings with Raspberry Pi 4
The package finally arrived and an excited Anna quickly opened it. Inside was a small but powerful Raspberry Pi 4 single-board computer. She wondered what she could do with it, as she already had many ideas that she wanted to implement. She started rather modestly, by connecting the Raspberry Pi 4 to her TV using an HDMI cable and powering it with an ordinary micro USB charger.
When the computer was connected, she saw the first startup screen, which meant that everything was working properly. The first project Ania decided to undertake was to turn the Raspberry Pi 4 into a home media center. However, she didn’t know how to start, where to begin, and whether she had just decided on something she wouldn’t quite be able to use, which she had read about online.
She installed the appropriate software using not only the instructions, but also publicly available tutorials on the web, including those on the pages of the Botland store and Botland Blog. She found the Raspberry Pi OS to be intuitive and command-based – not at all evocative of the wizardry of advanced programming. She was now able to start watching movies, listening to music and viewing photos on the TV using the Raspberry Pi.
Next it was time for the home server. Anna installed the appropriate applications for storing files, sharing them on the local network and backing up data. She thus gained access to files from every device in the house. From then on it went like clockwork – she started learning programming languages such as Python and Java using available online educational sources.
Over time, she began writing her own simple applications and experimenting with code. The satisfying culmination of the work, although not as a result of completing the most advanced task, because it was essentially simple to complete, was the joy of home users of the first smart home system with Raspberry Pi and communication protocols. Importantly, the system was not “finished” at this point, and in fact it never ends – more improvements and modules can still be added to it.
Multimedia from Rasperry Pi 4
When starting out with the Raspberry Pi, it’s a good idea to start with basic steps and projects to learn its basic functions. The first step, of course, is the aforementioned setup and installation. Much has already been written about this, and in our materials focused more on the nature of a tutorial, but let’s repeat for simplicity’s sake and to disenchant, as it were, the supposed difficulty – you connect the Raspberry Pi to power via a micro USB charger, and then to a monitor or TV via an HDMI port. We install the operating system on the microSD card. Raspbian, now known as Raspberry Pi OS, is the official operating system for the Raspberry Pi. After the phase of creating simple programs like “Hello World!” and simple servers, it’s time to think about accessories. At the top of this list should certainly be:
- MicroSD card. It is recommended to have a microSD card of at least 16 GB to have enough space for the operating system and projects.
- A case that protects the Raspberry Pi from mechanical damage and dust.
- Cooling – Depending on the intensity of use, it is worth adding a heatsink or cooling fan to the Raspberry Pi 4 to prevent overheating.
- A camera for experimenting with photography and video recording.
- Sensors, as well as LEDs, buttons and other electronic modules to learn programming and create IoT projects.
Perhaps the most common startup project is a media center for playing movies, music and games. The former two explain themselves. Users often ask how it is to the end of games. RetroPie is a popular project that allows you to emulate many classic consoles such as the NES, SNES, Sega Genesis, PlayStation and many others. Raspberry Pi Edition is a special version of Minecraft that is optimized for the Raspberry Pi. More: online browser games known as browser games, DOS games, thanks to the DOSBox emulator, MMORPGs such as RuneScape, older PlayStation 1 titles and some Nintendo 64 games will run smoothly. Here’s a bit of specifics for retrogaming geeks, because somehow we never got around to it in our materials about gaming with the Raspberry Pi.
Nintendo Entertainment System (NES):
- Super Mario Bros.
- The Legend of Zelda
- Metroid
- Mega Man
- Duck Hunt
Super Nintendo Entertainment System (SNES):
- Super Mario World
- The Legend of Zelda: A Link to the Past
- Super Metroid
- Street Fighter II
- Donkey Kong Country
Sega Genesis:
- Sonic the Hedgehog
- Streets of Rage
- Mortal Kombat II
- Aladdin
- Gunstar Heroes
PlayStation 1
- Final Fantasy VII
- Metal Gear Solid
- Crash Bandicoot
- Resident Evil
- Tekken 3
Nintendo 64
- Super Mario 64
- The Legend of Zelda: Ocarina of Time
- Mario Kart 64
- Super Smash Bros.
- GoldenEye 007
PlayStation Portable (PSP):
- God of War: Chains of Olympus
- Persona 3 Portable
- Metal Gear Solid: Peace Walker
- Lumines
- Daxter
Game Boy Advance:
- Pokémon FireRed/LeafGreen
- The Legend of Zelda: The Minish Cap
- Advance Wars
- Castlevania: Aria of Sorrow
- Metroid Fusion
And how? A little can do, eh? Be sure to take a look at other articles in the Raspberry Pi category and discover other fascinating step-by-step projects.
How useful was this post?
Click on a star to rate it!
Average rating 4.3 / 5. Vote count: 3
No votes so far! Be the first to rate this post.