The automated home has long ceased to be a concept of the future and has become the present, and is entering the era of IoT (Internet of Things) development. With smart home devices smart home we are increasingly eager to streamline routine tasks and save time, from turning on the lights to adjusting the thermostat. Thanks to
Z-Wave
home automation is even more affordable, and modern technology makes it easier to manage your home from anywhere, anytime via wireless systems.
Z-Wave smart home - is it worth it?
Z-Wave is a wireless communication protocol used mainly in home automation systems. Its popularity stems from its low power consumption, excellent wall penetration ability if you plan to deploy devices in different parts of the house, and most importantly, its ability to build a network with multiple devices. The basic point is to make sure that the devices you plan to use to build your smart home system are compatible with the Z-Wave protocol. Fortunately, the popularity of the protocol has led many manufacturers to offer compatible devices, such as motion sensors, thermostats and locks.
Z-Wave modules available from Botland
allow integration not only with
Raspberry Pi,
Home Assistant, but also Domoticz or OpenHAB, and these are just some of the open source platforms that support Z-Wave. Each device mediates communication between the others, so positioning devices accordingly, especially mains-powered devices, can improve network stability and coverage.
Our advice? Define your goals. Think about what you want to achieve with your smart home system and what features are most important to you. This will help avoid buying unnecessary equipment. Choose devices that are compatible with major platforms, including. Z-Wave or alternatives such as Zigbee, and consider integration before you buy.Moving from simple solutions, you will create automation scenarios, not just remote control – routine tasks can be turned into a system that works completely on its own.
Z-Wave Raspberry Pi Installation
The open-source Home Assistant software can be used to connect and monitor Z-wave devices to the Raspberry Pi. Required:
RPi SD card setup
Insert the SD card into the SD card reader and connect it to the computer. To download the assistant to the SD card, you need the tool balenaEtcher for creating USB installation media from bootable ISO files. It will allow you to create a bootable SD card for your devices. The tool is supported on Windows, Linux and macOS. After downloading the software, install
Home Assistant for Raspberry Pi
. Scroll down to the page that lists the URL of the Home Assistant installation file and copy the URL of the 64-bit version of the Raspberry Pi you are using.
Connecting balenaEtcher with RPi Home Assistant
After downloading the Balena Etcher software, open it and select “Flash from URL”. Paste the Home Assistant URL that you copied in the previous step and select “OK”. Balena Etcher will then download the image of the home assistant and ask you to select the destination to which it should be transferred. To select a target location, select “Select Target” and the SD card previously connected to the computer.
After selecting “Flash” and completing the operation, you will receive a notification that the flashing is complete. Then you can remove the SD card.
Raspberry Pi Setup
This step is crucial because of making sure the Raspberry Pi is running at the optimal temperature. This will prevent any problems with overheating, performance and stability of operation. Insert the SD card into the RPi and connect the Ethernet cable to the port. Then connect the USB-C cable to the power port. Raspberry Pi will boot up. Go to homeassistant.local:8123. Alternatively, you can log in as http://xxxx:8123 (where xxxx is the IP address of the Raspberry Pi).
If you have access to a router, you can check the list of devices connected to the local network. The Raspberry Pi should be visible in this list along with its IP address. Alternatively, you can log in directly to the Raspberry Pi and check its IP address from a terminal and the hostname -I command, and on Windows or Linux systems you can use the arp -a command at the command line or terminal to check the IP addresses of devices on the local network. After successful navigation, a screen will appear indicating that the assistant is starting up for the first time Wait until it finishes, then create a username and password by following the displayed instructions. After logging in, you will be asked to provide some other basic information. Fill them out and move on.
Z-Wave and Raspberry Pi integrations
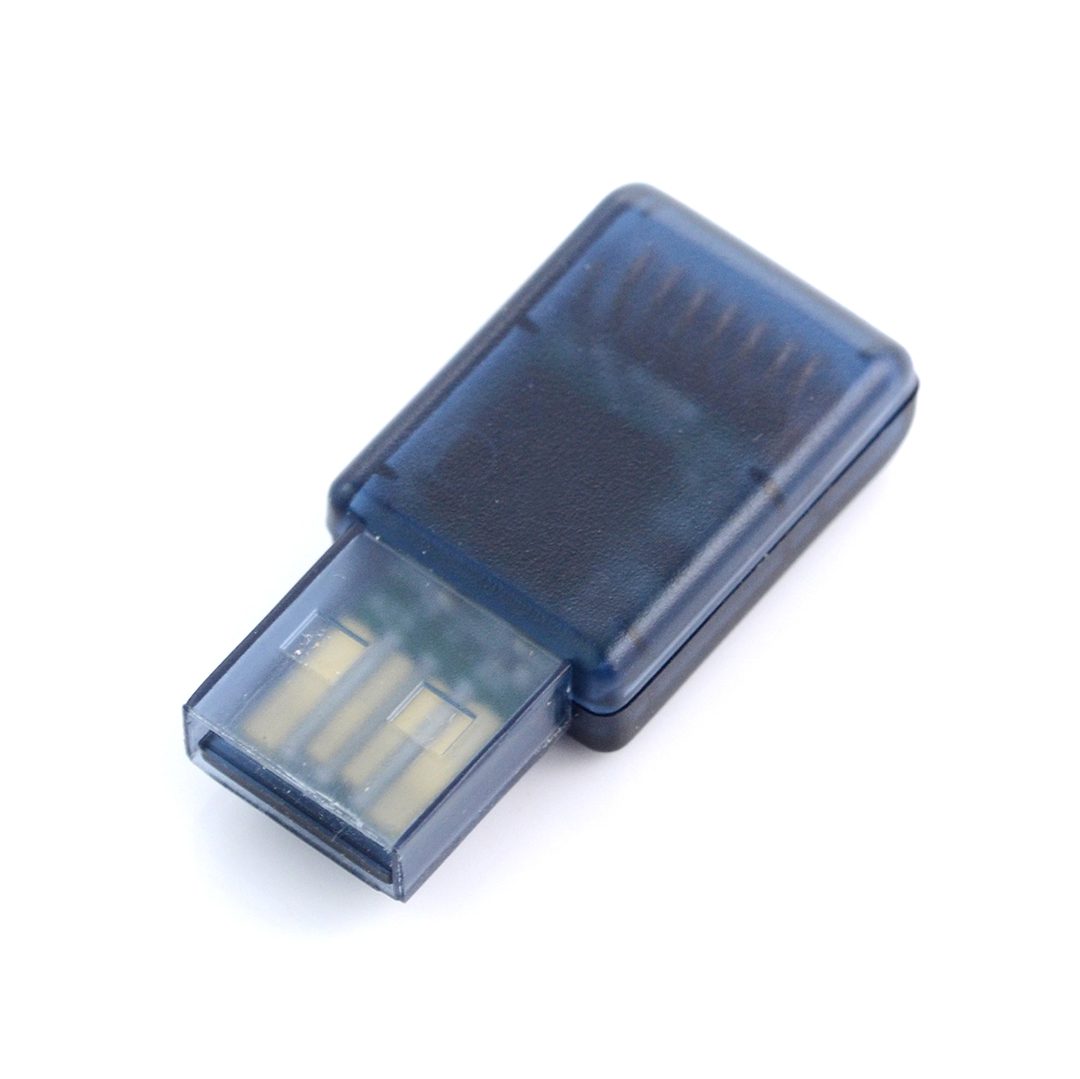
It’s almost all done. Just the step needed to ensure smooth operation and the home assistant will work with the Raspberry Pi. Z-wave functions of smart home appliances are enabled and controlled by the Z-wave smart hub gateway. With Z-Wave integration, you can control the Z-Wave network with the Z-Wave JS controller. Connect the Z-Wave USB flash drive to the Raspberry Pi’s USB port. Go to “Configuration” on the Home Assistant screen and press “Integrations.” On the integration page, you should see that the USB is recognized as a device for Z-Wave JS. Confirm the use of the device as a Z-Wave coordinator.
Adding smart home devices to Raspberry Pi Z-Wave
Here a lot of freedom. W
Botland
you will find numerous home automation devices that can be connected via Z-Wave, including lights, controllers or sensors for various purposes. On the “Devices and Services” page, click “Configure” in the Z-Wave JS integration section, then follow the instructions provided for the device you want to add. Wait a few seconds for the integration to find the Z-Wave device. If the module is detected, you will be asked to enter a PIN number to verify the device’s key – this is available on the device or in the accompanying manual. After adding a device, select “View Device” to see all the data you can get from it. You can also add more devices by following the same steps.
How useful was this post?
Click on a star to rate it!
Average rating 0 / 5. Vote count: 0
No votes so far! Be the first to rate this post.