Table of Contents:
The Arduino is a great example of hardware to which you can connect one or more motors and then control them as you wish and need. But how do you go about it?
What to start from?
First of all, the basis for this type of operation is the use of an appropriate H-bridge. This is a circuit consisting of a suitable combination of transistors – in electronics shops you can find many ready-made integrated circuits in convenient casings (made in THT or SMD technology). Using a ready-made solution is the simplest and quickest way, but for experienced electronics engineers it is also possible to assemble your own version of the H-bridge from transistors.
Second important element is to prepare proper power supply. The whole can be based on a single source, but a much better solution is to prepare a power supply for the logic system and batteries for the motor itself. Two separated power sources is a way to make the whole system more stable and safe. Also get a set of resistors of different resistances and some capacitors (electrolytic and ceramic).
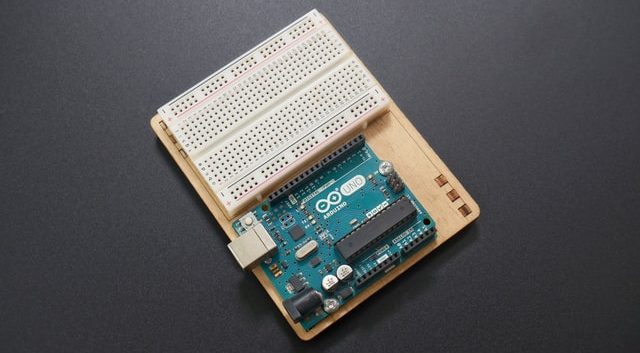
To get started, a set of tools such as a contact plate and connection cables will also be practical. These will allow you to easily and quickly modify the circuit in any way you like. If this is the case, make sure your Arduino board has the right pinout so that you can easily connect to it using wires. A female goldpin strip soldered directly to the development board always works best. With such prepared hardware you are able to easily connect the motor to the Arduino.
Which motor for the Arduino?
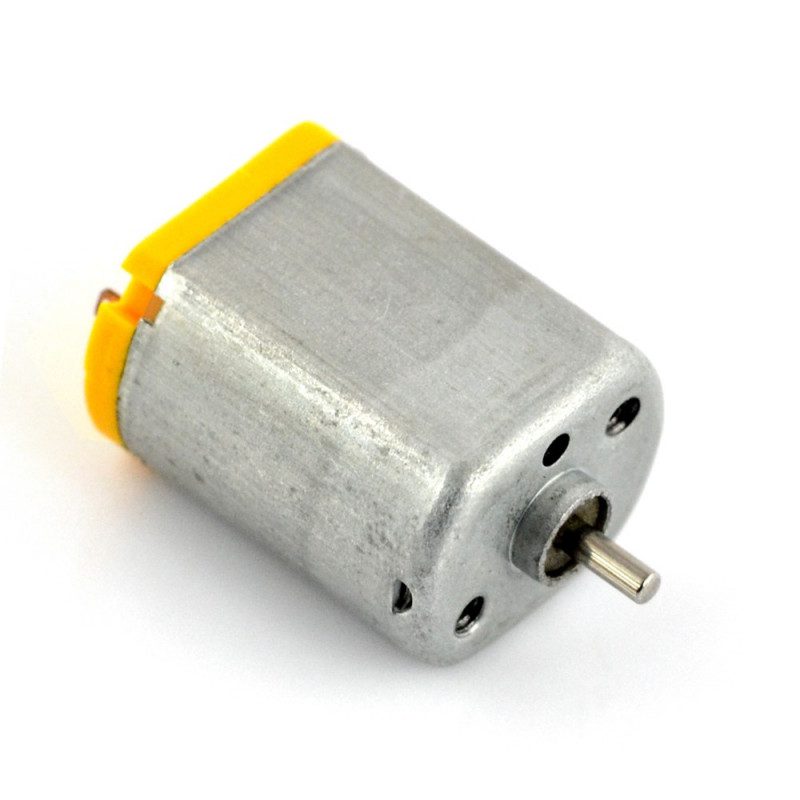
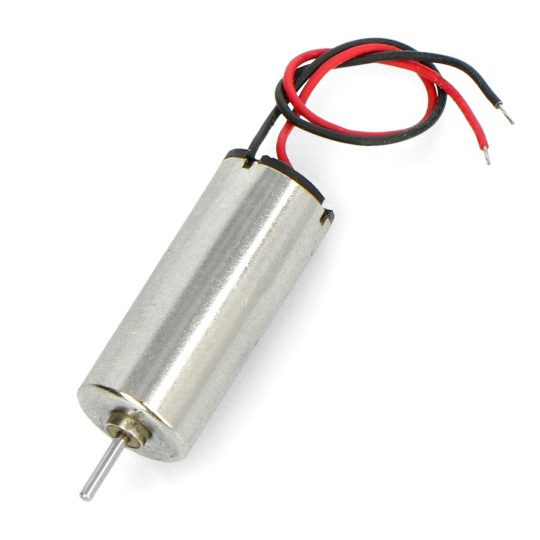
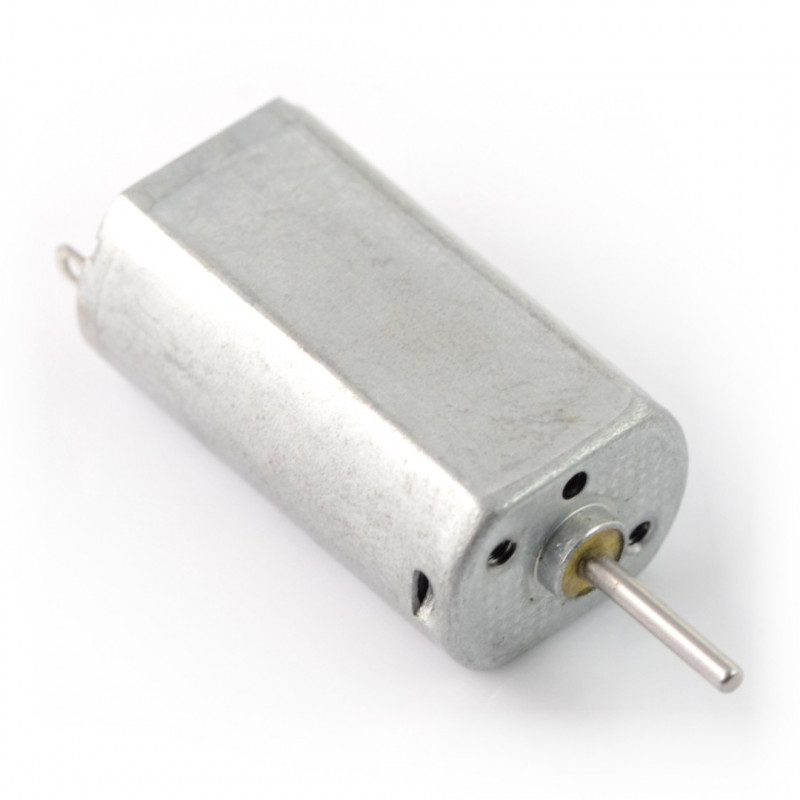
To find out how to connect a motor, it is first necessary to know exactly which motor you are going to connect. The most common motors used in electronics are simply ordinary DC motors, and this will serve as an example. You can use it, for example, to control individual joints in a walking mobile robot.
H-bridge preparation
Using the H-bridge, you will be able to easily control not only the speed of the motor shaft, but also its direction. Once you have selected a DC motor, you should know what maximum current it can generate (maximum load). On this basis, you will be able to select the appropriate H-bridge (with matching current capacity). Also consider how many motors at once you would like to control in your target project. If you choose an off-the-shelf H-bridge circuit, you will probably be able to use, for example, double bridges (enclosed in one housing).
Along with the circuit you will most likely receive a schematic of the leads from the circuit (or it will be available on the manufacturer’s website). You will find there the pins responsible for the ground (all should be connected to GND), the pins to which you should connect the power supply, the pins responsible for controlling the speed of the motor and the pins responsible for the direction of rotation of the motor shaft. Now that you know the layout of all the pins, you can place the H-bridge in the middle of the PCB.
How to connect the motor to the Arduino?
The next step should be to connect all pins responsible for ground to “minus” on the contact board. Next, connect all pins responsible for controlling individual motor parameters, then connect the leads from the H-bridge directly to the motor and connect the Arduino to the H-bridge. By eliminating possible errors at this point, you can protect the H-bridge, the motors and most importantly the Arduino board from damage.

Once you are sure of the correct connection, you can equally carefully connect the power supply to the motors (for example from a 9V battery), and then to the logic (for example from a computer via USB cable or from a separate power supply). You will be able to control the motor by programming the Arduino board appropriately. For example, you can programmatically link the direction and speed of the motor with a connected potentiometer, which will give different speed and direction to the motor in proportion to the degree of turning.