


Products for which the sale has been cancelled.
- New
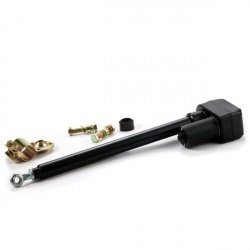
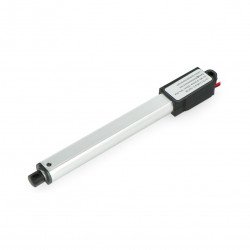
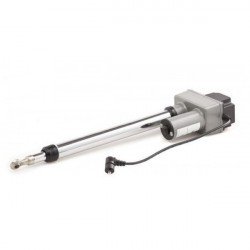
Linear Actuator Super Power Jack 2000N 7,5mm/s 12V - 30cm stroke
Index: MOT-05364
- Reduced price
- Sale
- Reduced price
- Sale


See also