


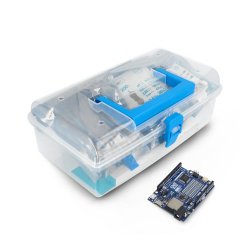


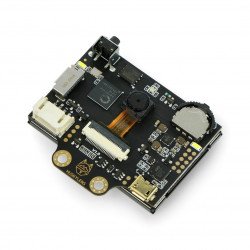


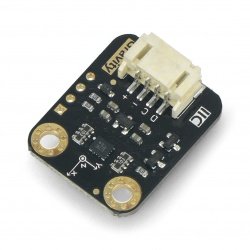


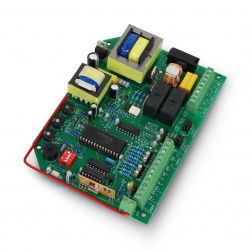


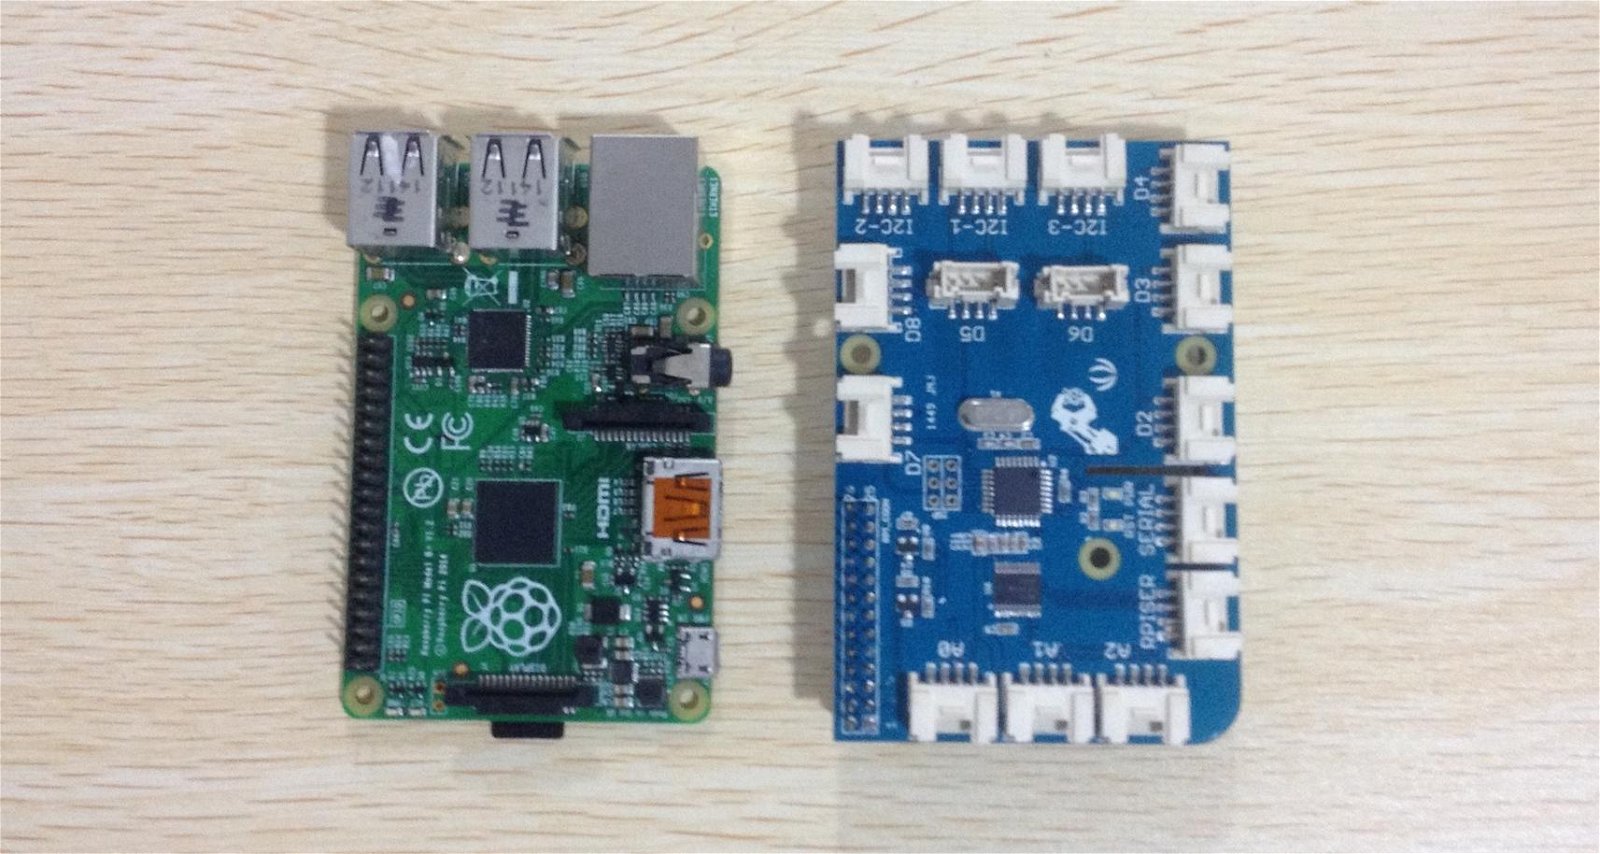
GrovePi+ is a cap that allows you to connectGrove sensorsto the Raspberry Pi. This is a newer version of the GrovePi overlay, adding the ability to operate the RaspberryPi Model B+ and Model A+. It has three mounting holes to fit each version of the Raspberry Pi. The cover plate also has a hole for camera cable. It also improves the conversion of the voltage level of the slaves.
| Buy now |
Characteristics
-
7 digital ports
-
3 analogue ports
-
3 I2C ports
-
1 serial port for GrovePi connection
-
1 serial port to connect Raspberry Pi
-
Grove Vcc connector with voltage: 5Vdc
Get started
Welcome to the GrovePi+ guide.
If you want to learn more about GrovePi+, you can find all your project files in the Github Repository.
Grove Base Hat for Raspberry Pi vs. GrovePi+
| Parameter | Grove Base HAT for Raspberry Pi | GrovePI+ |
|---|---|---|
| Voltage | 3,3 V | 5 V |
| MCU | STM32F030F4P6 | ATMEGA328P |
| Ports of Grove |
6 digit (3.3V) 4 analogue (3.3V) 3 I2C (3.3V) 1 PWM (3.3V) 1 RPISER (UART)connect to Raspberry Pi(3.3V) 1 SWD |
7 digital (5V) 3 analogue (5V) 3 I2C (5V) 1 serial: connect to ATMEGA328P D0/1(5V) 1 RPISER:connect to Raspberry Pi(3.3V) 1 ISP |
| Grove-Digital | connect directly to Raspberry Pi | connect to the ATMEGA328P digital pins, transfer toan I2C signal and then throughthelevelconverterto Raspberry Pi |
| Grove-Analog | connect to STM32F030F4P6(12bit ADC), transfer to an I2C signal and lead directly to Raspberry Pi | connect to analog pins (10bit ADC) ATMEGA328P, transferto I2C signal andthen through levelconverter to RaspberryPi |
| Grove-I2C | plug directly intoRaspberry Pi | connect via level converter to Raspberry Pi |
| Grove-PWM | plug directly intoRaspberry Pi | No |
| RPISER | plug directly intoRaspberry Pi | plug directly intoRaspberry Pi |
| SERIAL | No | connect to digital pins D0/D1 ATMEGA328P, transfer toan I2C signal and then throughthelevelconverterto Raspberry Pi |
| SWD | record the firmware on STM32F030F4P6 | No |
| ISP | No | record firmware on ATMEGA328P |
| Piny Raspberry Pi | 40 | 26 |
Connect GrovePi to Raspberry Pi
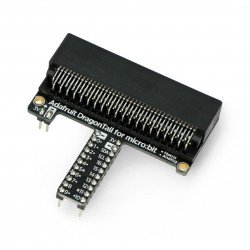
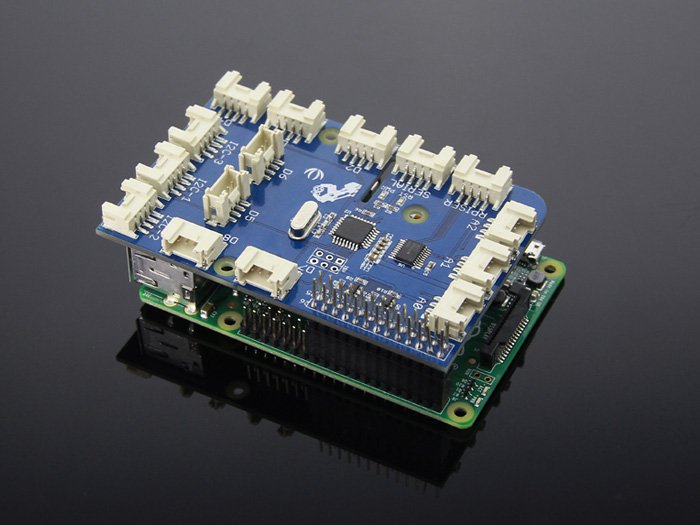
Start by installing GrovePi on Raspberry Pi. GrovePi slides on top of Raspberry Pi as shown in the picture below.
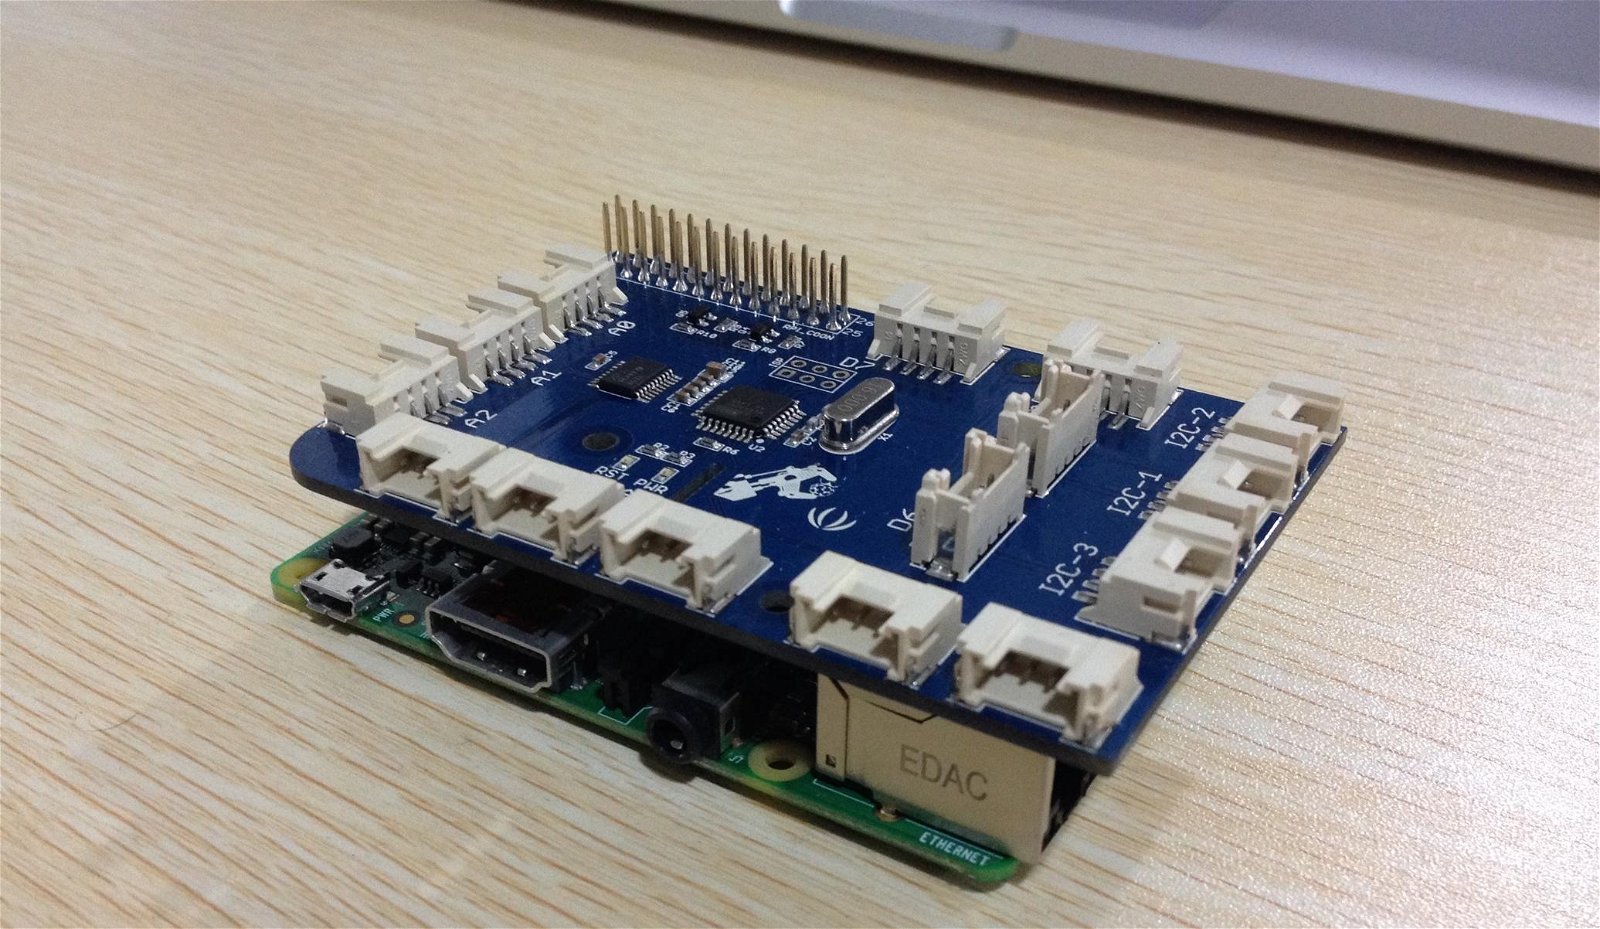
Make sure that the pins are properly aligned when applying GrovePi.
Configure the Raspberry Pi software
Now it is time to install the software on Raspberry Pi. There are two installation options:
-
use your own BrickPi Image.
-
If you already have your own Linux distribution running on Raspberry Pi you can use our bash script to install GrovePi.
Use BrickPi Image
-
Download Brick Pi Image and install the system compilation on the SD card. Here is a link tothe BrickPi page with instructions on how to configure the SD card. You will need at least a 4GB card to perform this installation.
-
copy the Github repository to the appropriate location in Raspbian
git clone https://github.com/DexterInd/GrovePi.git
-
Run bash script in Scripts folder and configure Raspbian. Here is a tutorial on how toconfigure with the script.
-
Restart Raspberry Pi.
Configure your own system compilation
- copy the Github repository to the appropriate location
git clone https://github.com/DexterInd/GrovePi.git
-
Run bash script in Scripts folder and configure Raspbian. Hereis a tutorial on how to configure with the script.
-
Restart Raspberry Pi and you can start using Grove Pi.
Testing GrovePi
Once you've configured your Raspberry Pi to work with GrovePi, it's time to check the action!
We have developed three simple projects to demonstrate how GrovePi works.
Supported products
Grove List
Useful links
|