
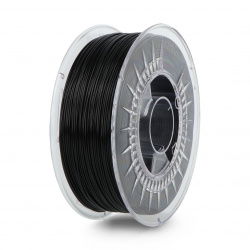
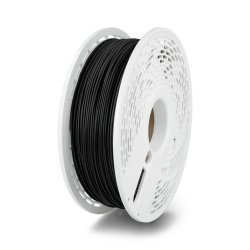


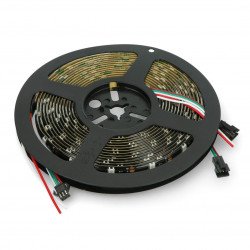
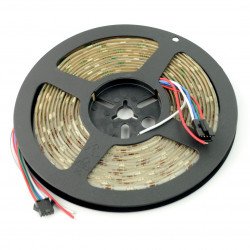
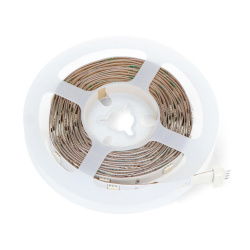


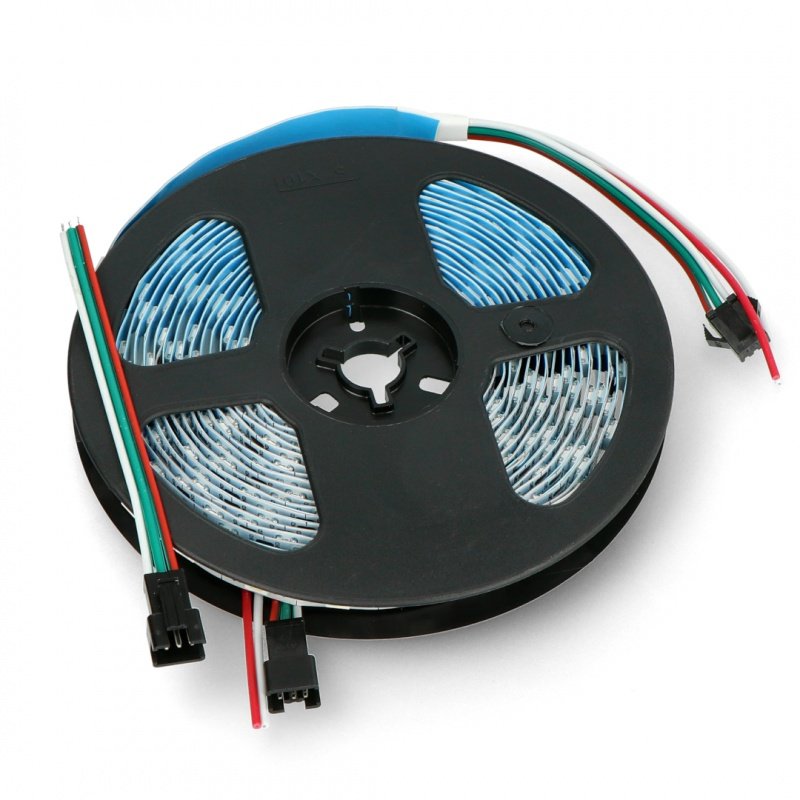


RGB LEDstrip equipped with a chipSK6812,allowing for individual control of each diode. In addition to RGB colours, it can also emit a cold white colour. The density of diodes on the strip is 60 diodes per meter of strip. A voltage of 5 V is used to power the chain, with a total power of 90 W. One pin of the microcontroller is used to control the LED strip. The distance between the LEDs on the strip is about 17 mm.

The LED strip can be freely shortened in the marked places after each diode.
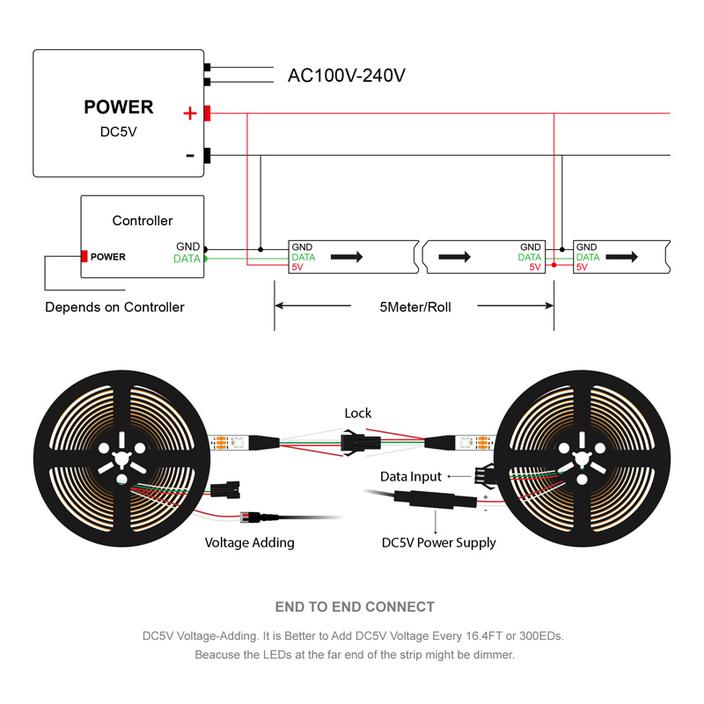
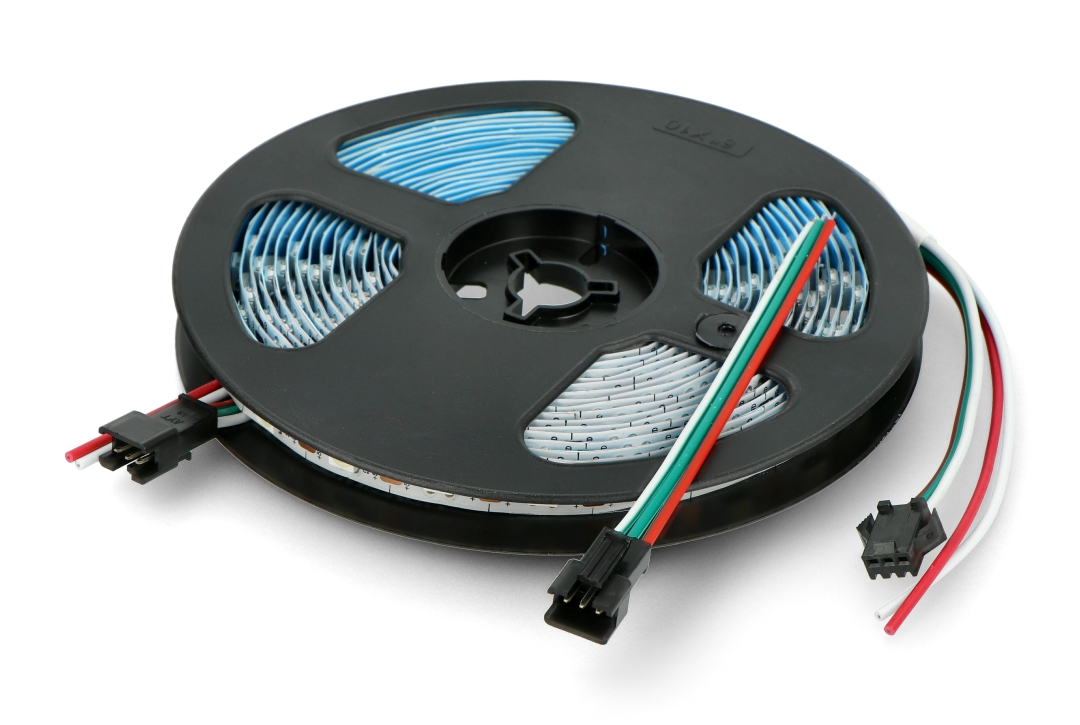
LED strips can be connected together in series. The next strip should be connected with the output connector. The 5V, GND and DOUT terminals of the DIN must be connected. When using 500 or more LEDs, the RAM available to the Arduino UNO may not be sufficient. In such a situation, use a controller with more RAM such as Arduino Mega or Raspberry Pi minicomputer. Connecting more LEDs is also associated with higher power consumption, pay attention to this when choosing a power supply.
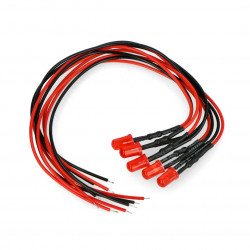
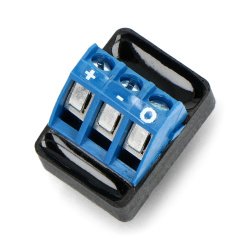
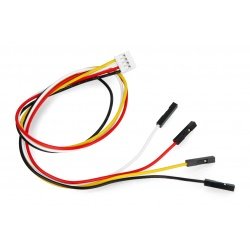
The strip has a 3-pin connector with the following leads:
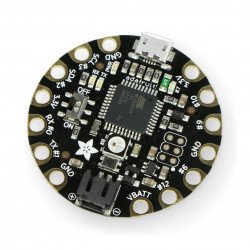
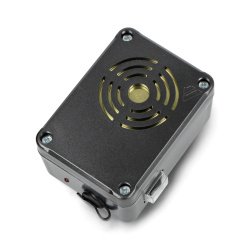
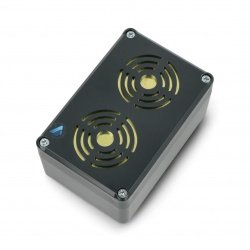
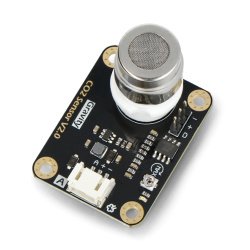
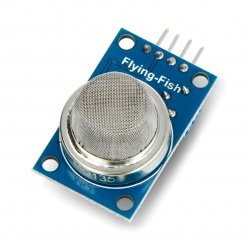
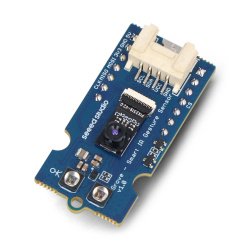
Product compatible withArduinoandRaspberry Pi
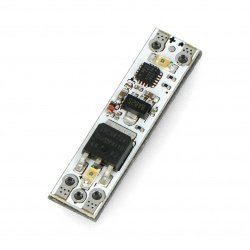
 Circuit diagram of the strip.
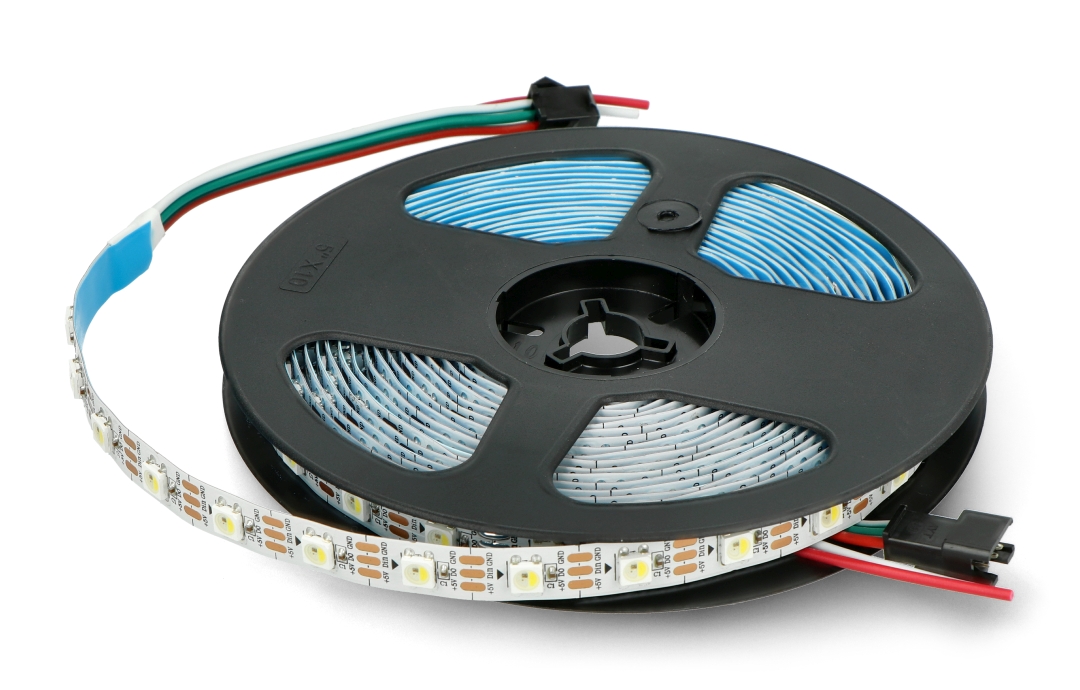
There are 60 LEDs on one meter of the strip.
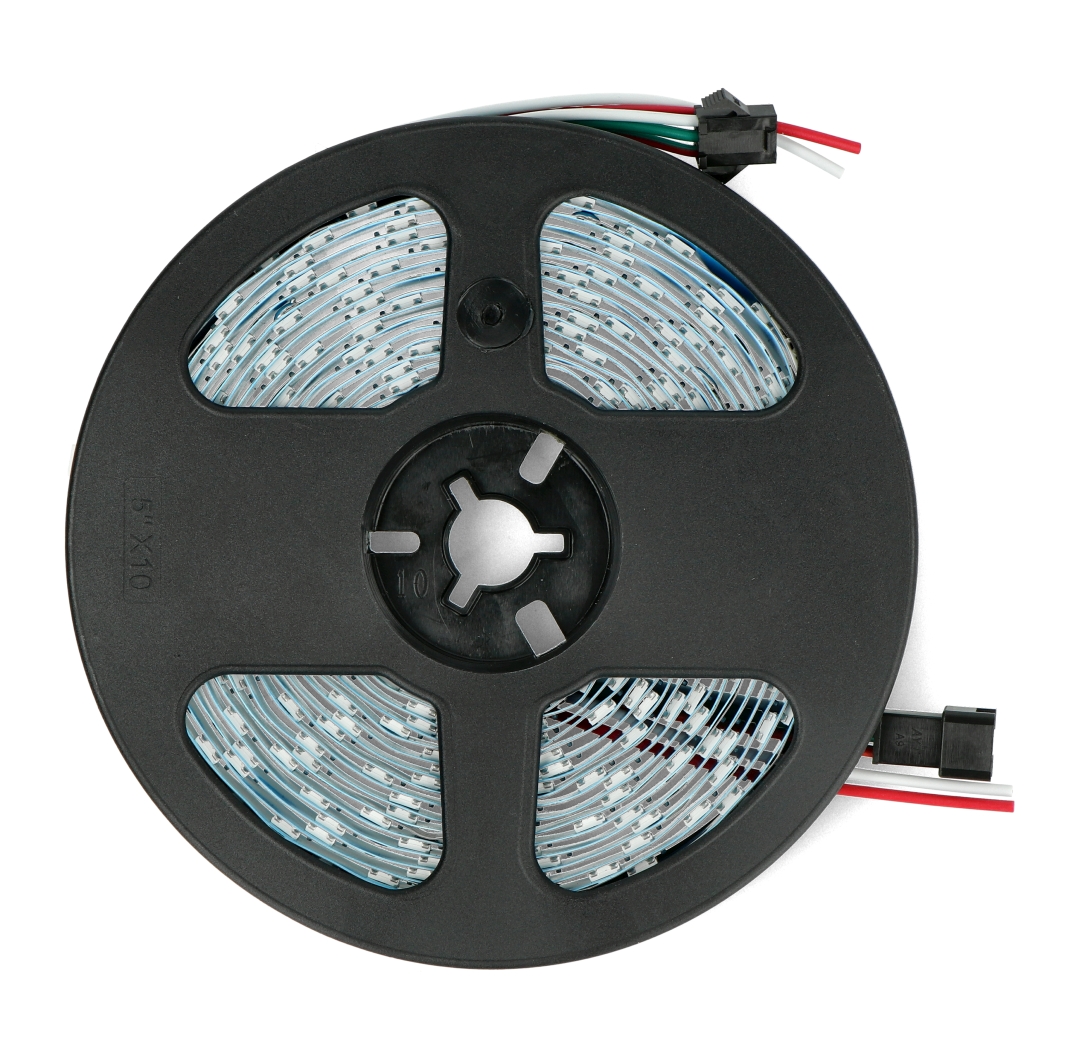
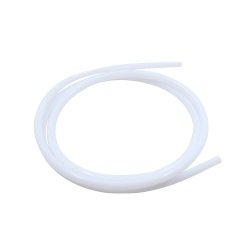
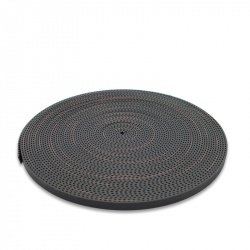
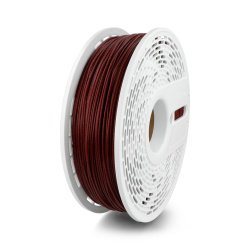
The product is wound on a plastic roll for easy transport and storage of the strip.
The distance between the LEDs on the strip is about 17 mm.
| Cable length | 5.0 m |
| Voltage to | 5.0 V |
| Voltage from | 5.0 V |
| Voltage nominal | 5 V |
| Nominal power | 90 W |
| Tightness class | IP30 |
| LED - color | RGBW |
| LED - type | SK6812 |
| LED - digital | yes |
| Package width | 15.5 cm |
| Package height | 18.5 cm |
| Package depth | 1.5 cm |
| Package weight | 0.119 kg |
Be the first to ask a question about this product!

Country of Origin: China
EU Marketer Contact Details: BOTLAND B. DERKACZ SP. K. Gola 25A - 63-640 Bralin


