


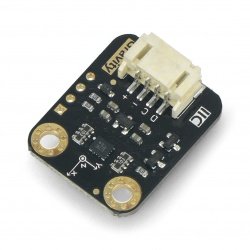


Arduino in combination with soil moisture sensor
Quick guide shows how to use the soil moisture sensor with Arduino microcontroller.
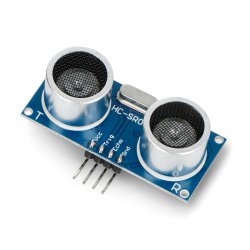
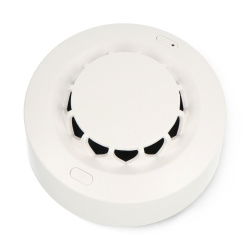
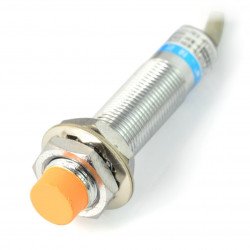
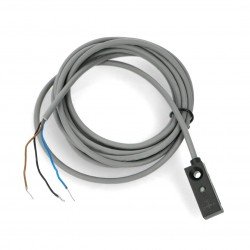
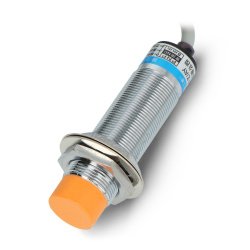
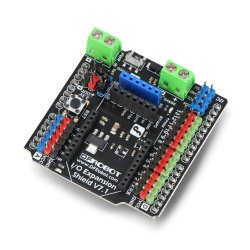
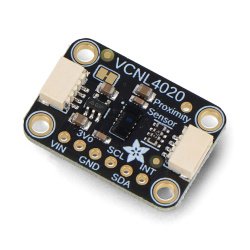
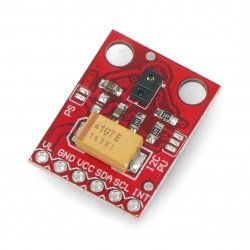
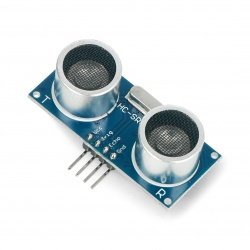
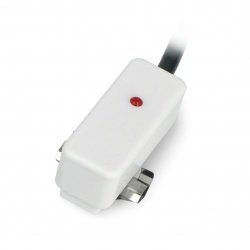
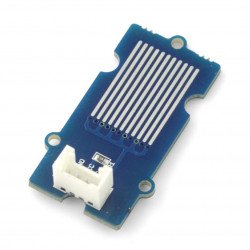
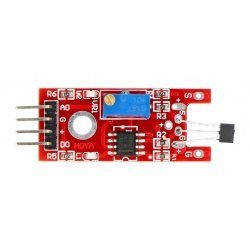
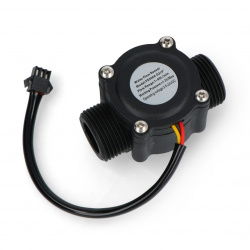
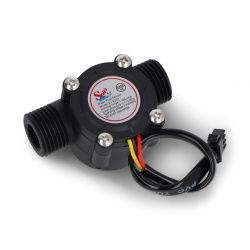
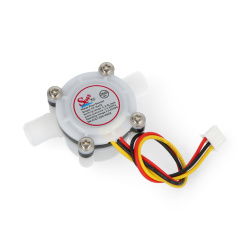
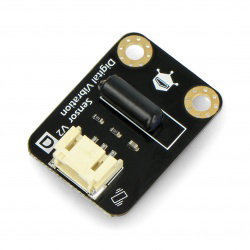
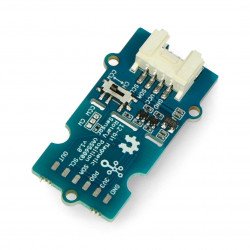
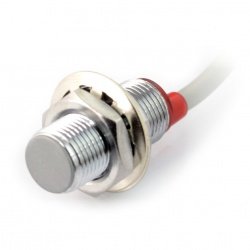
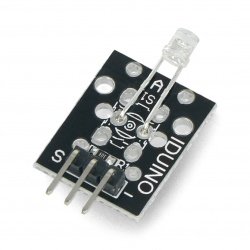
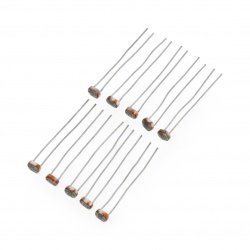
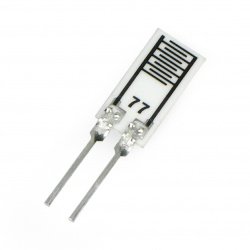
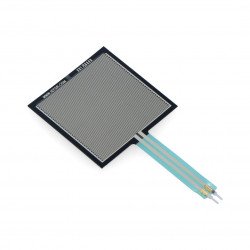
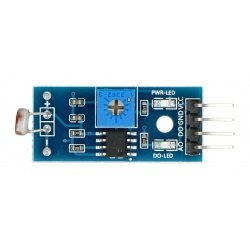
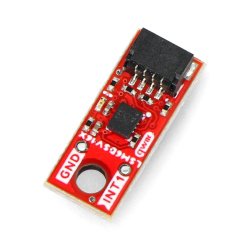
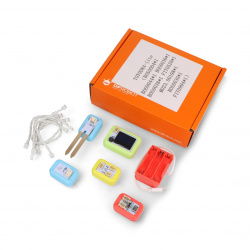
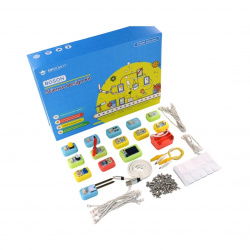
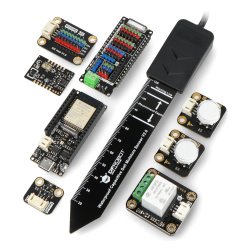
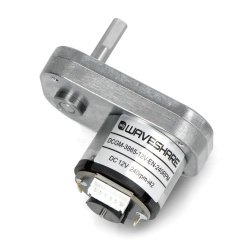
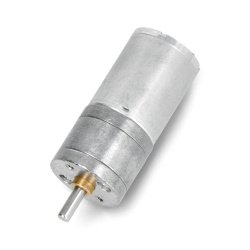
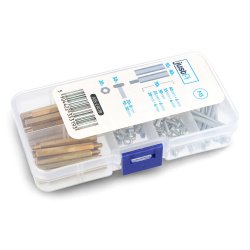
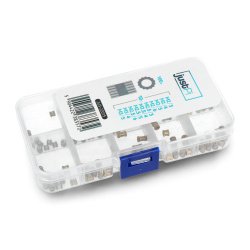
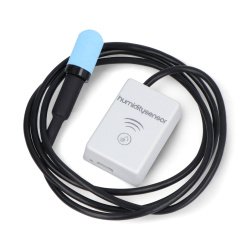
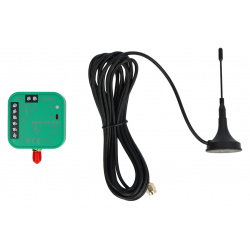
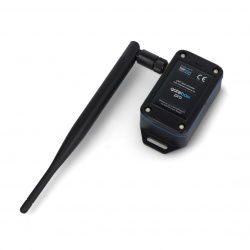
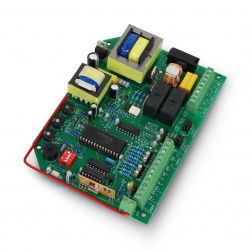
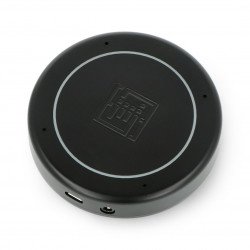
In this example we used the following elements:
Connection
The module works directly with the Arduino, so no need for an external source of energy. Contacts connect your null-modem according to the following table:
| Pin Arduino | Pin Sensor |
|---|---|
| 5 V | VCC |
| GND | GND |
| pin A0 | A0 |
| pin 2 | D0 |
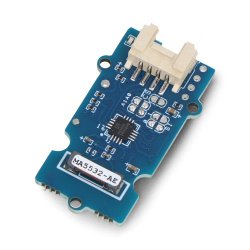
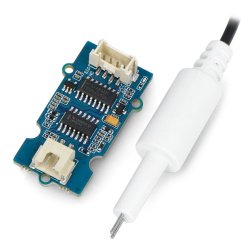
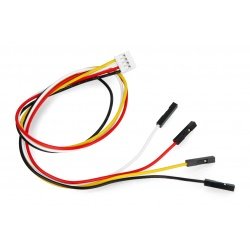
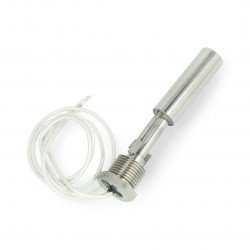
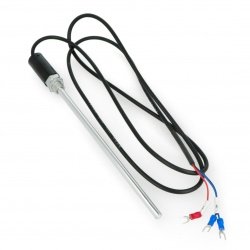
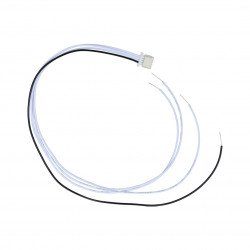
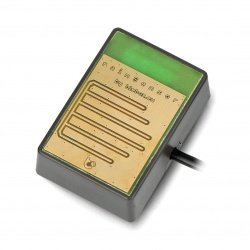
The remaining two pins from the sensor module connected to the measurement probe using the supplied cable as shown in the following figure:
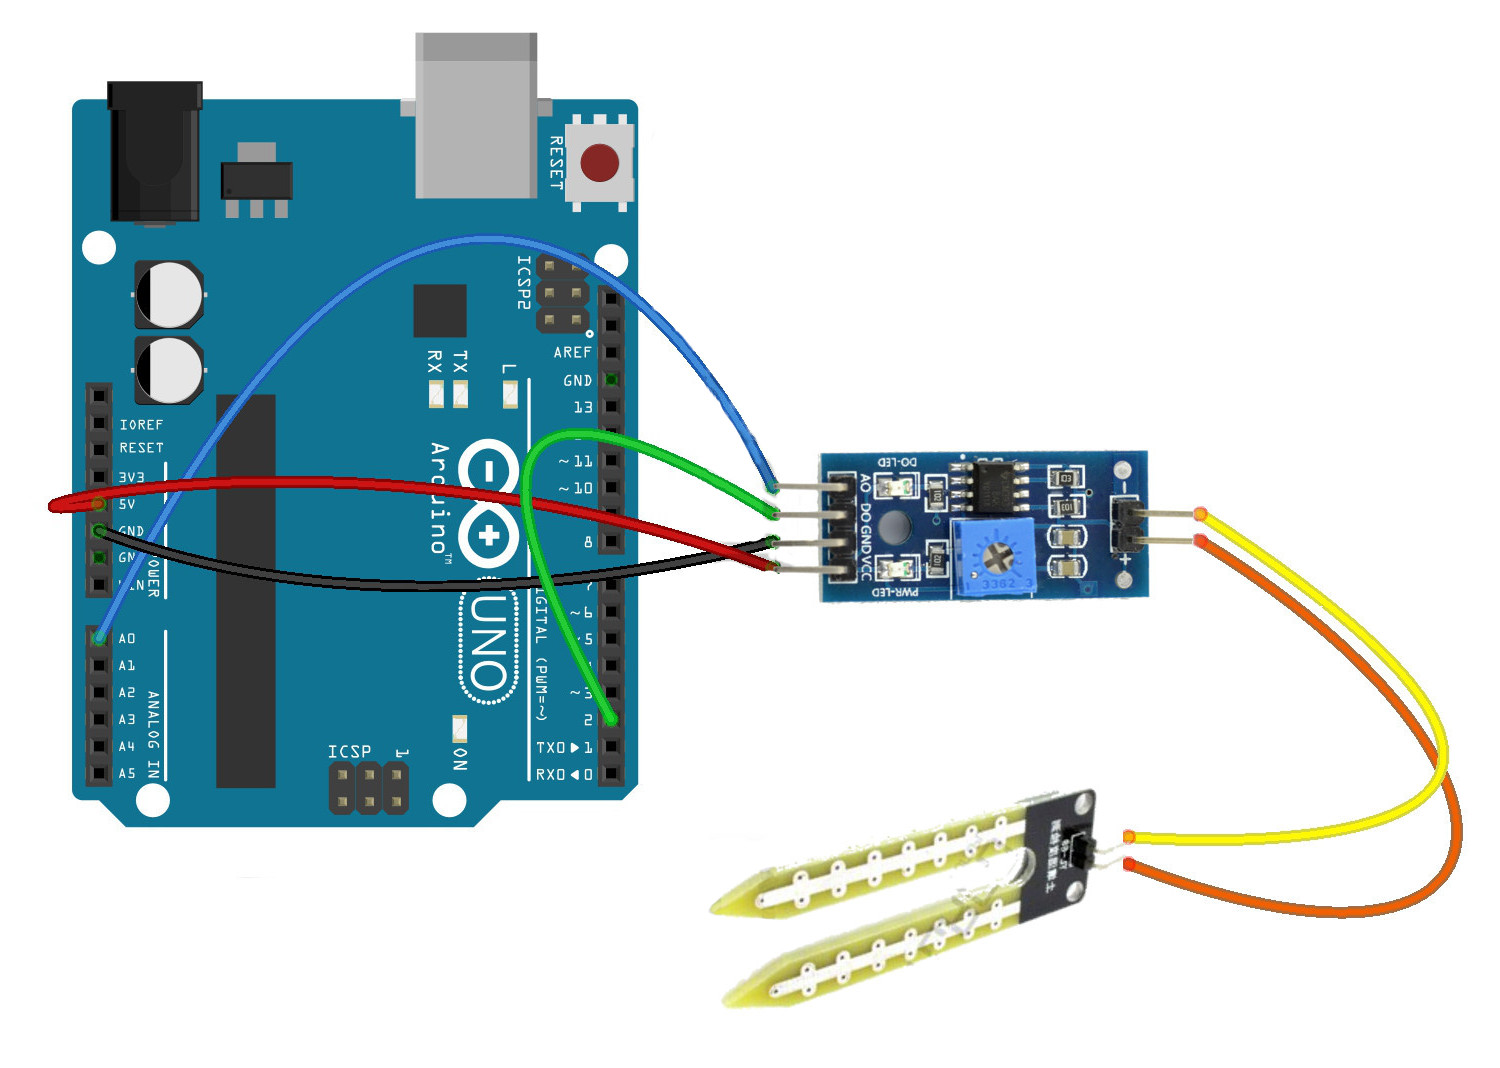
Scheme of the system.
Service
The output D0 is in digital form. By default, in high condition, and upon detection of the moisture goes into a low state. The sensitivity can be regulated with the built-in potentiometer. The A0 analog output is working, and decreases the voltage with increasing moisture content (to it is inversely proportional). In the example we will use a simple program code that on a regular basis will show on the serial monitor the values read from A0 and D0.
int sensor_A0 = A0; // A0 for connection from the sensor to A0 on Arduino
sensor_D0 int = 2; // connect D0 on the sensor to pin 2 of Arduino
wartosc_A0 int; // variable for the value of A0
wartosc_D0 int; // variable for the value of A0

void setup() {
 Serial.begin(9600); // start the monitor serial port
 pinMode(2, INPUT); // set pin 2 as input

}

void loop() {

 wartosc_A0 = analogRead(sensor_A0); // load the values for A0
 wartosc_D0 = digitalRead(sensor_D0); // load values D0

 Serial.print("D0: "); // display on serial monitor
 Serial.print(wartosc_D0);
 Serial.print(" -- A0: ");
 Serial.println(wartosc_A0);
 delay(200); // delay between consecutive readings
 }
The results of the program you can see in the following screenshot.
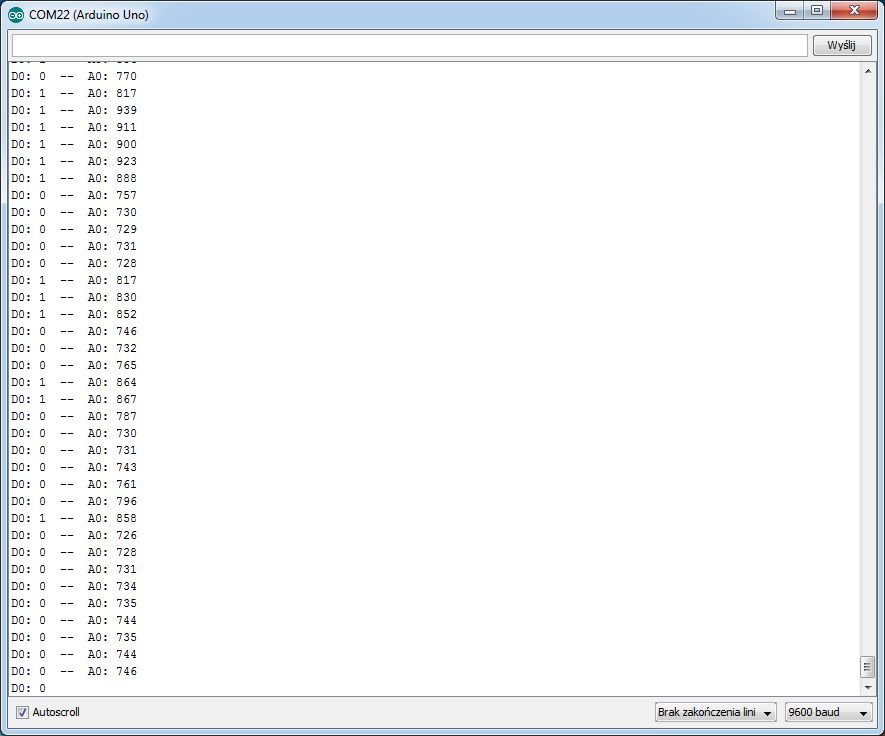
A screenshot of the serial monitor.