


Lesson 7: LCD display & temperature and humidity sensor

Objective
Using Grove - LCD 16*2 to display temperature and humidity data from Grove - Temperature and humidity sensor
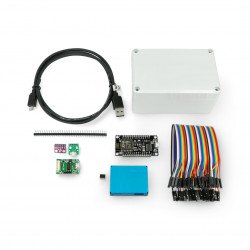
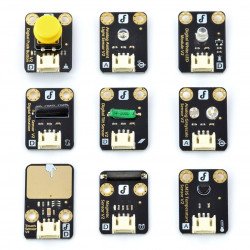
Equipment requirements
Prepare:
- MicroUSB cable
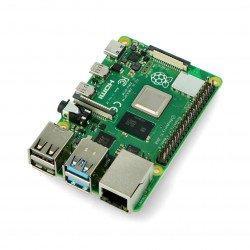
- Raspberry Pi 3 Model B
- Computer
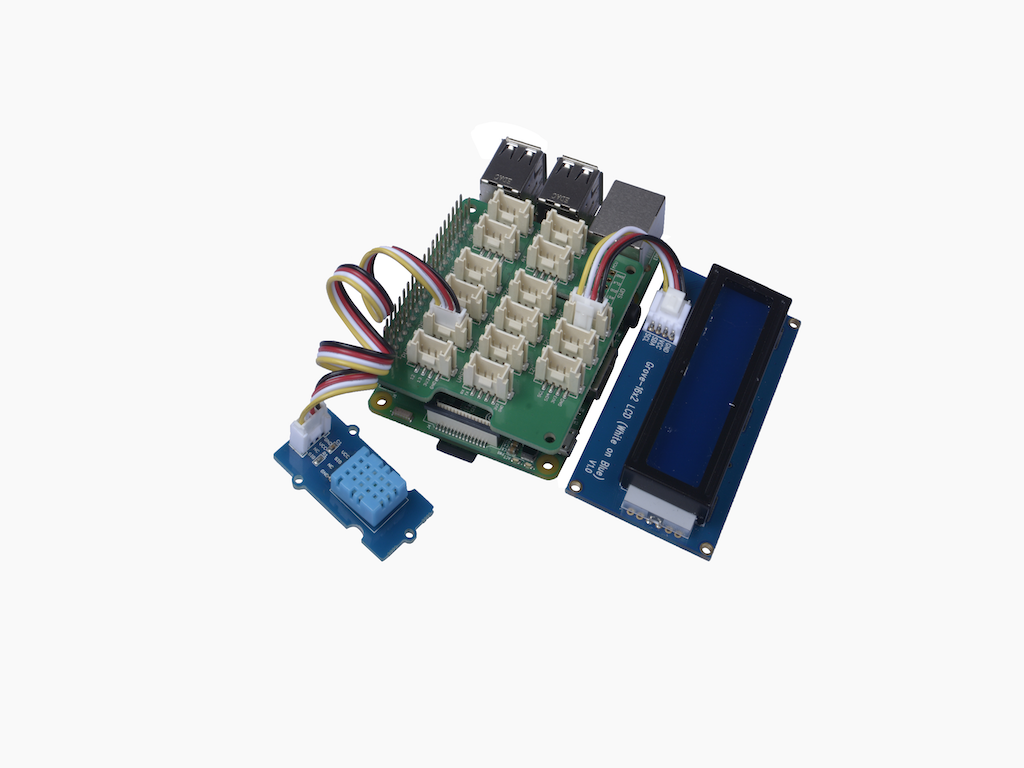
- Grove Base Hat
- Grove wire
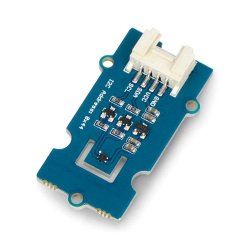
- Grove - LCD display 16*2
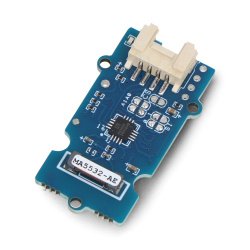
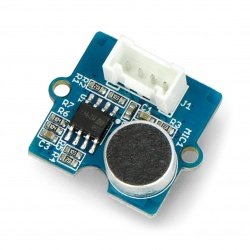
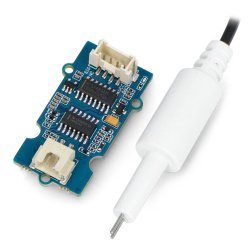
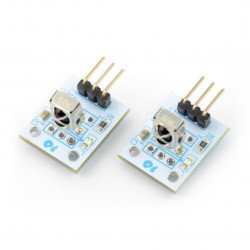
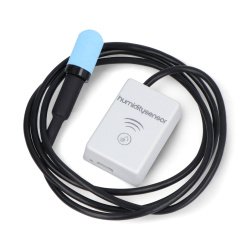
- Grove - Temperature and humidity sensor
Connecting equipment
Step 1 Connect Grove - 16*2 LCD display to I2C,Grove - Temperature and humidity sensor to port D5.
Step 2 Connect Base Hat to Raspberry Pi.
Step 3 Connect the Raspberry Pi to a power source using a micro USB cable.
 Programming
Step 1: Enter the following commands to create a python file.
- cd grove.py
- nano lesson_7.py
Step 2: Copy the code below.
- #!/usr/bin/env python
- import time
- from grove.grove_temperature_humidity_sensor import DHT
- from grove.display.jhd1802 import JHD1802
- def main():
- # Grove - 16x2 LCD(White on Blue) connected to I2C port
- lcd = JHD1802()
- # Grove - Temperature&Humidity Sensor connected to port D5
- sensor = DHT('11', 5)
- while True:
- humi, temp = sensor.read()
- print('temperature {}C, humidity {}%'.format(temp, humi))
- lcd.setCursor(0, 0)
- lcd.write('temperature: {0:2}C'.format(temp))
- lcd.setCursor(1, 0)
- lcd.write('humidity: {0:5}%'.format(humi))
- time.sleep(1)
- if __name__ === '__main__':
- main()
Step 3:Uruchomprogram
- sudo chmod +x lesson_7.py
- sudo ./lesson_7.py
If everything goes well, the LCD screen should show the current temperature and humidity values.
- pi@raspberrypi:~/grove.py $ sudo ./lesson_7.py
- temperature 23C, humidity 16%
- temperature 22C, humidity 17%
- temperature 22C, humidity 17%
- ^CTraceback (most recent call last):
- File "./lesson_7.py", line 28, in
main() File "./lesson_7.py", line 25, in main time.sleep(1) KeyboardInterrupt pi@raspberrypi:~/grove.py $
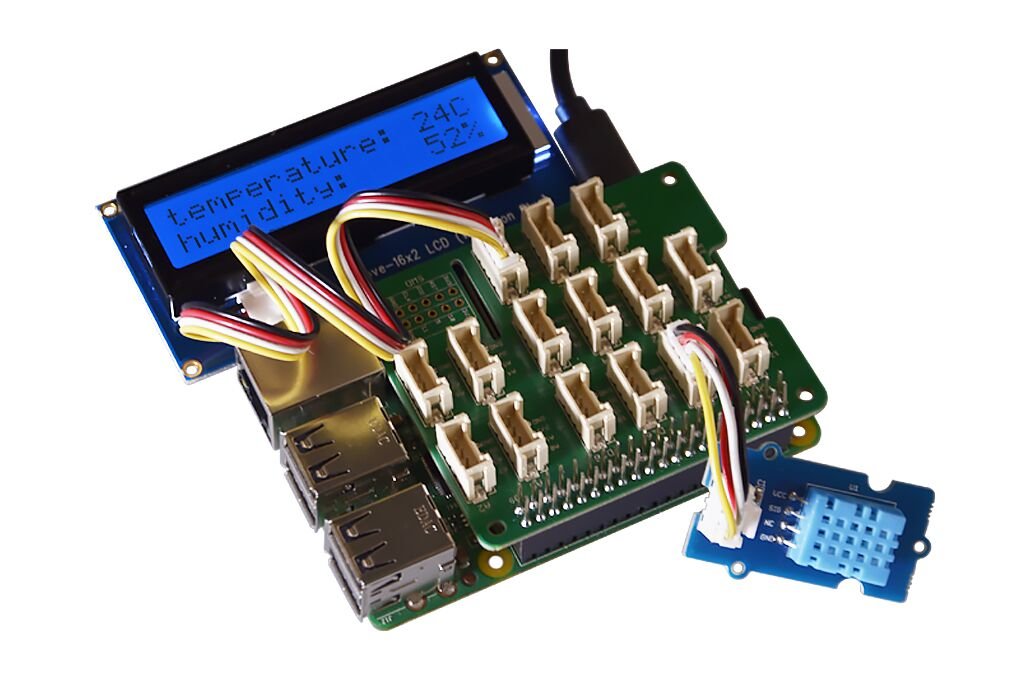
Table of contents
|