


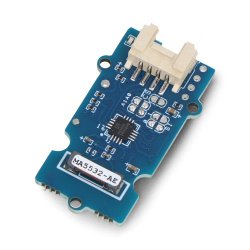


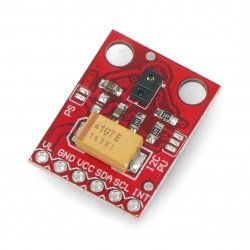


3-axis magnetometer HMC5883L and Arduino
The tutorial shows how to handle a digital magnetometer with an Arduino.
In this example we used the following elements:
- Arduino Uno
-
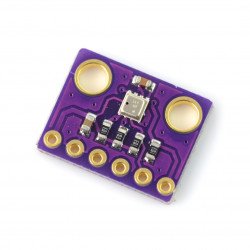
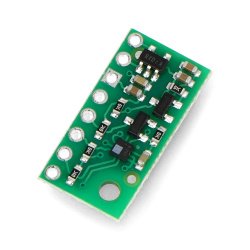
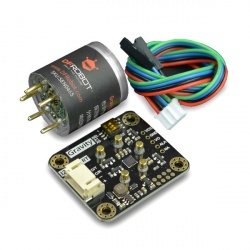
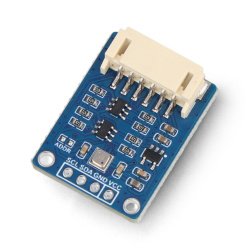
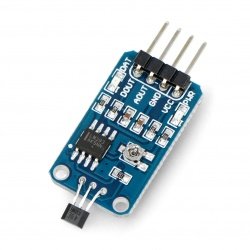
HMC5883L 3-axis digital magnetometer I2C 3.3 V / 5V module GY-271
- Wire, for example, with hooks
Connect the sensor with Arduino:
The module communicates using the popular I2C bus. Thus, the connection to the Arduino needs to be done in the following way:
| Module HMC5883L | Pin Arduino |
|---|---|
| VCC | 5 V |
| GND | GND |
| SCL | A5 |
| Traffic | A4 |

Wiring diagram of the magnetometer with Arduino Uno.
Program for Arduino
In the example, we used the following code:
#include//I2C library #define address 0x1E //address module for I2C HMC5883L void setup(){ Serial.begin(9600); //initialize serial communication Wire.begin(); //initialize the module //Configure the appropriate sensor mode Wire.beginTransmission(address); //open connection Wire.write(0x02); //select mode register Wire.write(0x00); //continuous measurement Wire.endTransmission(); } void loop(){ int x,y,z; //variables for the three axes //Setting the address to read data Wire.beginTransmission(address); Wire.write(0x03); //select register 3, the register MSB of X-axis Wire.endTransmission(); //Read data for each axis, two entries on the same axle Wire.requestFrom(address, 6); if(6<=Wire.available()){ x = Wire.read()<<8; //MSB of X-axis x |= Wire.read(); //LSB X axis with the = Wire.read()<<8; //MSB of axis s |= Wire.read(); //LSB axis y = Wire.read()<<8; //MSB of Y-axis y |= Wire.read(); //LSB Y axis } //Display data on serial monitor Serial.print("x: "); Serial.print(x); Serial.print(" y: "); Serial.print(y); Serial.print (": "); Serial.println (); delay(250); //delay between measurements 250 MS }
The results of the program can be seen below:
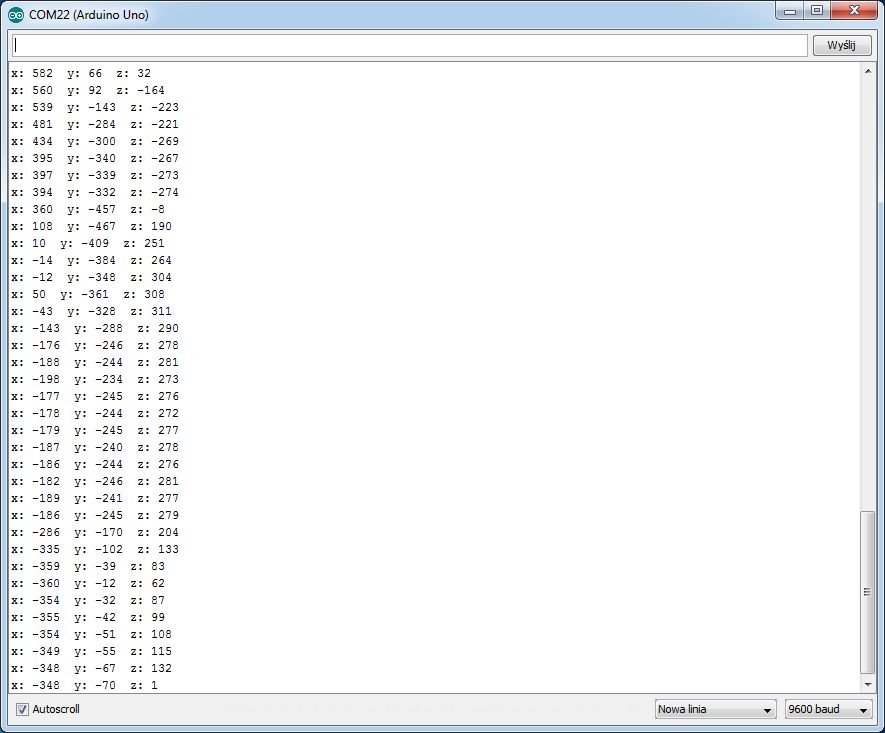
A screenshot of the serial monitor.