


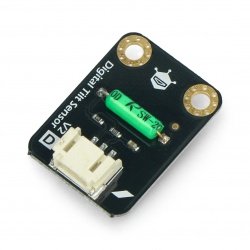
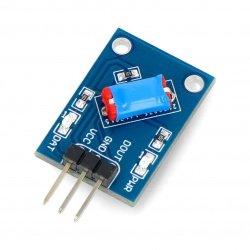


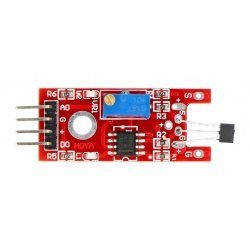


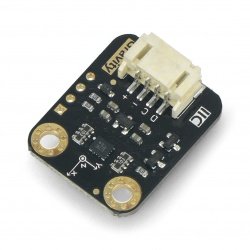


Defining colors with Arduino
The example shows how we can detect the color using the module color sensor in combination with the Arduino microcontroller.
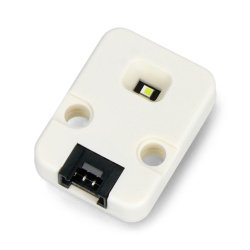
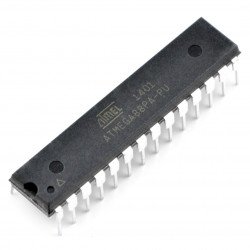
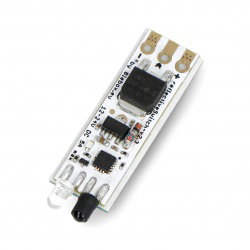
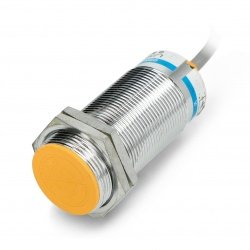
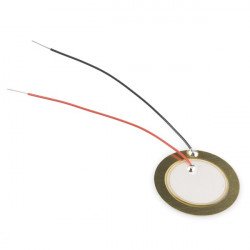
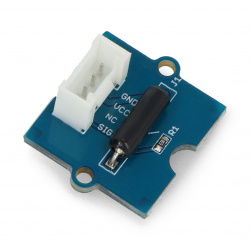
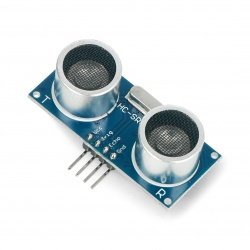
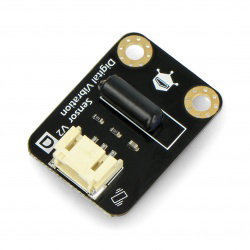
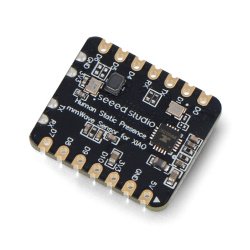
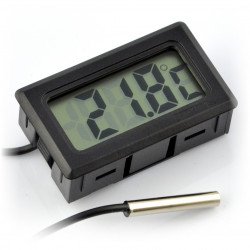
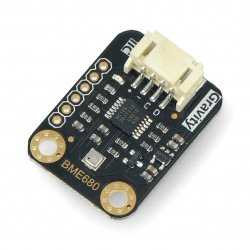
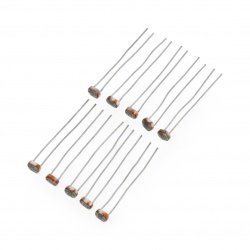
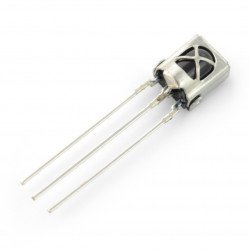
In this example we used the following elements:
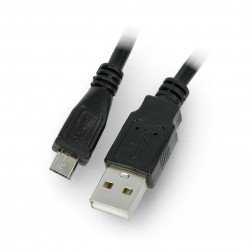
Connect the sensor with Arduino:
Connect to Arduino as follows:
| The module TCS3200D | Pin Arduino |
|---|---|
| VCC | 5 V |
| GND | GND |
| OUT | 2 |
| S0 | 3 |
| S1 | 4 |
| S2 | 5 |
| S3 | 6 |
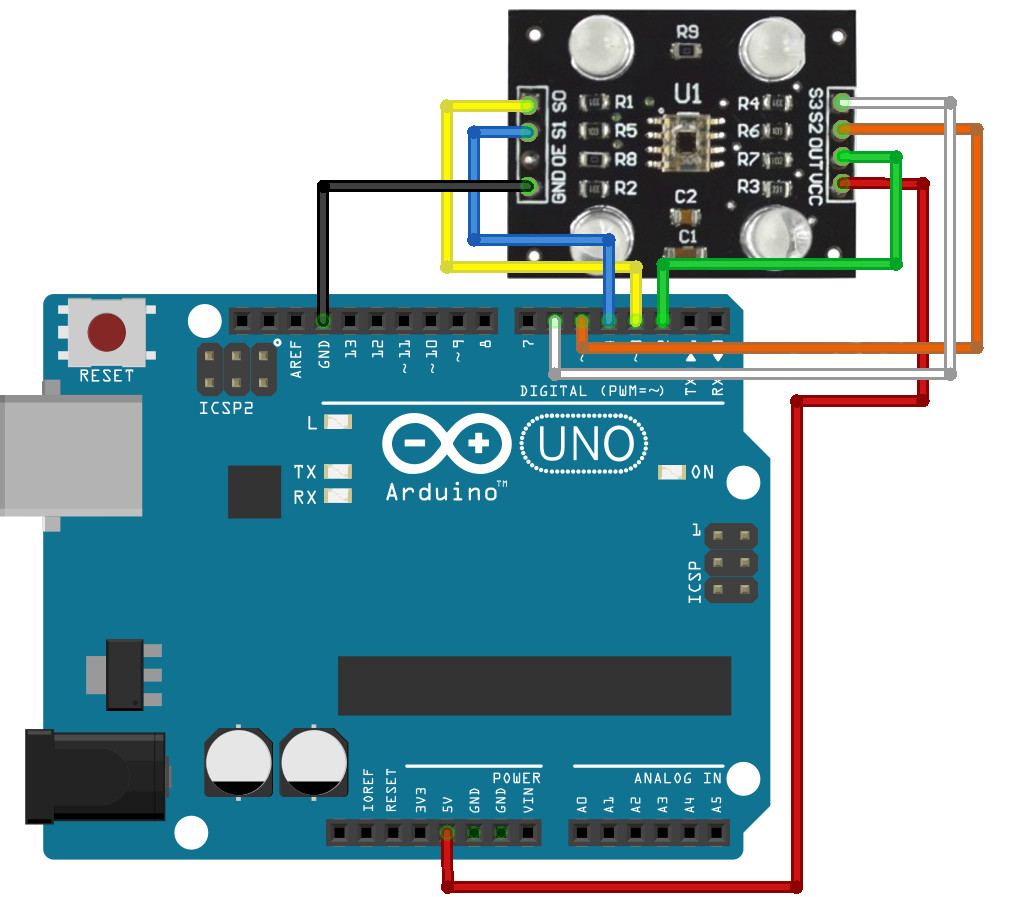
Diagram of connecting the module to Arduino Uno.
Program for Arduino
In the example, we used the following code:
int s0 = 3, s1 = 4, s2 = 5, s3 = 6; //pins of the module in combination with Arduino
int out = 2; //Arduino pin 2 and OUT from the sensor
int flag = 0;
byte counter = 0;
byte countR = 0, countG = 0, countB = 0;
void setup()
{
 Serial.begin(9600); //initialize serial monitor
 pinMode(s0, OUTPUT); //setting the pins as output
 pinMode(s1, OUTPUT);
 pinMode(s2, OUTPUT);
 pinMode(s3, OUTPUT);

}
void TCS()
{
 flag = 0;
 digitalWrite(s1, HIGH);
 digitalWrite(s0, HIGH);
 digitalWrite(s2, LOW);
 digitalWrite(s3, LOW);
 attachInterrupt(0, ISR_INTO, LOW);
 timer0_init();

}
void ISR_INTO()
{
 counter++;
}
void timer0_init(void)
{
 TCCR2A = 0x00;
 TCCR2B = 0x07; //clock speed - 1024
 TCNT2 = 100; //10 MS overflow
 TIMSK2 = 0x01; //enable interrupts
}
int i = 0;
ISR(TIMER2_OVF_vect) //the timer 2, 10ms overflow 10 MS. the function of the interrupt overflow wewnętrzengo
{
 TCNT2 = 100;
 flag++;
 if (flag == 1) //load and display RGB colors
 {
 countR = counter;
 Serial.print("red=");
 Serial.print(countR, DEC);
 Serial.print("TT");
 digitalWrite(s2, HIGH);
 digitalWrite(s3, HIGH);
 }
 else if (flag == 2)
 {
 countG = counter;
 Serial.print("green=");
 Serial.print(countG, DEC);
 Serial.print("t");
 digitalWrite(s2, LOW);
 digitalWrite(s3, HIGH);
 }
 else if (flag == 3)
 {
 countB = counter;
 Serial.print("blue=");
 Serial.print(countB, DEC);
 Serial.print("t");
 Serial.println("n");
 digitalWrite(s2, LOW);
 digitalWrite(s3, LOW);

 }
 else if (flag == 4)
 {
 flag = 0;
 }
 counter = 0;
}
void loop() //main program loop
{
 TCS();
 delay(500);
 while (1);

}
The program shows the RGB color value for a detected color. The results of the program you can see below:
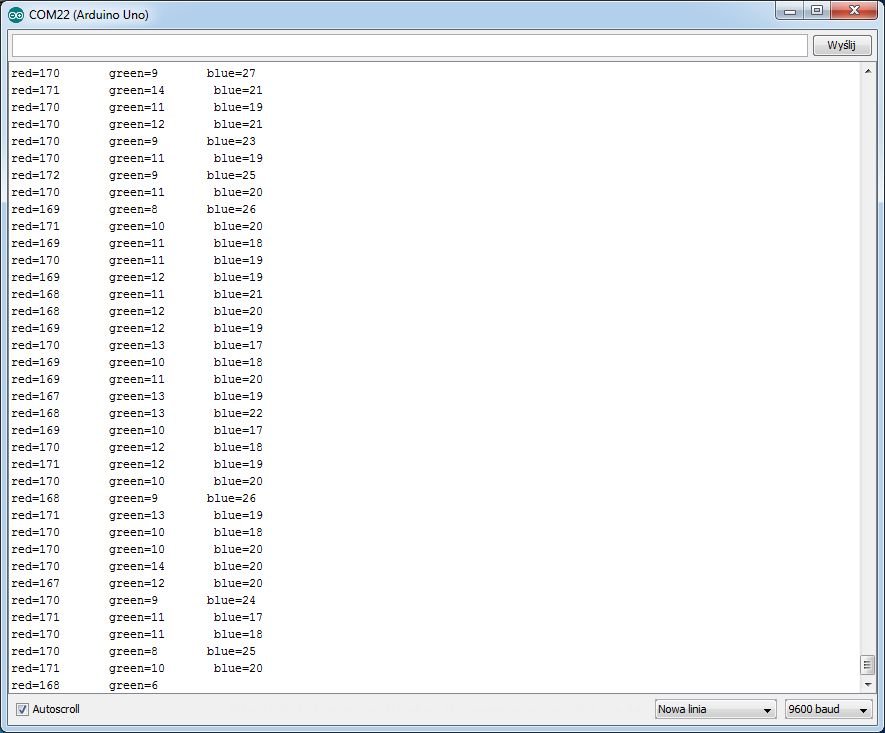
A screenshot of the serial monitor.