


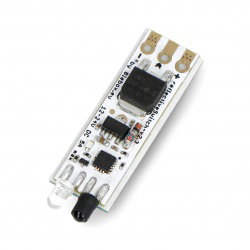


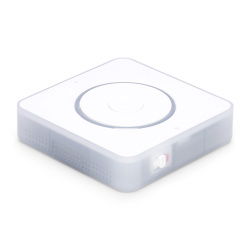


Arduino and the touch button
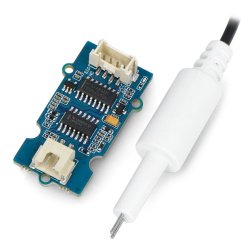
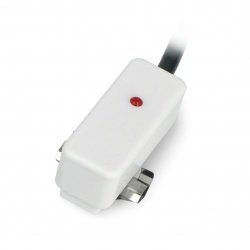
A short guide showing how to connect Arduino and the touch button.
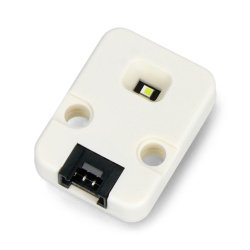
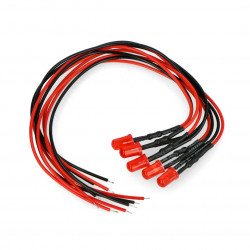
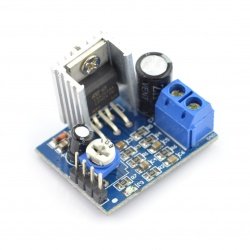
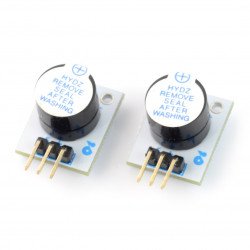
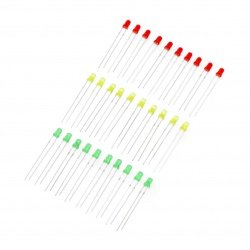
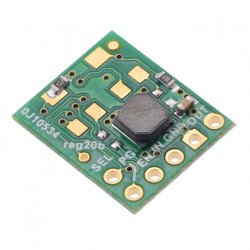
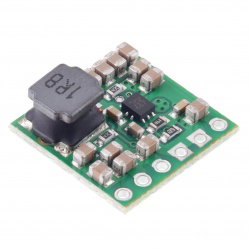
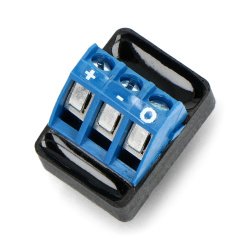
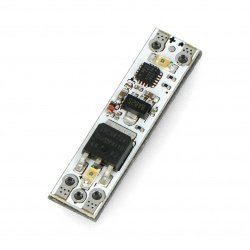
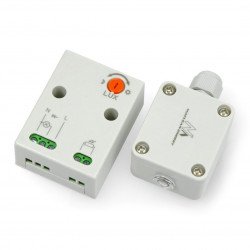
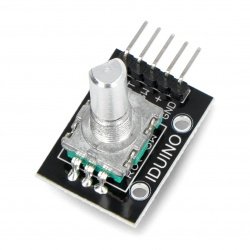
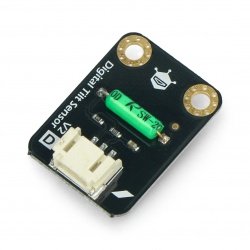
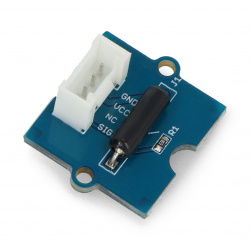
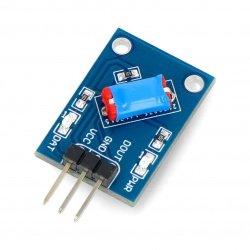
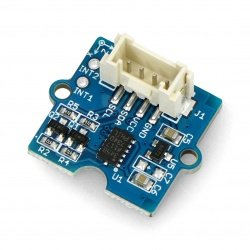
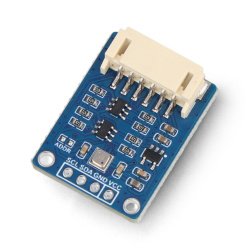
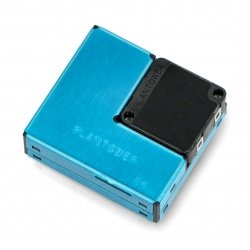
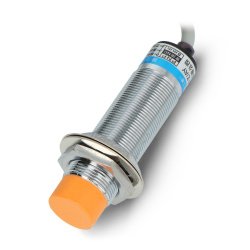
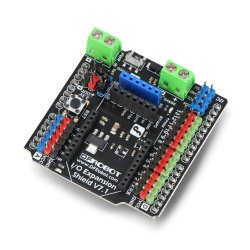
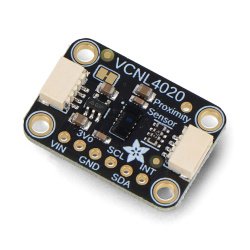
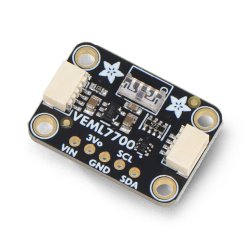
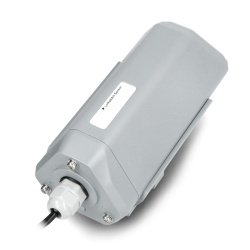
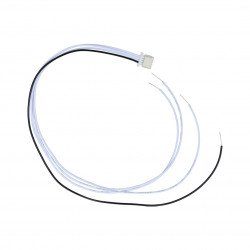
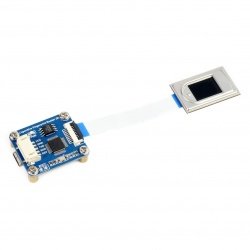
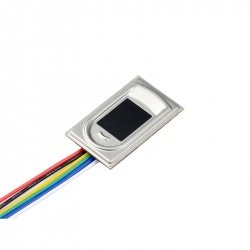
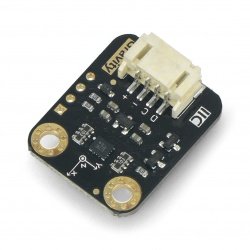
The following elements are used in the example:
Connecting the module with Arduino:
In order to operate the module with Arduino, you have to connect the system as follows:
| Module | Pin Arduino |
|---|---|
| GND | GND |
| OUT | 2 |
| VCC | 5 V |
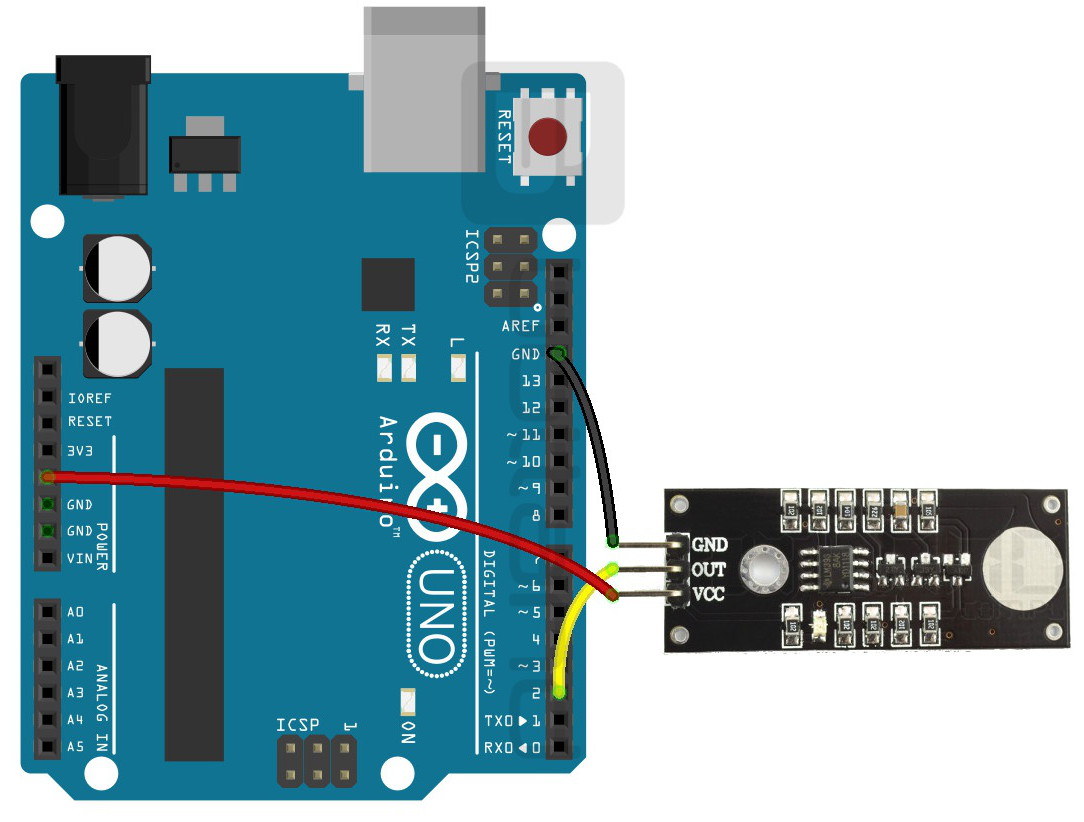
The diagram of the module connection with Arduino Uno.
Program for Arduino
The output output generates a high state by default. When a touch is detected, it is set to a low state. The following code is used in the example:
int sensor = 2; //pin 2 connected to a sensor signal

void setup() {
  Serial.begin(9600); //initialisation of a serial monitor
  pinMode(sensor, INPUT); // setting the Arduino pin as input
  pinMode(13, OUTPUT); //pin 13 as output

  Serial.println("---- TEST TESTING THE REFERENCE BUTTON ----");
}

void loop() {
  int war = digitalRead (sensor); //reading the value from the sensor
  if (war === LOW) // displaying information on a serial monitor
  { // low state means touch detection, high state means no touch detection
    Serial.println(" Touch Detected");
    digitalWrite(13, HIGH); // additionally, if touch is detected, the LED under pin 13 lights up
  }
  else
  { Serial.println("Free");
    digitalWrite(13, LOW);
  }
  delay(200); // delay between readings
}
The program displays messages on a serial monitor. Additionally, when a touch is detected, the LED in the module and the one in Arduino from pin 13 will light up. The effects of the program can be observed on the screen below:

Serial screenshot of the serial monitor.