


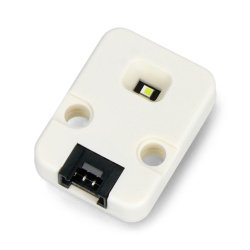


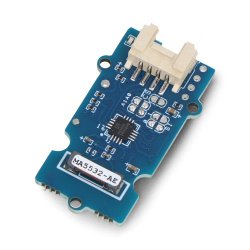


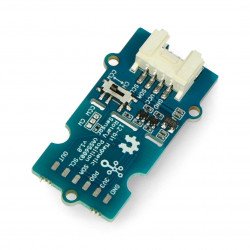


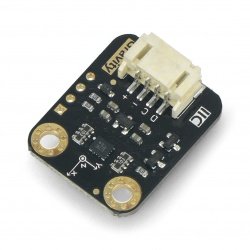


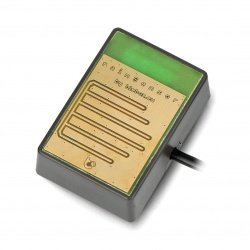


Ozone sensor and Arduino
A short guide shows you how to use the gas sensor via Arduino.
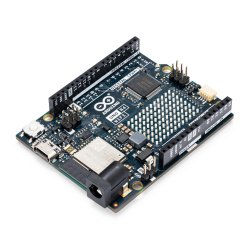
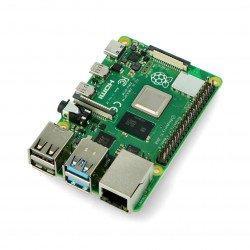
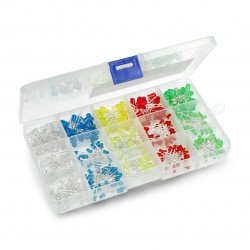
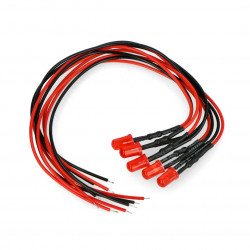
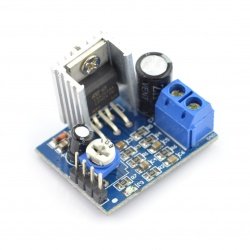
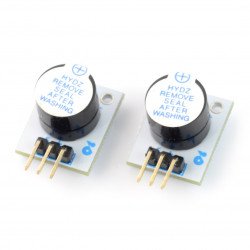
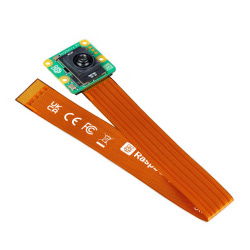
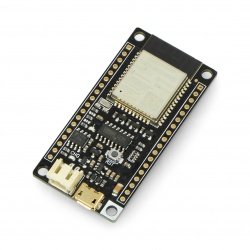
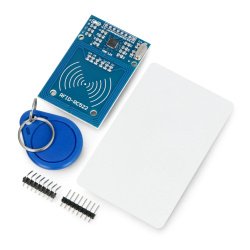
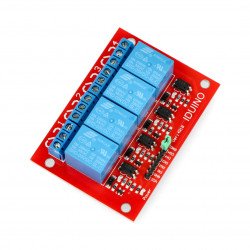
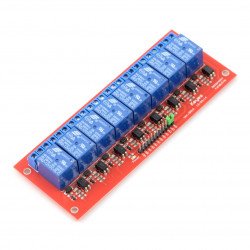
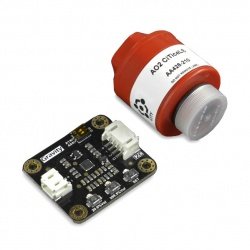
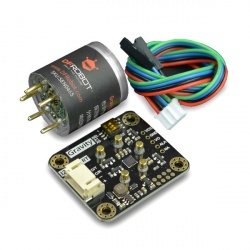
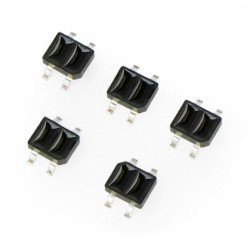
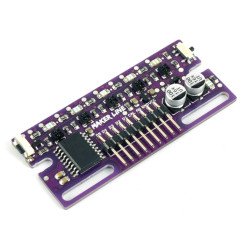
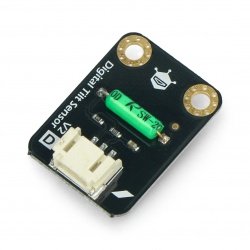
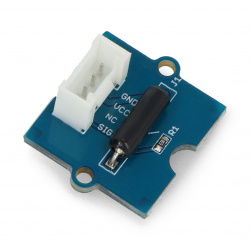
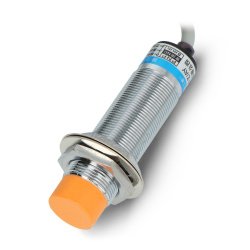
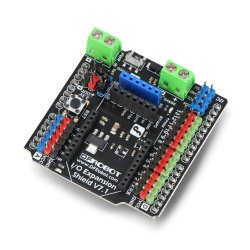
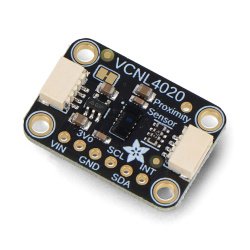
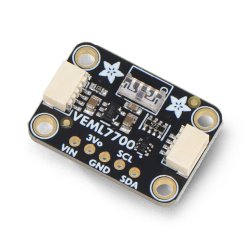
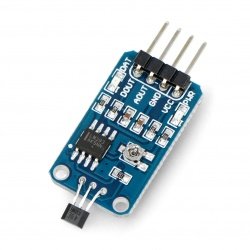
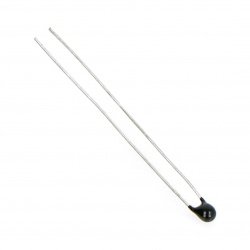
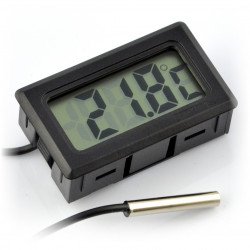
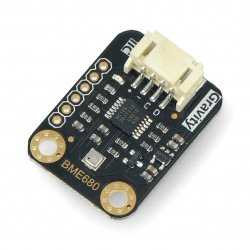
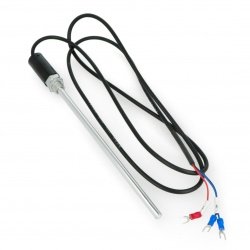
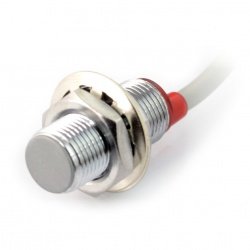
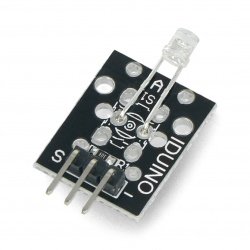
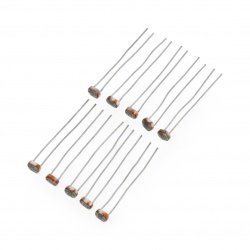
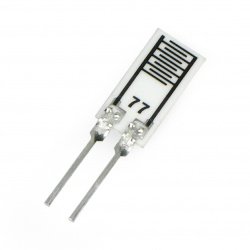
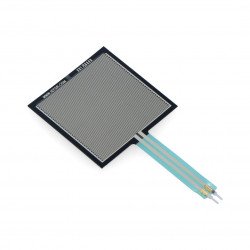
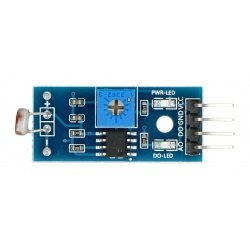
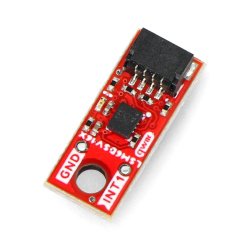
The following elements are used in the example:
Connection
The ozone module is powered directly from Arduino, so we don't need an external power source. The pins are connected according to the table below:
| Sensor Pin | Pin Arduino |
|---|---|
| VCC | 5 V |
| GND | GND |
| AOUT | A1 |
| DOUT | 2 |
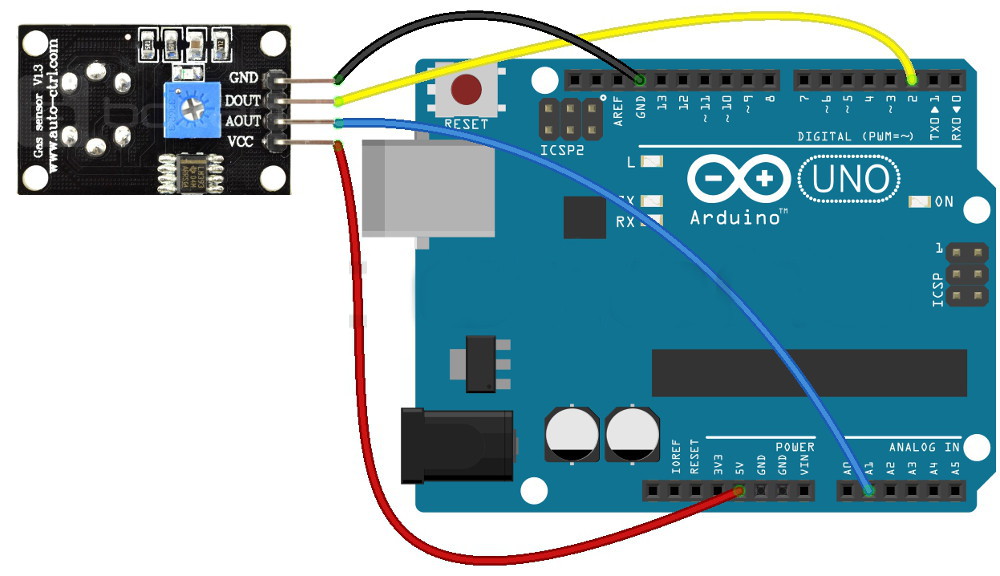
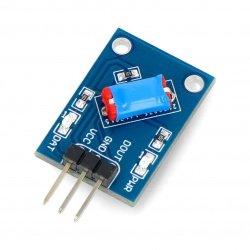
Diagram of connection between ozone sensor and Arduino Uno.
Operation
The DOUT output is digital. By default it is in a low state, but when ozone particles are detected it goes into a high state. The sensitivity can be adjusted with a built-in potentiometer. The AOUT output works analogue and decreases its value as the ozone concentration increases (it is inversely proportional to it). In the example we will use a simple program code which will continuously display the values read from AOUT and DOUT on the serial monitor.
int sensor_AOUT = A1; //connection from AOUT on sensor to A1 on Arduino
int sensor_DOUT = 2; //connection from DOUT on the sensor to pin 2 on Arduino
int value_AOUT; //variable for AOUT value
int value_DOUT value; //variable for DOUT value

void setup() {
  Serial.begin(9600); // start up the serial monitor
 pinMode(2, INPUT); // setting pin 2 as input

}

void loop() {

 value_AOUT = analogRead(sensor_AOUT); //download value from AOUT
 value_DOUT = digitalRead(sensor_DOUT); //download value with DOUT

 Serial.print("D0: "); // display on a serial monitor
 Serial.print(value_DOUT);
 Serial.print(" -- A0: ");
 Serial.println(value_AOUT);
 delay(200); // Delay between consecutive readings
 }
The effects of the program can be seen on the screen below:
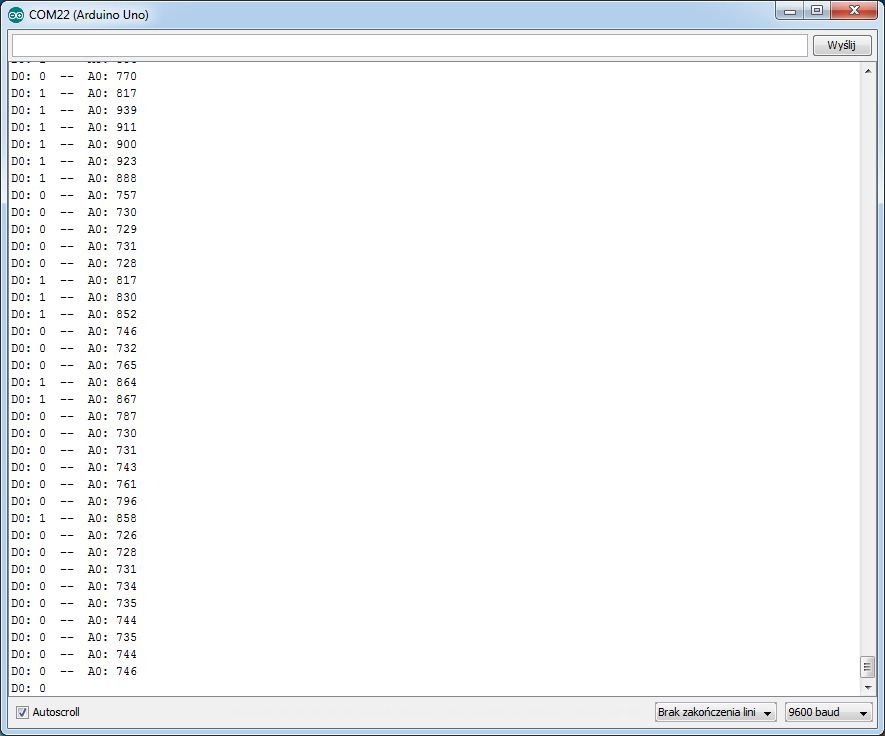
Serial screenshot of the monitor.