


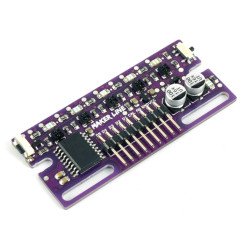


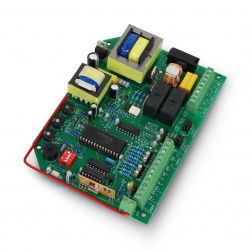


Today, the Grove series of sensors, actuators and displays has grown into a large family. More and more modules are joining the Grove ecosystem. We see that Grove helps creators, engineers, teachers, students and even artists build and create. We always believe it is our responsibility to make Grove modules compatible with as many platforms as possible. Now we are adding Grove Base Hat for Raspberry Pi and Grove Base Hat for Raspberry Pi Zero, in other words we are introducing Raspberry Pi to the whole Grove system.
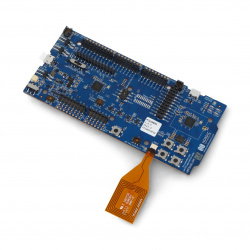
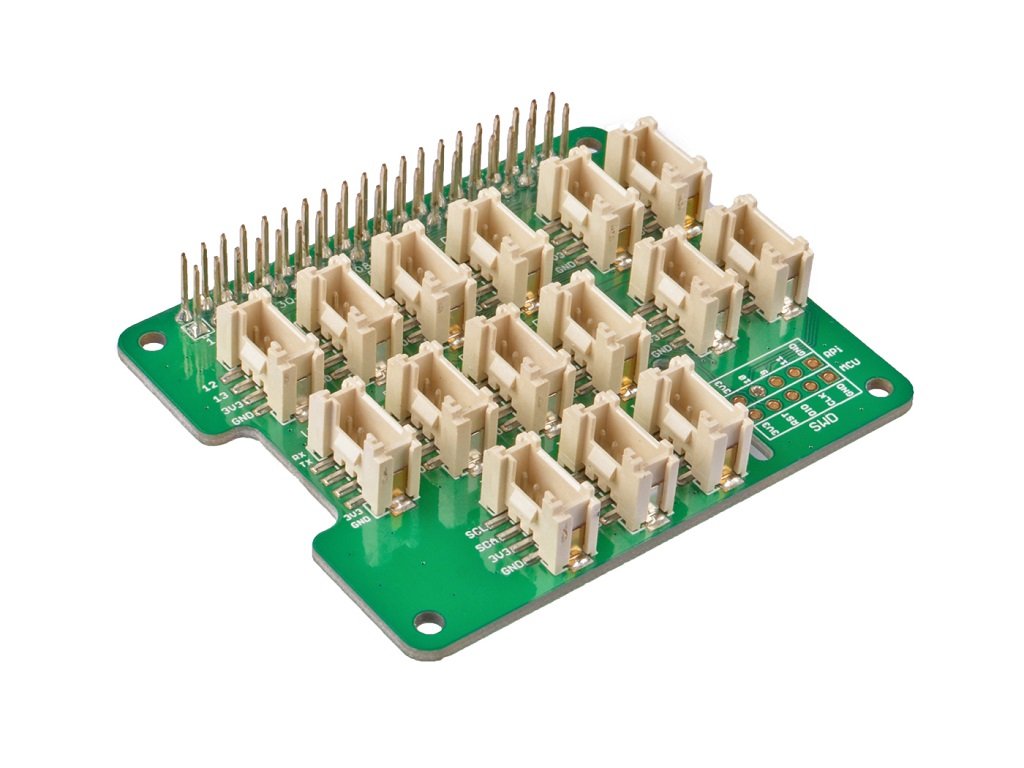
Grove Base Hat for Raspberry Pi provides digital / analog / I2C / PWM / UART ports for all your needs. A 12-bit 8-channel D/A converter for Raspberry Pi is also available with the built-in MCU.
Grove Base Hat for Raspberry Pi currently supports about 60 Grove modules. This does not change the fact that new compatible modules are still systematically added.
| Buy Now |
Properties
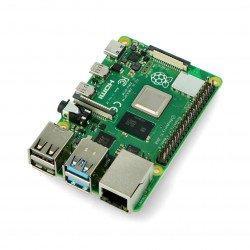
- Compatible with Raspberry 2/ 3 B/B+ Zero
- Built-in MCU
- 12-bit ADC
- Various ports Grove
Specifications
| Feature | Value |
|---|---|
| Operating voltage | 3.3 V |
| MCU | STM32 |
| ADC | 12-bit 8-channel |
| Ports of Grove |
|
|
Communication bus from Raspberry Pi |
I2C |
| I2C address | 0x04 |
|
Note Operating voltage is 3.3 V, please do not supply more than 3.3 V, otherwise it may damage the Raspberry Pi. This cap does not work with the 5 V Grove module via the Grove port, so use the 3.3 V Grove module |
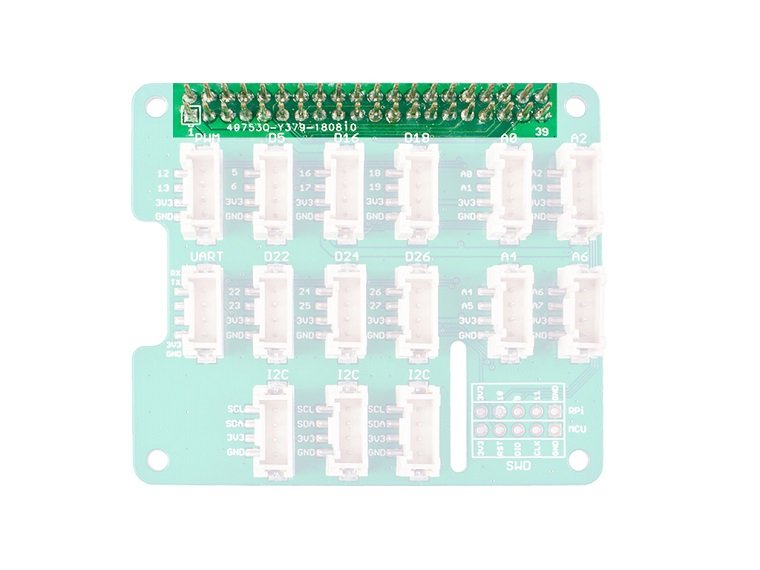
Hardware overview
Exit timetable
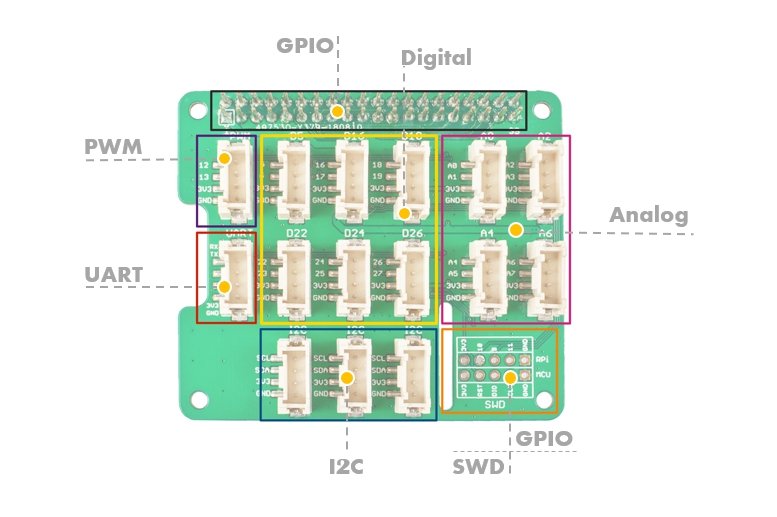
GPIO
Same exit layout as Raspberry Pi.
PWM (Pulse Width Modulation)
The Grove PWM port is connected to GPIO/BCM pin12(PWM0) and GPIO/BCM pin13(PWM1), which is the Raspberry Pi hardware PWM pin. Additionally, all GPIO pins can be used as software PWM pins.
|
Please note . 0- All pin numbers, except the Grove port, are marked with BCM pin numbers. More information about the differences between BCM pins and physical pins can be found here. 1- Compared to hardware PWM, software PWM is not as accurate and will have problems at high frequencies. 2- GPIO/BCM pin18 is also marked PWM0, in fact GPIO/ BCM 12 and GPIO/ BCM 18 have the same PWM channel, so they cannot set a different speed. 3- Audio jack output also uses PWM 0and PWM 1, so you can't have audio output in this jack and use PWM at the same time. |

UART
The Grove UART port connects to the GPIO14 (UART0 TX) and GPIO15 (UART0 RX). UART is commonly used in Raspberry Pi as a convenient way for GPIO to control or access kernel boot messages from the serial console (enabled by default). It can also be used as a way to connect Arduino, bootloaded ATmega, ESP8266, etc. to your minicomputer.
 Digital Ports
There are 6 digital Grove sockets on this board, usually the yellow cable (which connects to the top of the 4-pin Grove socket) of the Grove cable is a signal cable, so the digital Grove ports are called: D5 / D16 / D18 / D22 / D24 / D26.
 Analogue ports
As you know, there is no D/A converter on the Raspberry Pi, so you cannot connect analog sensors directly. Now with the help of the built-in MCU STM32, Grove Base Hat can work with an external 12-bit converter. This means that your Raspberry Pi can work with analog sensors. What's more, there are not only one but four analog Grove sockets available.
Analogue sensor inputs analog voltage into the 12-bit converter. After converting the analog data into digital data, the converter enters the digital data into the Raspberry Pi via the I2C interface.
 I2C
I2C
Three I2C ports are available on the board, all of which connect directly to Raspberry Pi's I2C port. You can treat this part as an I2C hub. Most of the new Grove modules have an I2C interface. You will see for yourself that these three ports are extremely useful.
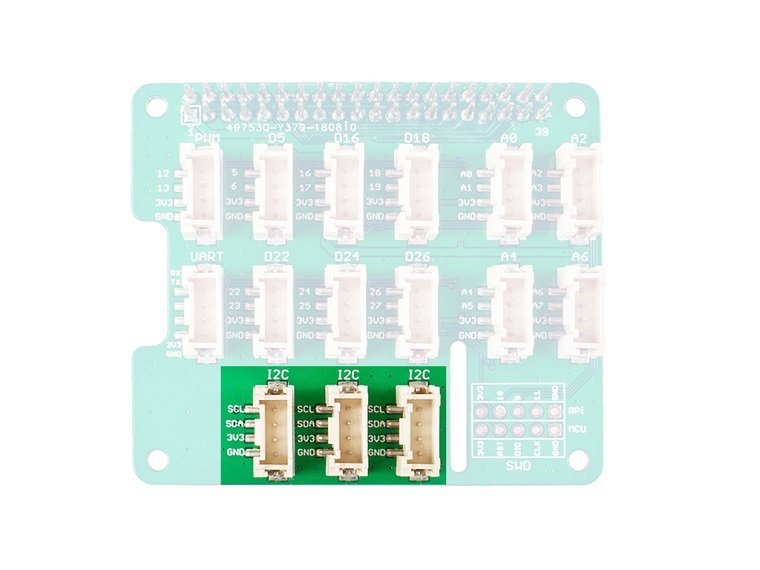
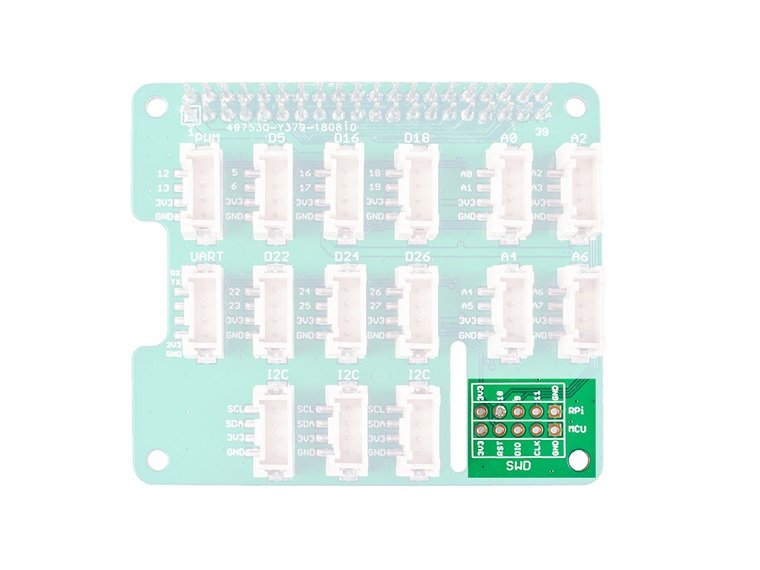
SWD
We use the SWD port to record the firmware on this cover plate. Furthermore in this section you can see 3 GPIO pins, i.e. pin 9 / pin 10 / pin 11. These 3 pins are not used by any Grove port, you can use them without worrying about pin shortages.
Grove Base Hat for Raspberry Pi vs. GrovePi+
| Parameter | Grove Base Hat for Raspberry Pi | GrovePi+ |
|---|---|---|
| Operating voltage | 3.3 V | 5 V |
| MCU | STM32F030F4P6 | ATMEGA328P |
| Ports of Grove |
|
|
|
Grove- Digital |
Connect directly to Raspberry Pi | Connect to ATMEGA328P digital pins, transfer toI2C signal and connect to RaspberryPi via level converter |
| Grove-Analog | Connect to STM32F030F4P6 (12-bit converter), transfer to an I2C signal and output directly to Raspberry Pi | Connect to ATMEGA328P analog pins (10-bit converter), transfer toI2C signal and connect to RaspberryPi vialevelconverter |
| Grove-I2C | Connect directly toRaspberry Pi | Connect to the Raspberry Pi viathe level converter |
| Grove-PWM | Connect directly toRaspberry Pi | - |
| RPISER | Connect directly toRaspberry Pi | Connect directly toRaspberry Pi |
| SERIAL | - | Connect to D0/D1 ATMEGA328P digital pins, transfer toI2C signaland connect to Raspberry Pivia level converter |
| SWD | Record the firmware to STM32F030F4P6 | - |
| ISP | - | Recordfirmware on ATMEGA328P |
|
Connector pins Raspberry Pi |
40 | 26 |
How to get started
Equipment
Required materials
- Raspberry Pi x1
- Grove Base Hat for Raspberry Pi x1
- Grove module
-
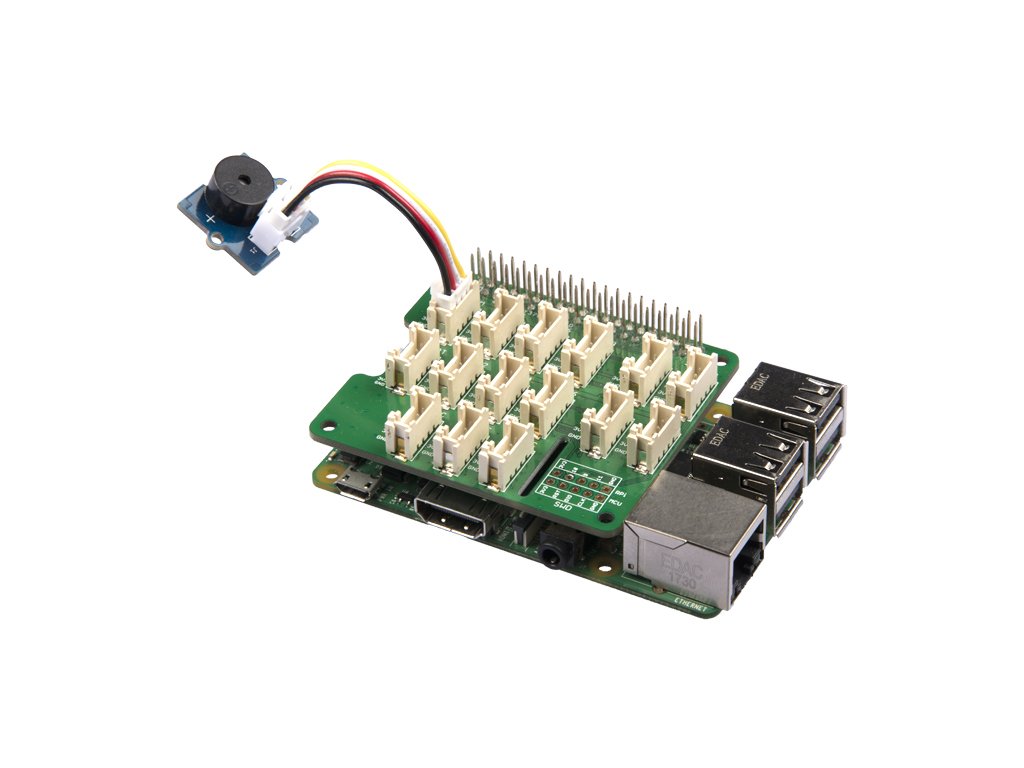
Step 1: Connect Grove Base Hat to Raspberry Pi.
-
Step 2. Connect the Grove module to the appropriate Grove port.
-
Step 3. Connect power to the microUSB port on Raspberry Pi.
|
Note We recommend that you connect the power supply to the Raspberry Pi when all equipment is connected. Do not connect the hot sensor module, otherwise the Raspberry Pi may fail. |
Software
In this section you will learn how to install the libraryseeed grove.pyand how to use I2C, PWM, digital and analog ports on Grove Base Hat for Raspberry Pi.
|
Tip If you don't know how to handle Raspberry Pi, come here before you start. |
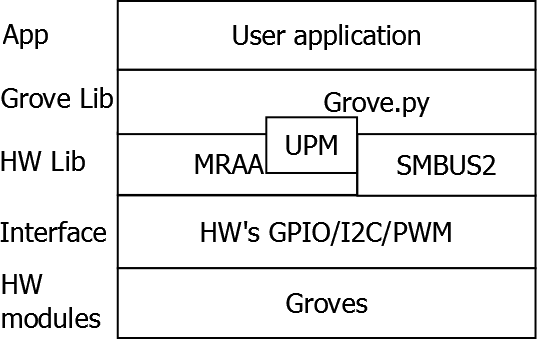
Architecture
To support grove.py sensors, grove.py depends on multiple hardware interface libraries such as mraa / smbus2 / rpi.gpi / rpi_ws281x.
Installation
One-click online installation
With one command below you can install/upload all dependencies and the latest grove.py.
curl -sL https://github.com/Seeed-Studio/grove.py/raw/master/install.sh | sudo bash -s -
|
Success If everything goes according to plan, you will see the message below. Successfully installed grove.py-0.5 ####################################################### Lastest Grove.py from github install complete !!!!! ####################################################### |
Step by step installation
In addition to quick installation, it is also possible to install dependencies and the latest grove.py step by step. More information can be found on github website.
You can check the source file by cloning the grove.py library.
git clone https://github.com/Seeed-Studio/grove.py
Use of
Now you can use Grove Base Hat for Raspberry Pi along with several Grove modules. Type the commandgrove_and press the key.Tabto see a list of compatible Grove devices.
pi@raspberrypi:~$ grove_
grove_3_axis_compass_bmm150 grove_i2c_color_sensor_v2 grove_mini_pir_motion_sensor grove_rotary_angle_sensor grove_temperature_sensor
grove_4_digit_display grove_i2c_motor_driver grove_moisture_sensor grove_ryb_led_button grove_thumb_joystick
grove_air_quality_sensor_v1_3 grove_lcd_1.2inches grove_oled_display_128x64 grove_servo grove_tilt_switch
grove_button grove_led grove_piezo_vibration_sensor grove_slide_potentiometer grove_touch_sensor
grove_collision_sensor grove_light_sensor_v1_2 grove_pwm_buzzer grove_sound_sensor grove_ultrasonic_ranger
grove_gesture_sensor grove_loudness_sensor grove_recorder_v3_0 grove_switch grove_water_sensor
grove_high_accuracy_temperature grove_mech_keycap grove_relay grove_temperature_humidity_sensor
pi@raspberrypi:~$$ grove_
Then we will show you how to use them according to the port type.
PWM port
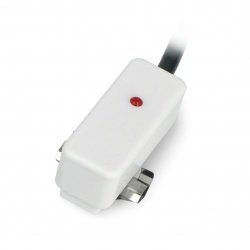
We will use the example of Grove- buzzer to present the PWM port.
Equipment connection diagram
Type the following command: sudogrove_pwm_buzzer on the command line.
pi@raspberrypi:~$ sudo grove_pwm_buzzer
Insert Grove-Buzzer to Grove-Base-Hat slot PWM[12 13 VCC GND].

3800
3400
3000
2900
2550
2270
2000
exiting application
Buzzer calls several times, then stops, the program automatically closes.
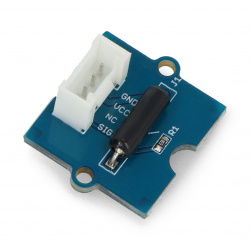
Digital port
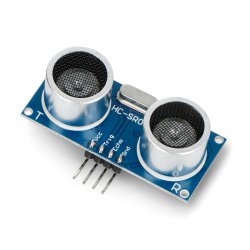
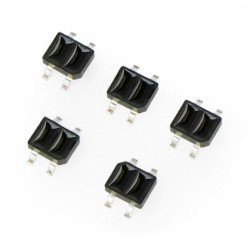
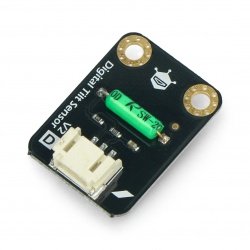
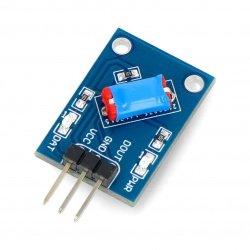
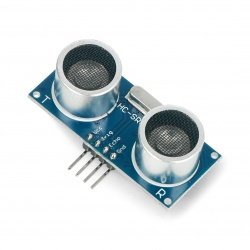
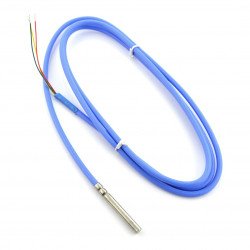
We will use the example of Grove- Ultrasonic Distance Sensor to present a digital port.
Equipment wiring diagram
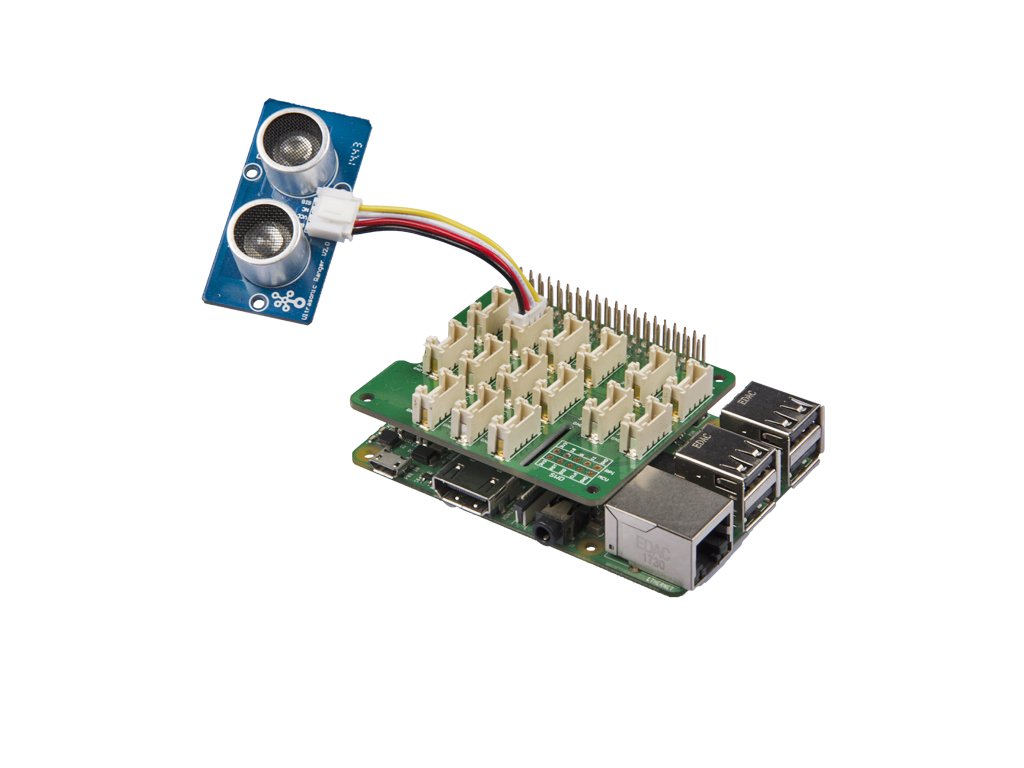
Enter the following command: grove_ultrasonic_ranger5 6 on the command line.
pi@raspberrypi:~$ grove_ultrasonic_ranger 5 6 Detecting distance... 6.979909436456088 cm 7.966469074117726 cm 12.451204760321255 cm 15.184797089675378 cm 17.429220265355603 cm 18.73230112010035 cm 20.717752390894397 cm 19.83807004731277 cm 17.3059003106479 cm ^CTraceback (most recent call last): File "/usr/local/bin/grove_ultrasonic_ranger", line 11, inload_entry_point('grove.py==0.5', 'console_scripts', 'grove_ultrasonic_ranger')() File "/usr/local/lib/python3.5/dist-packages/grove/grove_ultrasonic_ranger.py", line 107, in main time.sleep(1) KeyboardInterrupt
When you change the distance between Grove - Ultrasonic Distance Sensor and the target object, the measurement value will change accordingly. Press .Ctrl+Cto close.
|
Note For most Grove modules you need to add a pin number parameter, such as grove_ultrasonic_ranger 5 6, 5 and 6 is the GPIO/BCM pin. You may notice, however, that in the first grove_pwm_buzzer example we did not add a parameter after the command. This is because the PWM and I2C ports do not require pin number parameters. The pin number designation can be found next to the Grove plugin. |
Analogue port
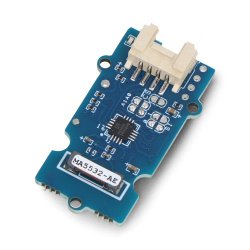
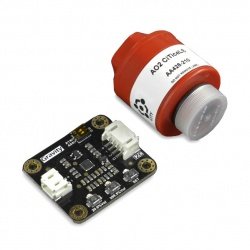
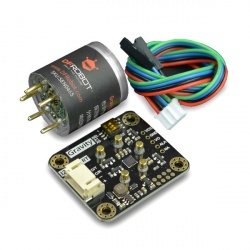
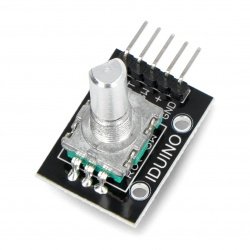
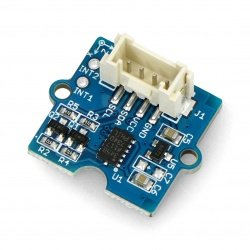
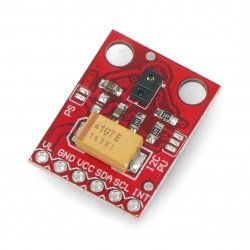
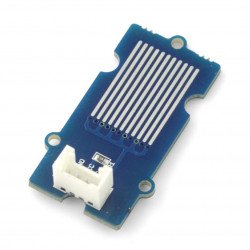
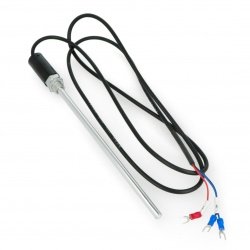
We will use the example of Grove- air quality sensor v1.3 to present an analogue port.
Equipment wiring diagram
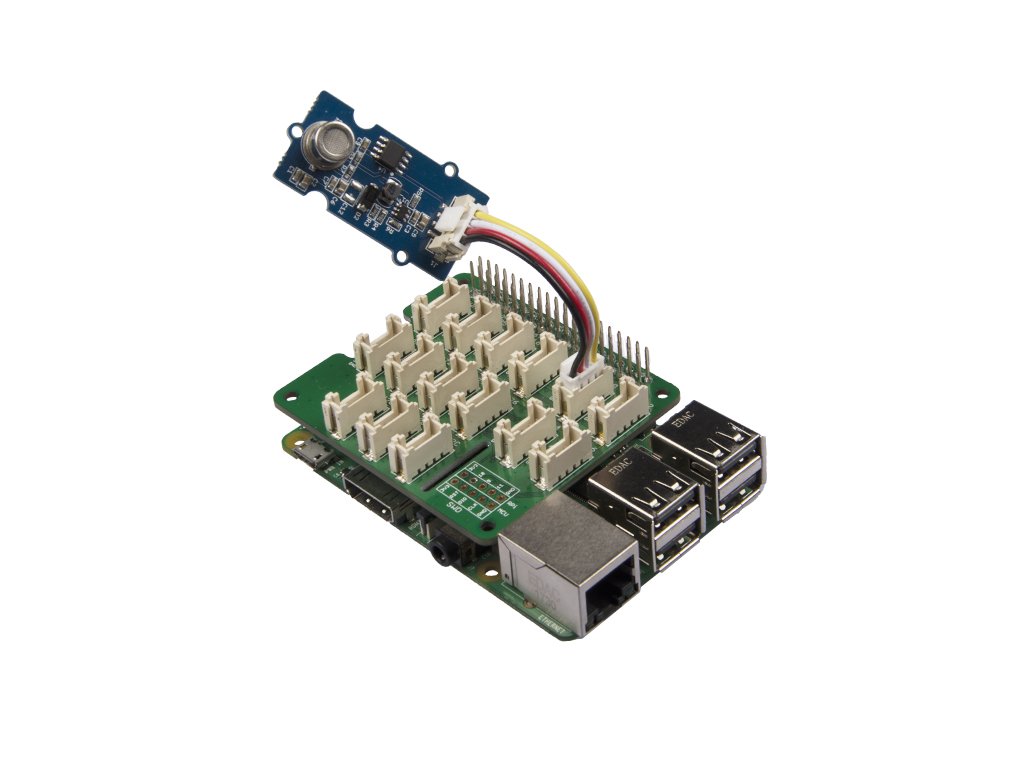
Enter the following command:grove_air_quality_sensor_v1_3 0 1on the command line.
pi@raspberrypi:~$ grove_air_quality_sensor_v1_3 0 1 Detecting... 62, Air Quality OK. 63, Air Quality OK. 61, Air Quality OK. 61, Air Quality OK. 59, Air Quality OK. 62, Air Quality OK. 60, Air Quality OK. 60, Air Quality OK. 59, Air Quality OK. 60, Air Quality OK. 60, Air Quality OK. 60, Air Quality OK. 57, Air Quality OK. ^CTraceback (last call last): File "/usr/local/bin/grove_air_quality_sensor_v1_3", line 11, inload_entry_point('grove.py==0.5', 'console_scripts', 'grove_air_quality_sensor_v1_3')() File "/usr/local/lib/python3.5/dist-packages/grove/grove_air_quality_sensor_v1_3.py", line 68, in main time.sleep(.1) KeyboardInterrupt
You can use this sensor to detect air quality. Press Ctrl+Cto exit.
|
Note You may have noticed that for the analog port the pin number is A1, A0, but in the command we use the parameters 0 and 1, just like for the digital port. So make sure that you have connected the module to the correct port, otherwise there may be pin short circuits. |
I2C
We will use the example Grove- OLED Display 128x64 to show the I2C port.
Equipment wiring diagram
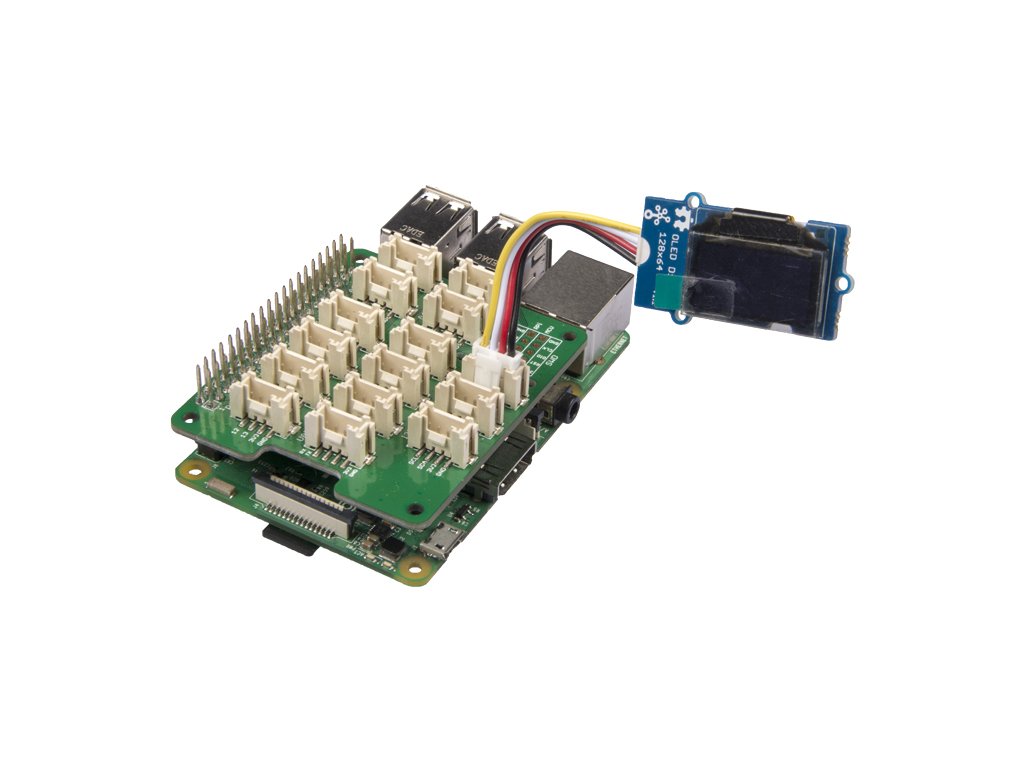
Enter the following command: grove_oled_display_128x64in the command line interface.
pi@raspberrypi:~$ grove_oled_display_128x64
pi@raspberrypi:~$
Looks like nothing has worked, but if you check your OLED display, you can find the most famous phrase in the cyber world there.
|
Note If you use the I2C tool to scan the I2C address of the Grove module, you can find two or more addresses. 0x04 is the correct Grove BaseHat addressfor Raspberry Pi. |
Links
-
[Zip] GroveBase Hat for Raspberry Pi - Eagle Files
-
[Zip] SeeedGrove.py Library
-
[Zip] Firmware-firmware
-
[PDF] STM32Datasheet