


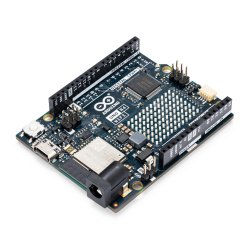


Raspberry Pi Zero / Zero W instruction manual
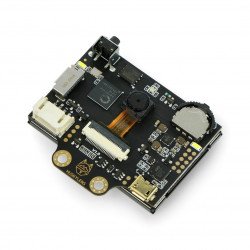
Raspberry Pi is a very popular single disc computer (SBC). Most people are certainly familiar with RaspberryPi 3 and previous versions, which have become recognizable around the world. The RaspberryPi Zero allows you to connect your computer to really small projects. There is also a newer version - Zero W - equipped with WiFi and Bluetooth.
What is on the board?
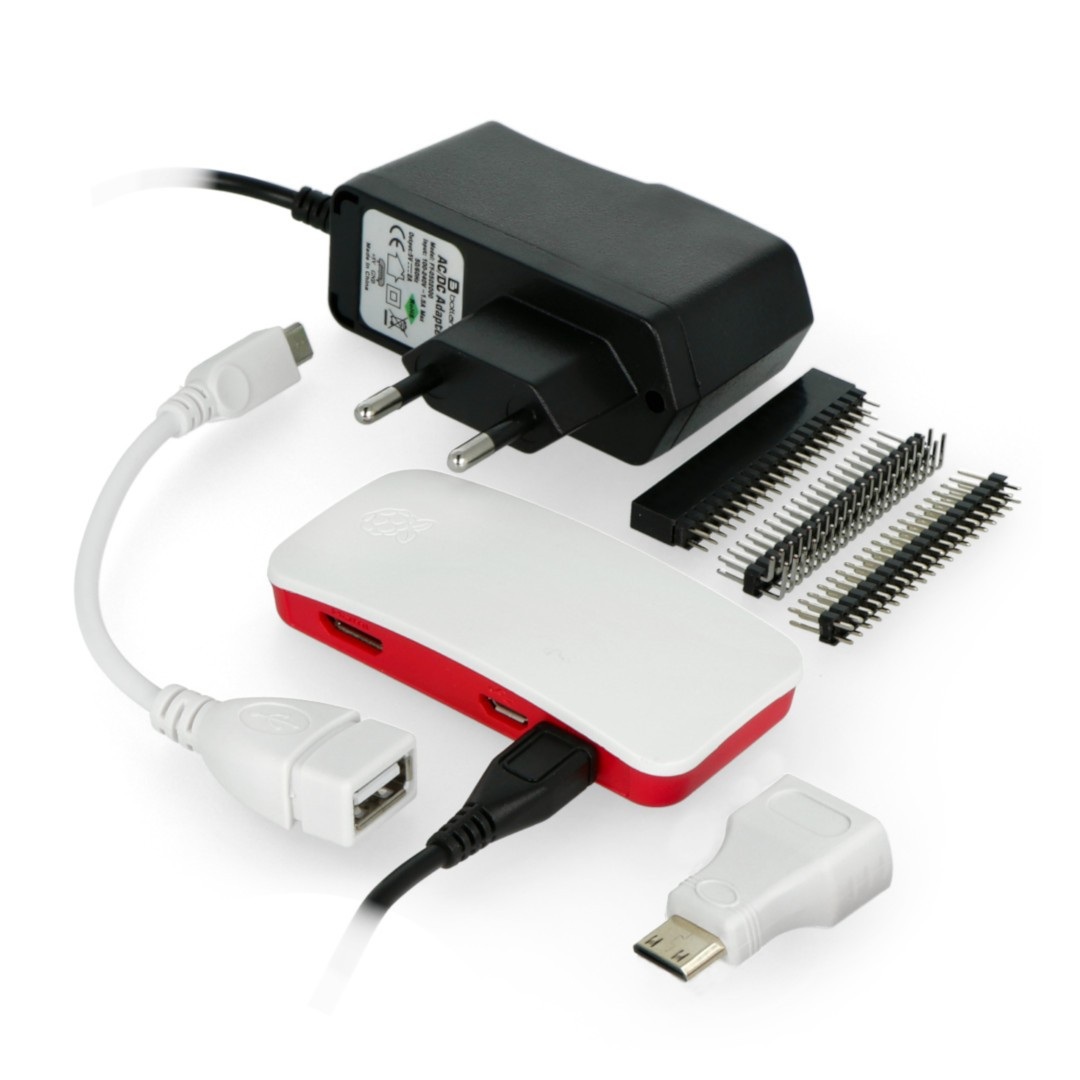
Raspberry Pi Zero (and Zero W) is different from Raspberry Pi 3. Starting with the Zero version can cause a little more problems than three, because many connectors require adpters to connect a monitor or mouse. We offer kits containing the necessary elements, e.g. All in One.
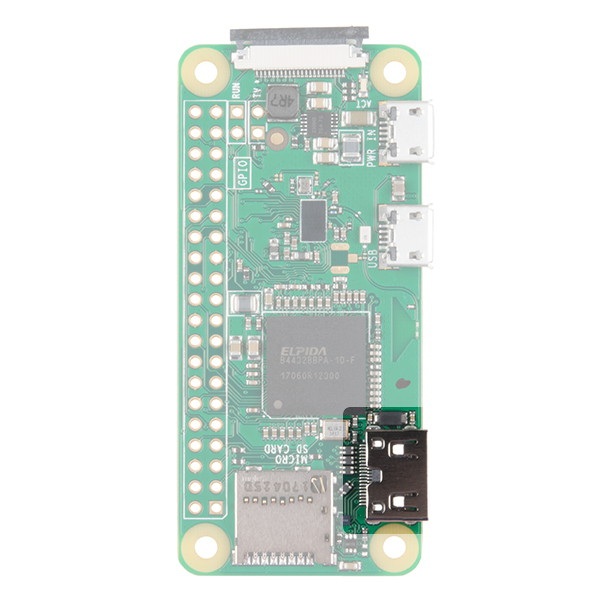
Mini HDMI
Unlike previous models, the Raspberry Zero uses no standard HDMI connection. Instead, it has a built-in miniHDMI to save some space. To connect to a monitor or TV, use an appropriate adapter or cable.
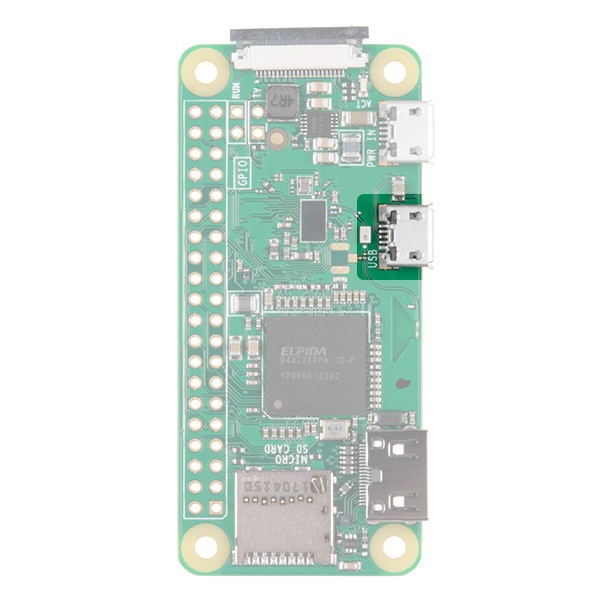
USB OTG
The Raspberry Pi 3 and other models have 2 to 4 traditional USB connectors, which allow you to connect different devices, e.g. keyboard mouse, disk, etc. The Raspberry Pi Zero uses microUSB OTG to save space. Zero has the same Broadcom IC chip as the original Raspberry Pi A and A+. It connects directly to the USB and provides OTG functionality. Models B, B+, 2 and 3 use a built-in USB hub to connect multiple USB devices.
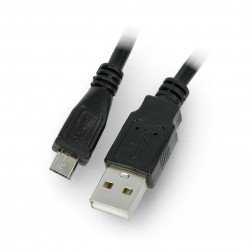
To connect a standard USB plug to the Raspberry Pi Zero, use the OTG adapter.
When connecting USB devices it is recommended to use the active Hub to power them. Wireless keyboards and mice work best if they are operated with a single USB key.
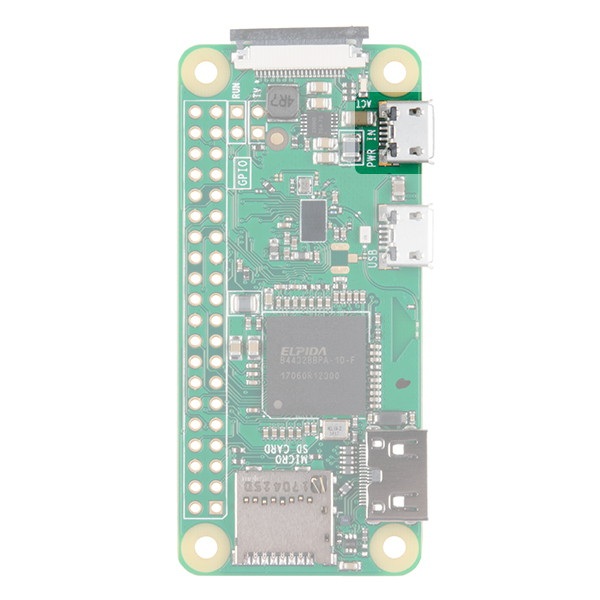
Power supply
As with all other Raspberries, Zero is supplied by the microUSB connector with a voltage between 5 V and 5.25 V.
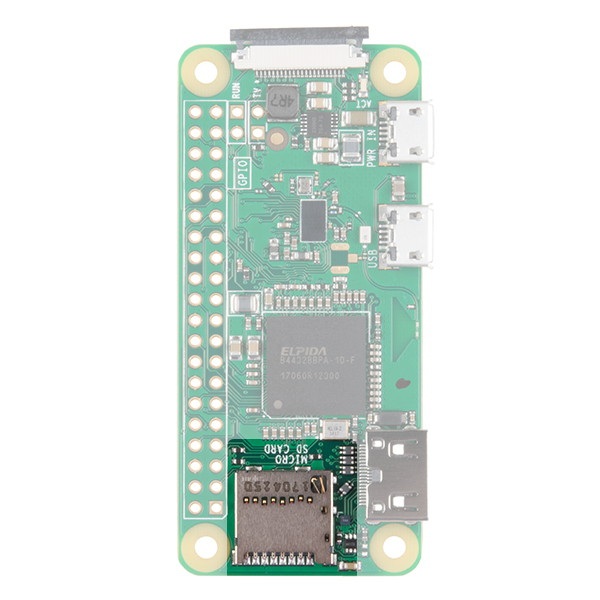
MicroSD slot
Zero, like all other models, uses the microSD card as a drive containing the operating system.
WiFi and Bluetooth
The Raspberry Pi Zero version W has a wireless WiFi 802.11n and Bluetooth 4.0 connection, similar to the Raspberry Pi 3, so there is no need for an additional WiFi or Bluetooth adapter.
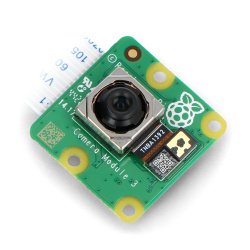
Camera connector
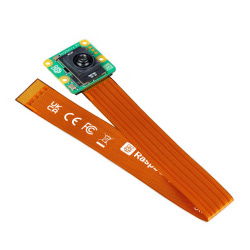
The Raspberry Pi Zero from version 1.3 has a built-in CSI camera connector. However, the connector differs from that used in the large version. Zero has 22-pin 0.5 mm connector. To use the cameras for Raspberry Pi it is necessary to use appropriate tape.
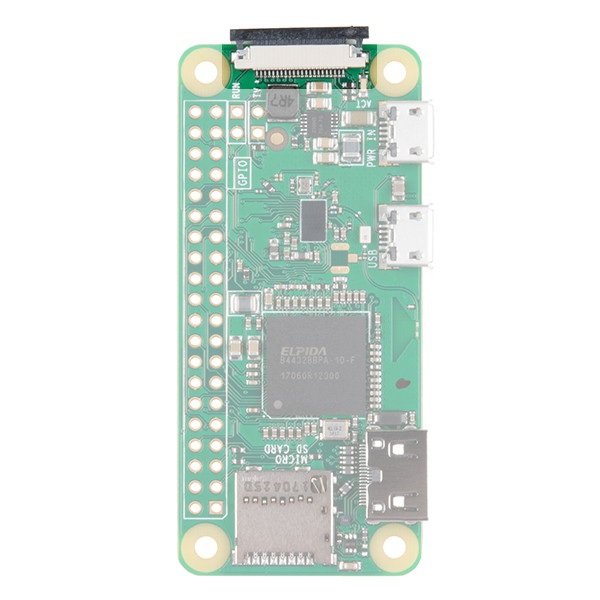
GPIO
Like all Raspberry models, Zero has GPIO pins. They offer additional features such as I2C, SPI, UART, etc. The model posaida has a 40-pin connector without soldered-in connectors. You can solder them yourself or buy a version equipped with connectors.
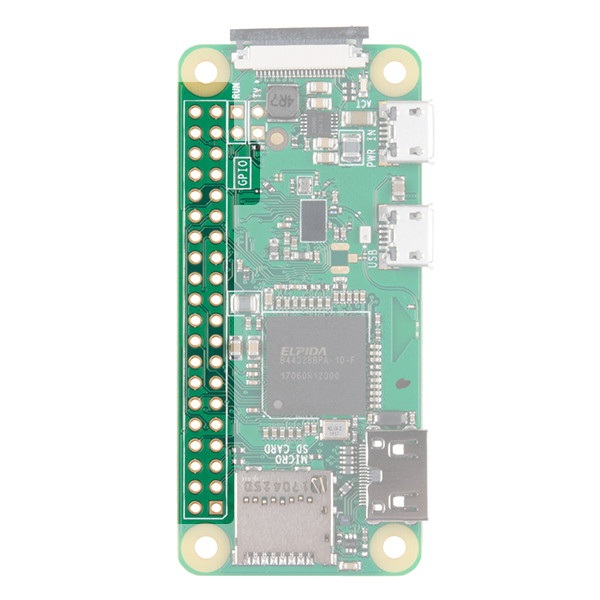
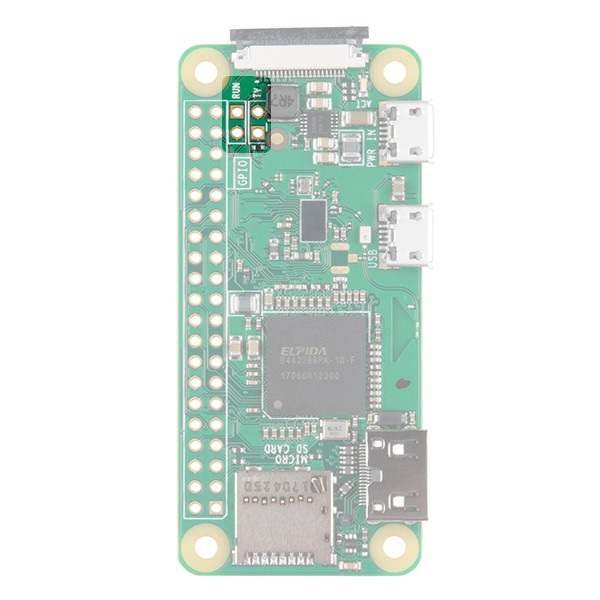
Additional connections
Zero also has 4 additional pins marked TV and Run. TV connectors allow you to connect an RCA connector instead of using HDMI. You can connect a button to the Run pins, which will work as a device reset.
The full specification of the outputs can be found in the technical documentation.
Connection
Depending on the use, the Raspberry Pi Zero can be connected in a minimalistic way, but it can also be cumbersome to connect standard devices like mouse, keyboard and monitor.
To connect a monitor via HDMI, anappropriate adapter or cable must be used. The miniHDMI connector is connected to the Raspberry Zero and the HDMI connector to the monitor. An appropriate OTG adapter must be connected to the USB OTG connector. If you need to use more devices, you also need to connect a Hub. Then insert a microSD card with the appropriate system into the microSD slot. After connecting the power supply Raspberry should start.
Installation of the operating system
Raspberry has two options to install the operating system.
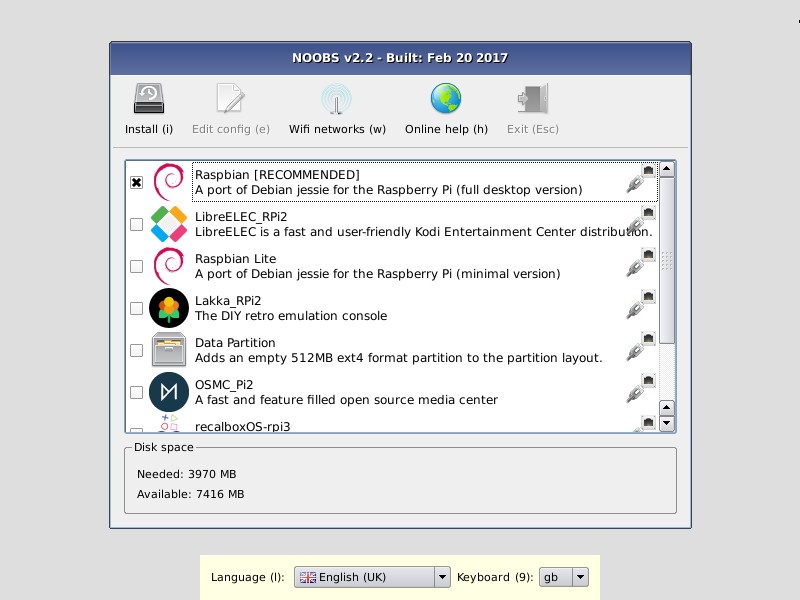
Option 1. NOOBS
The Raspberry Foundation has developed the NOOBS (New Out Of the Box Software). This is the official system installer for Raspberry Pi. The latest NOOBS cards available in our store work with every version of Raspberry Pi 2, 3, zero and Zero W. If you want to record NOOBS yourself, you do not need any additional software. After downloading NOOBS you have to unpack it and then upload the contents of the folder directly to a pre-formatted microSD card. After placing it in Raspberry, the system should start. From its level you can install one of the available operating systems by following the instructions on the screen.
Option 2: .img image file
If you need to install a different system than the one available in NOOBS, you have to upload it to the memory card from the .img file. You can find many different systems created for specific purposes and used for specific applications.
|
When installing Raspbian, it doesn't matter what version of Raspberry we do it on, as they are interchangeable. Just move the card to a different Raspberry and the system will work properly. Some systems, however, have a version designed only for a given model, e.g. OSMC or RetroPi. |
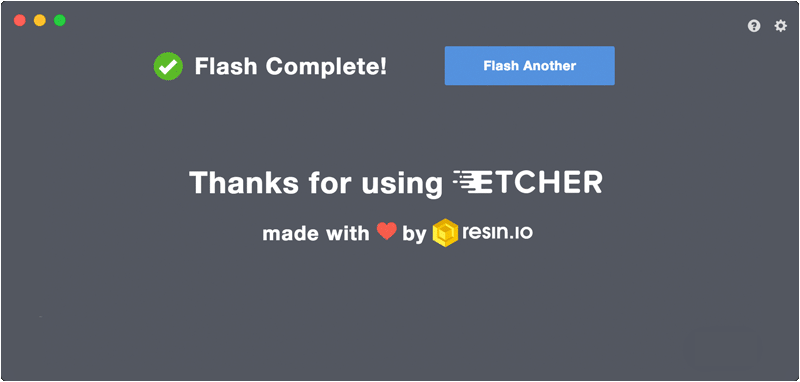
To install the system we recommend Elcher software. All necessary installation steps are included in one application. Start the program, select the SD card, select the system image and press the Flash button. After the system is uploaded by Elcher, the card should be moved to Raspberry and the power supply connected.
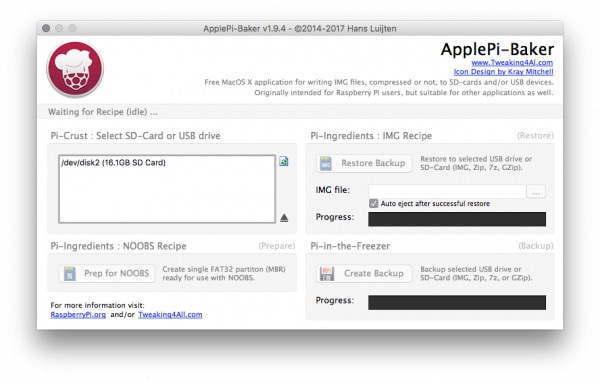
For Mac users we recommend Aplle Baker Software application. On the left side of the window, select the memory card, and on the right side, in section Pi Ingrediants: IMG Recipe, select the appropriate system image. After clicking Restore Backup the system will be recorded on the card.
Below is the basic support of the Raspbian system. Other Linux-based systems should work similarly.
Raspbian
Raspbian and most systems for Raspberry are based on Linux. It has a graphic user interface similar to Windows or MacOS. There is no need to memorize text commands. Many things can be done without using them.
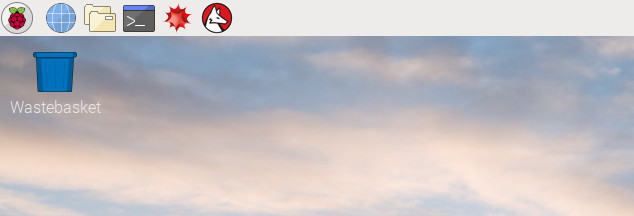
When you start the system, you can see six icons in the top left-hand corner. The first one, "Raspberry" works the same way as the Start Menu in Windows. When you click it, a list of installed applications and options to disable them appears. The second icon, resembling a globe, is a web browser. The next ones are File Manager, Terminal, Mathematica and Wolfram.
Change password
Every linux account is password protected. The default user of Raspbiana is "pi" and the password is "raspberry". Please remember to change this data the first time you use it for security reasons. To do so, open the terminal and enter:
sudo passwd
You will be asked to enter a new password. This will make the device more protected than other users and viruses.
WiFi connection
To connect the Raspberry Pi Zero W to the internet, click on the WiFi icon in the top right-hand corner of the Raspbiana desktop. A list of available networks should appear. Once you have selected one of them, you will be connected. If the network is password-protected, a window for entering the password will appear first. Changing the WIFi icon indicates the correct connection. It is not necessary to add WiFI, but it can be useful for updates.
Software update
The next thing you should do on the first run is to update the software. Application packages are constantly updated. Linux uses a package manager that can update the whole software. To run it you have to type in the terminal:
sudo apt-get update
This downloads the latest package information and tells the manager what to update.
Sudo - (superuser) is a command to confirm the permission to make changes
Apt-get - the package manager. in this case we give him an update command.
sudo apt-get upgrade
This command downloads and installs updates. The procedure takes some time. Additionally, it asks for confirmation, which should be done by typing: Y.
sudo shutdown -r now
Command to turn off the computer. Parameter -r will reboot. Now means reboot immediately (after entering 15 the computer would shut down after 15 minutes).
What happens if you don't type sudo? The system will tell you that you don't have enough permission to make changes.
Other useful commands
- pwd - shows which directory we are currently in
- ls - prints out the contents of the current catalogue. To display also hidden files, type ls -a
- cd - catalogue change. Entering the cd name of the folder transfers the folder name to the folder. cd ... moves one level up. cd ~ moves to the home directory.
- man - instructions. Type the man and name of the command to display all options.
- nano - opens a simple text editor.
Now you know the basics of using the Raspberry Pi monicomputer with the example of the Raspberry Pi Zero. We recommend that you continue learning Linux, in addition you can learn the basics of Python, learn how to use GPIO pins, build a server, home NAS, Media Center, game console or many other projects.
Useful links |