


2x16 LCD display support with Arduino via I2C interface.
Arduino - LCD - I2C - LM1602 module, based on PCF8574 chip, allows to connect a popular 2x16, 4x20 or 2x8 LCD display to any microcontroller via I2C bus. Thanks to such a connection, instead of 6 lines (D4, D5, D6, D7, E, RS), we will use only two. This will save valuable Arduino Uno outputs. We also don't have to connect a contrast adjustment potentiometer, because it is already on the board. LM1602 gives us control over display backlighting - we can turn it on and off at any time using appropriate library function (LiquidCrystal I2C).
 For this project you will need it:
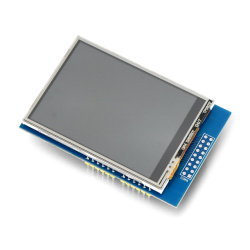
- LCD display with I2C converter
- Arduino module (e.g. Uno or Leonardo version)
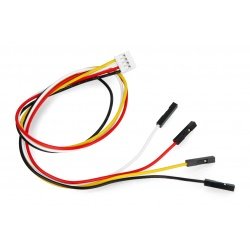
- Female to male connection cables(e.g. 20 cm or 30 cm long)
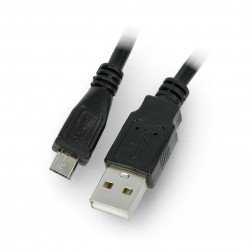
- Theright USB cable - to connect Arduino to your computer
We can download the aforementioned library from the service: https://bitbucket.org/fmalpartida. Downloaded file should be unpacked, and then the whole LiquidCrystal folder should be placed in Arduinolibraries folder(libraries), which is located in Documentsfolder by default (the default path in Windows 7 is: C:/Users/user_name/Documents/Arduino/libraries).
Downloaded library has the same name as standard one, built in Arduino. Therefore, after installing it in Arduino environment only the new one will be visible. To return to the default version, you need a new LiquidCrystal folder from the Documents/Arduino/libraries directory .

After installation of the library, using wires, we combine the module with Arduino as follows:
| LCM1602 | Arduino Uno |
| VCC | 5 V |
| GND | GND |
| SDA | A4 |
| SCL | A5 |
Paste the code below into the environment:
/*
* LCM1602 & Arduino Uno
* VCC - > 5 V
* GND - GND
* SCL -> A5
* SDA -> A4
*/
#include// standard Arduino library
#include// adding the downloaded I2C library for LCD
LiquidCrystal_I2C lcd(0x27, 2, 1, 0, 4, 5, 6, 7, 3, POSITIVE); // Setting the chip address to 0x27
void setup()
{
lcd.begin(16,2); // LCD 2x16 initialization
lcd.backlight(); // switching on the backlight
lcd.setCursor(0,0); // Setting the cursor at position 0,0 (first row, first column)
lcd.print("Hello, world!");
delay(500);
lcd.setCursor(0,1); //Setting the cursor at position 0,0 (second row, first column)
lcd.print("BOTLAND.com.pl");
}
void loop()
{
lcd.backlight(); // switching on the backlight
delay(5000);
lcd.noBacklight(); // switching off the backlight
delay(5000);
}
Then we load the code onto the board and our display will show the text:

with the backlight switching every 5 seconds.
We use the paper in a way similar to the one built in the Arduino environment.
- lcd.setCursor(x,x) - sets the cursor to the position specified in brackets
- lcd.print("xxxxx") - displays text xxxxx on the screen
- lcd.clear(); - clears the screen
- Additionally
- lcd.backlight() - turns on the backlight
- lcd.noBacklight() - turns off the backlight