Product description: Raspberry Pi Pico H - RP2040 ARM Cortex M0 + - with connectors
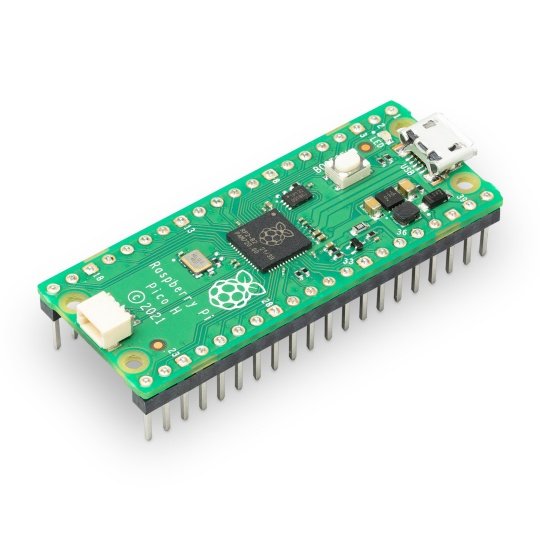
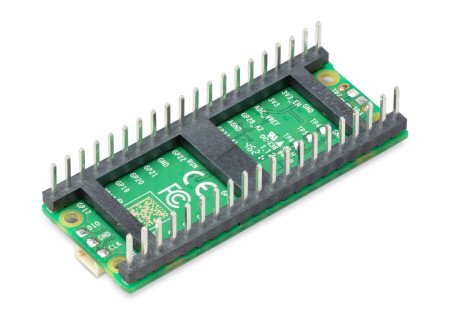
The Raspberry Pi Pico module is equipped with the proprietary Raspberry RP2040 microcontroller. Pico H has factory-soldered male connectors to the GPIO pins and the JST SH 3-pin connector, raster 1 mm soldered to the JTAG pin. RP2040 is a dual-core ARM Cortex M0 + chip clocked at 133 MHz. The Raspberry Pi Pico is equipped with 264 KB of SRAM and 2 MB of Flash memory. The system has 26 GPIO pins that work with a voltage of 3.3 V and a built-in temperature sensor. The Raspberry Pi Pico is programmed in C / C ++ and MicroPython via the microUSB connector.
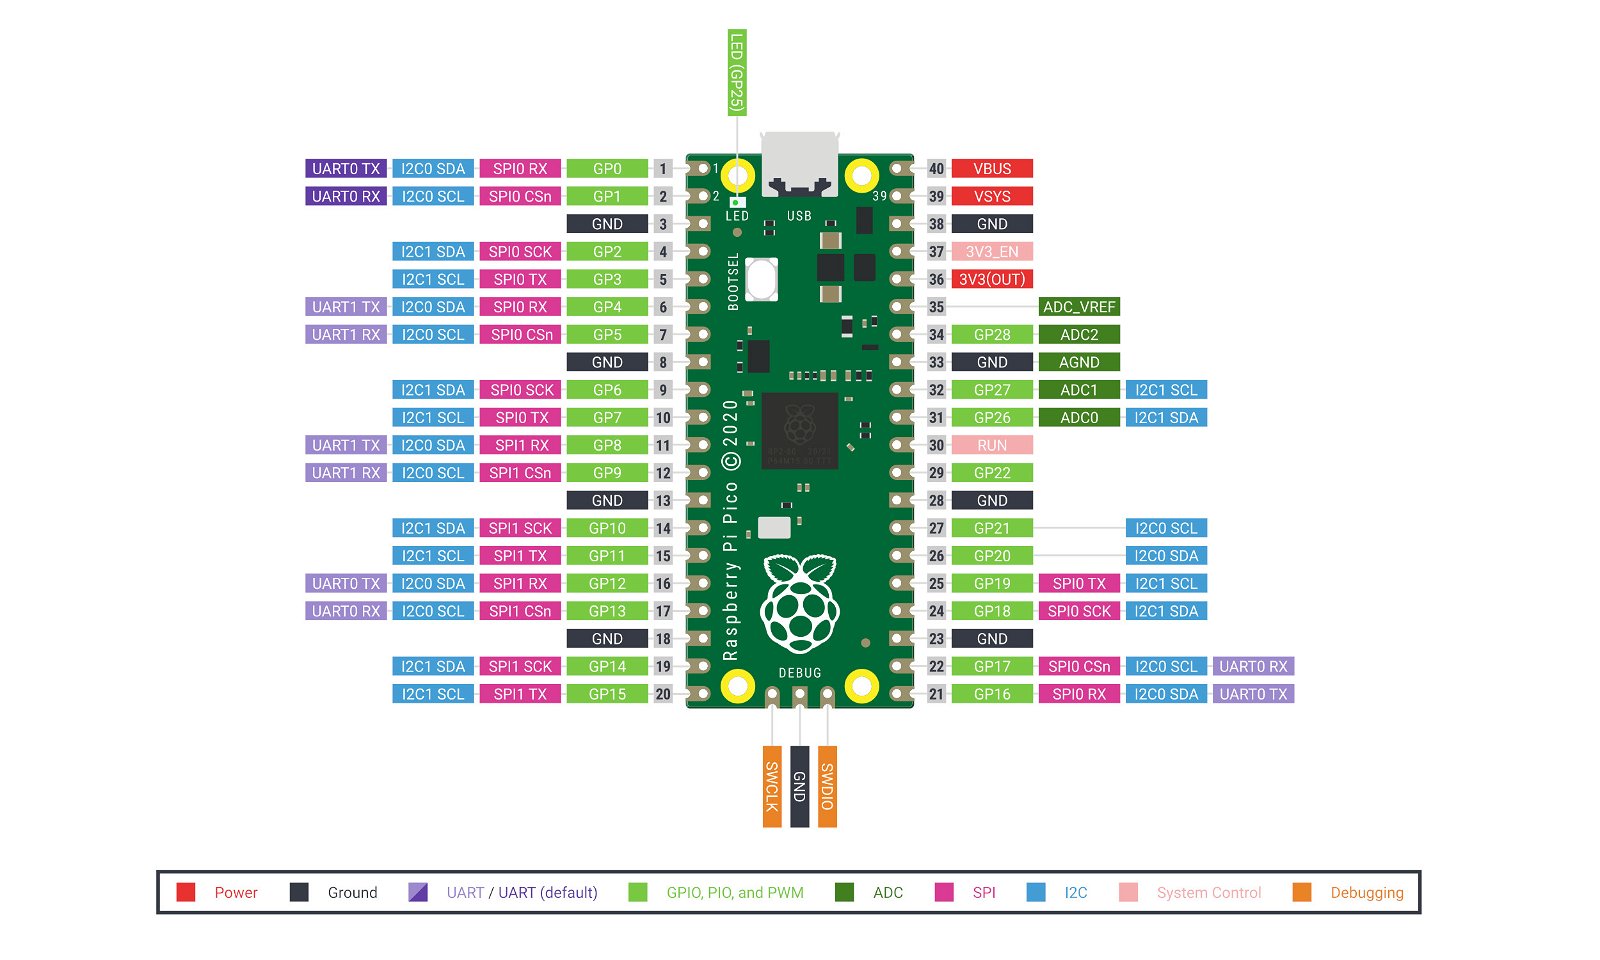
Pins of the Raspberry Pi Pico H module
Raspberry Pi Pico has 26 GPIO pins, they are: 2x SPI, 2x I2C, 2x UART, 3x ADC 12-bit, 16x PWM. Additional 8 IO pins (PIO) are designed to support non-standard peripherals.
Raspberry Pi Pico H power supply
The Raspberry Pi Pico board connects to the computer via a microUSB connector . For the correct operation of the module, a 5 V power supply from the USB port is required. The board can also be powered from the VSYS pin with voltage from 1.8 V to 5.5 V , using, for example, a 3.7 V Li-Pol battery or a 3x AA battery.
|
The logical part of the Raspberry Pi Pico works with a voltage of 3.3 V. |
Raspberry Pi Pico H programming
The Raspberry Pi Pico H is programmed in C / C ++ or MicroPython . To upload the program to the board, press and hold the BOOTSEL button, and then connect the Raspberry Pi Pico to the computer with a microUSB cable. The computer will detect the board as a USB mass storage device called RPI-RP2, the program file should be dragged and dropped on the RPI-RP2 volume. The manufacturer provides an SDK repository for the C / C ++ and MicroPython programming languages, which can be found in the useful links below.
Getting started with MicroPython
The written program in MicroPython is uploaded to the Raspberry Pi Pico board after connecting it to the computer via a USB cable, by dragging and dropping the given file with the code. A sample UF2 file has been prepared for download to start working with MicroPython.
- Download the MicroPython UF2.
- Press and hold the BOOTSEL button and plug the board into the USB port of your Raspberry Pi or computer.
- Release BOOTSEL when Pico is connected to your computer.
- The Raspberry Pi Pico will mount as a mass storage device with volume RPI-RP2.
- Drag and drop the MicroPython UF2 file to the RPI-RP2 volume.
- Pico will restart with MicroPython active.
- You can access REPL and MicroPython via the serial USB port.
Hello World in C / C ++
The first program written by any programmer is to write "Hello World" to the console, in this case via the Raspberry Pi 4B USB serial port.
- Download the UF2 file "Hello World".
- Press and hold the BOOTSEL button and connect the Raspberry Pi Pico to the Raspberry Pi's USB port.
- The board will be mounted as a mass storage device with volume RPI-RP2.
- Drag and drop the UF2 file to the RPI-RP2 volume.
- Pico will restart.
- Open a terminal on the Raspberry Pi 4B and run the commands:
- sudo apt install minicom
- minicom -b 115200 -o -D / dev / ttyACM0
- You should see "Hello World" listed in the terminal window.
Additional accessories for the Raspberry Pi Pico H
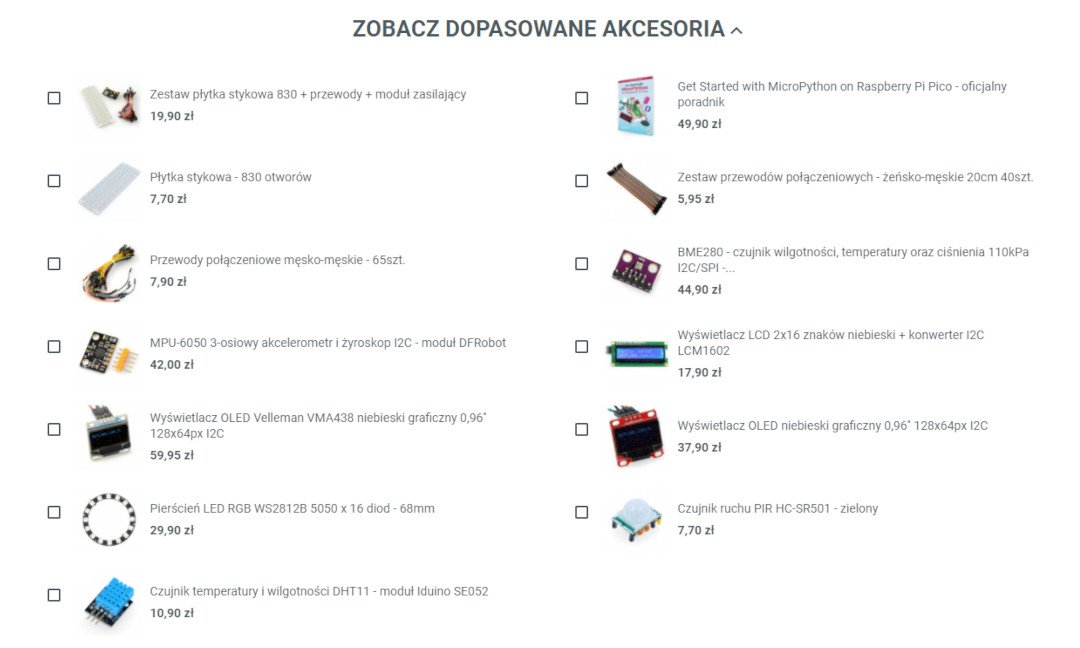
Check the additional accessories we have prepared for the Raspberry Pi Pico H module. Compatible accessories can be found in the See matching accessories section under the photo gallery. By choosing these accessories, you can follow the manufacturer's examples from the SDK documentation for C and Python.
Raspberry Pi Pico specification
| Parameter | Value |
|---|---|
| System | Raspberry Pi RP2040 |
| Core | ARM Cortex-M0 + Dual-Core 133 MHz |
| SRAM memory | 264 kB |
| Flash memory | 2 MB |
| Leads | 40-pin / 23 GPIO digital + 3 ADC pins |
| Interfaces | 2x UART, 2x I2C, 2x SPI, up to 16 PWM channels |
| Supply voltage | 5V (USB) |
| Working voltage of the logical part | 3.3 V |
| Power / data connector | microUSB |
| Dimensions | 51.3 x 21 x 12.9 mm |


