


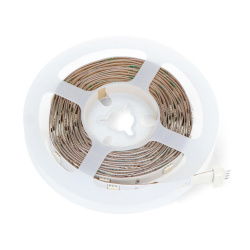


LED bar control with Arduino
With Arduino we can successfully control LED strips. The presented example shows how to connect and shows how to upload a sample program.
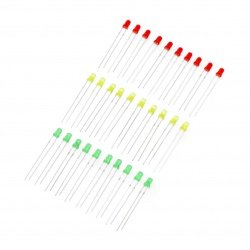
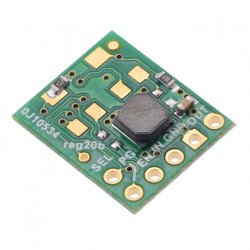
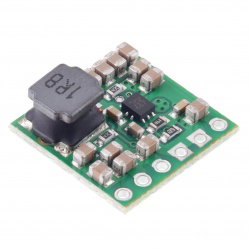
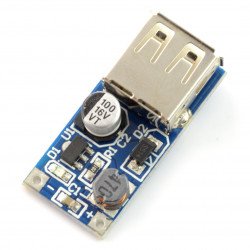
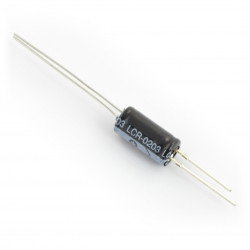
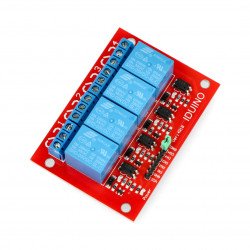
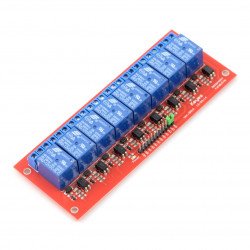
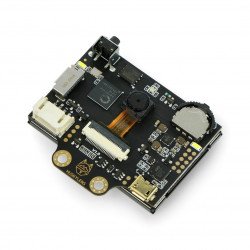
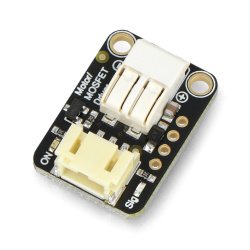
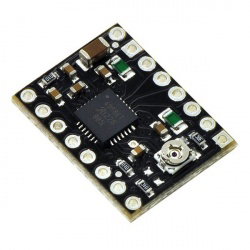
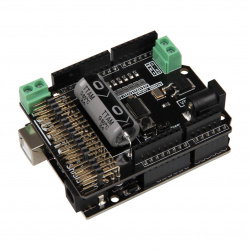
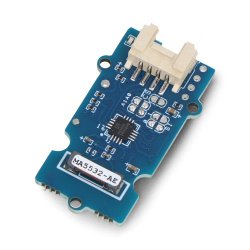
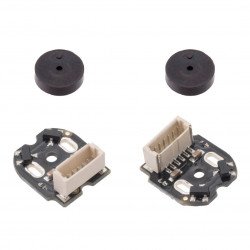
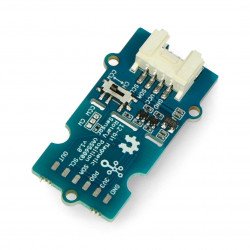
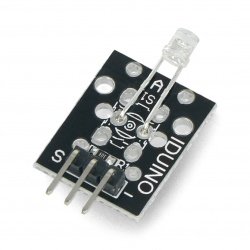
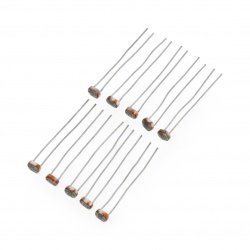
In the example we will use the following elements:
Connection
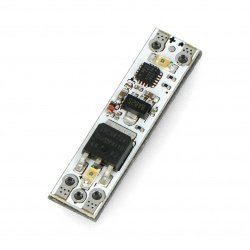
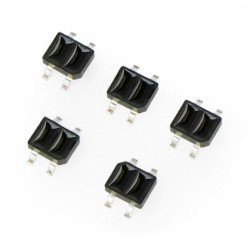
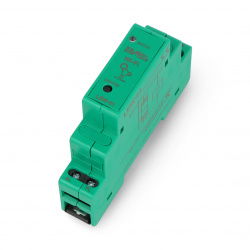
The LED bar is supplied with 12 V while Arduino operates with 5 V. To control it from Arduino we will use a transistor as a switch. In this case IRL540N will be a good solution. The selected Arduino pin, e.g. 5 is connected to the first leg of the transistor through a 10 kΩ resistor. The second one is connected to "-" on the LED bar. The third one is connected to ground. The +12 V power supply is connected directly to the LED strip, while the mass of the whole system is connected to Arduino mass, as shown in the diagram below.
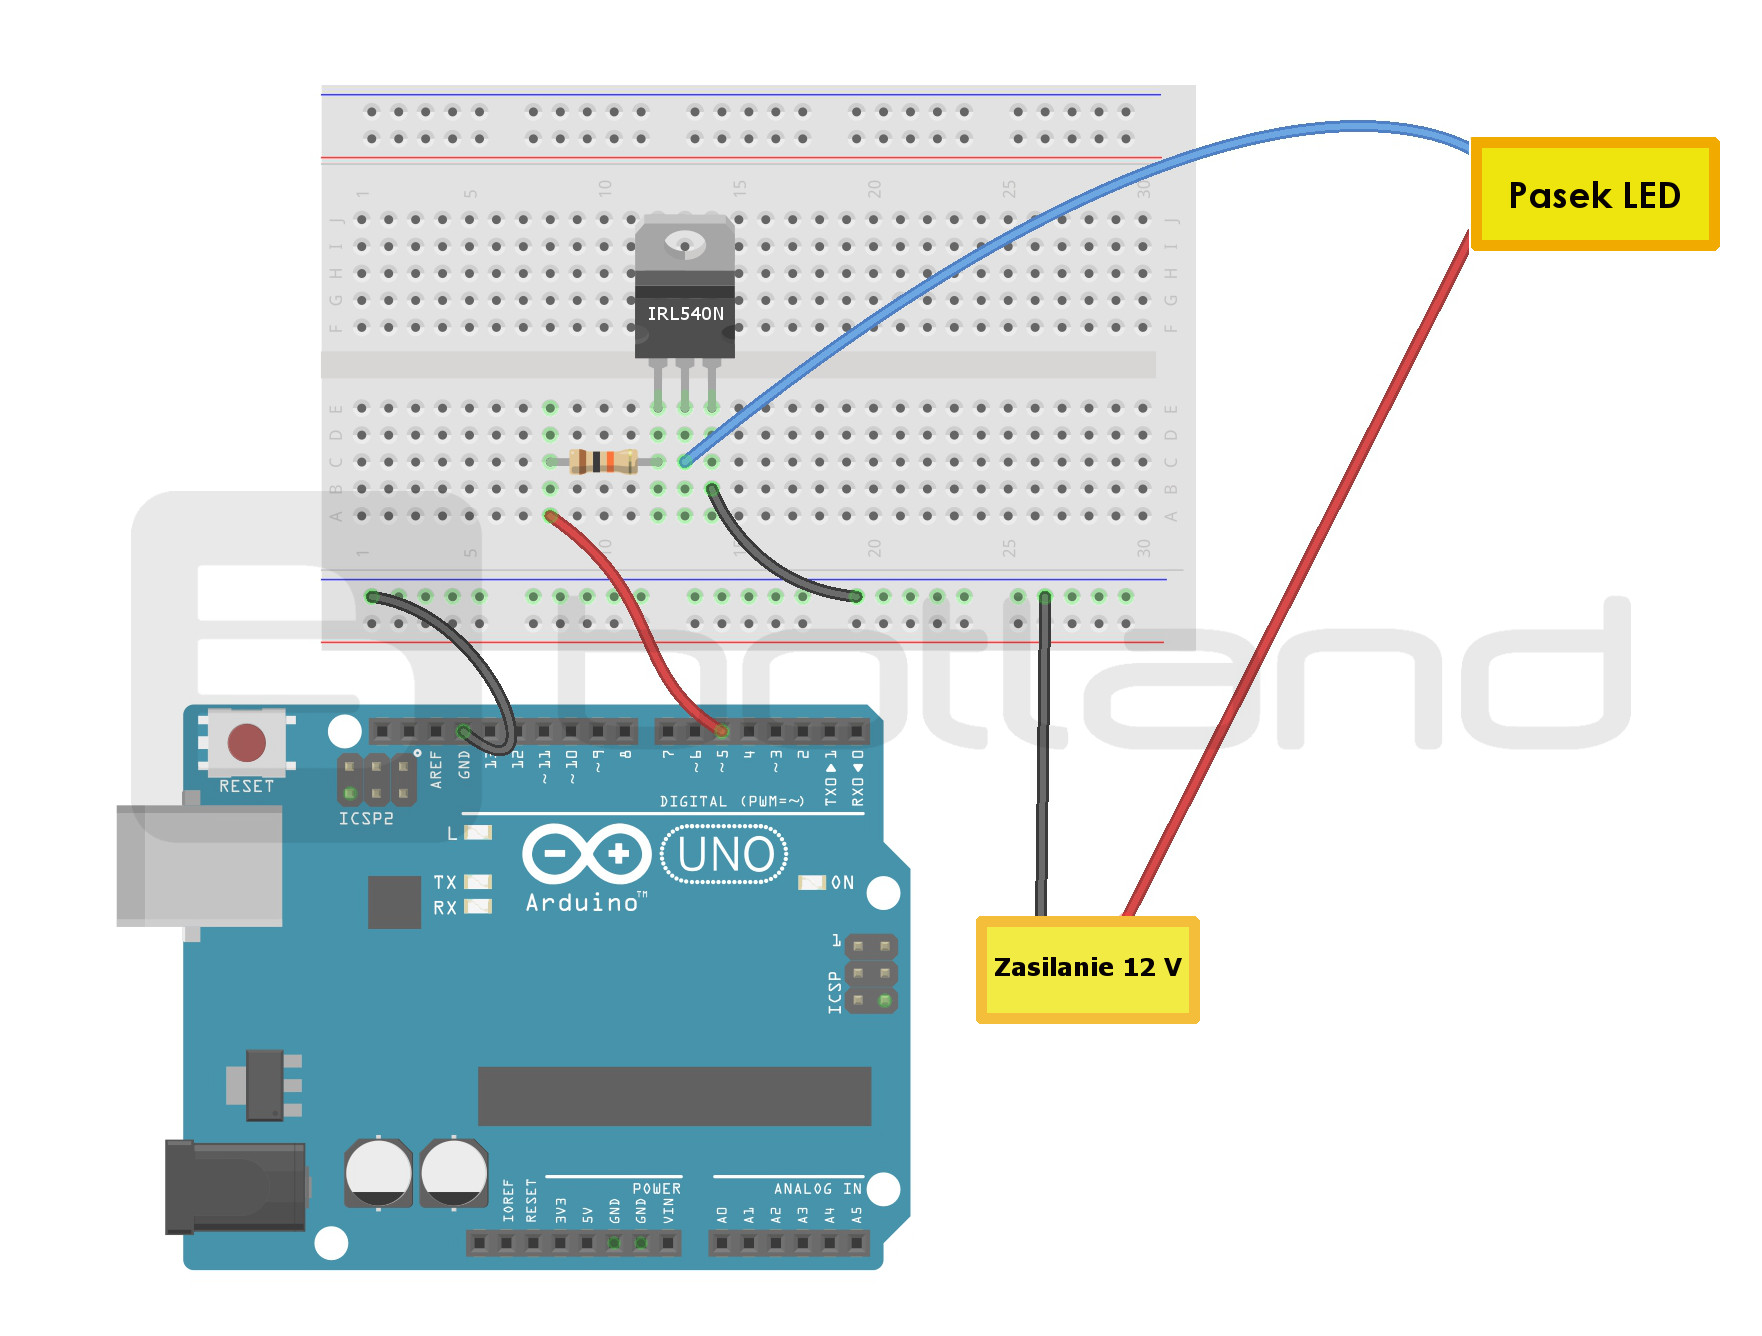
The diagram of module connection.
Operation .
The presented circuit works in such a way that when we set the state on pin 5 Arduino high, the transistor starts to conduct current to supply the LED bar. For this purpose we will use Blink program from Arduino examples(File -> Examples -> 01. Basics -> Blink).
In the program you just need to change Arduino pin to 5, and you can set delays:
// the setup function runs once when you press reset or power the board
void setup() {
  // initialize digital pin 13 as an output.
  pinMode(5, OUTPUT);
}

// " the loop function runs over and over again forever
void loop() {
  digitalWrite(5, HIGH); // turn the LED on (HIGH is the voltage level)
  delay(3000); // wait for a second
  digitalWrite(5, LOW); // turn the LED off by making the voltage LOW
  delay(3000); // wait for a second
}
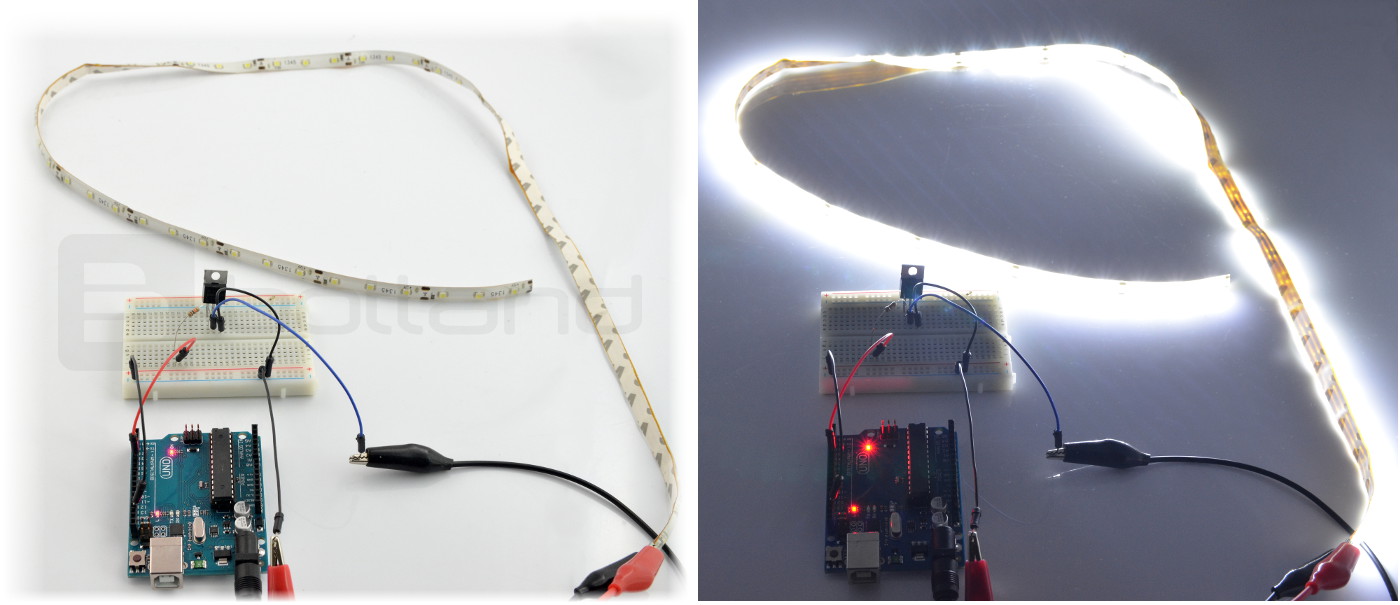
The program alternately turns on and off the LED strip every 3 seconds. The effect is visible in the pictures below:
Using the Fade program(File -> Examples -> 01. Basics -> Fade) you can smoothly brighten and darken the LEDs via a PWM signal. Remember to change the program of pin to pin 5 (we can also connect the cable to pin 9. The most important thing is that the pin has PWM marked with a tilde). We can also experiment with other values.
int led = 5; // the pin that the LED is attached to
int brightness = 0; // how bright the LED is
int fadeAmount = 5; // how many points to fade the LED by

// the setup routine runs once when you press reset:
void setup() {
  // declare pin 5 to be an output:
  pinMode(led, OUTPUT);
}

// the loop routine runs over and over again forever:
void loop() {
  // set the brightness of pin 5:
  analogWrite(led, brightness);

  // change the brightness for next time through the loop:
  brightness = brightness + fadeAmount;

  // reverse the direction of the fading at the ends of the fade:
  if (brightness == 0 || brightness == 255) {
    fadeAmount = -fadeAmount ;
  }
  // wait for 50 milliseconds to see the dimming effect
  delay(50);
}