Over 500,000 customers already trust us. With us you get:
same-day shipping for products marked “24h shipping”
our own service centre in Poland
30 days to return and free delivery in Poland from PLN 500
4.9/5 on TrustMate and 4.9/5 on Google (almost 4,000 reviews)
VAT invoice, leasing and instalments for businesses
For businesses
individual quote for larger quantities
VAT invoice
For schools and universities
orders based on requests for quotation
help with choosing kits for your lab
Send an inquiry - we reply quickly.

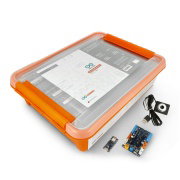
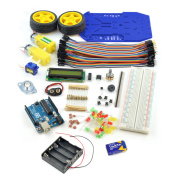
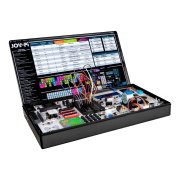
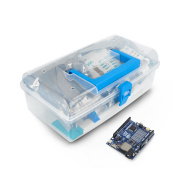
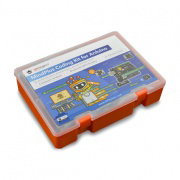
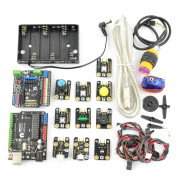
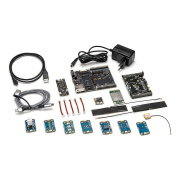
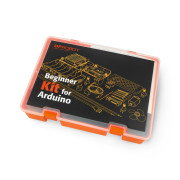
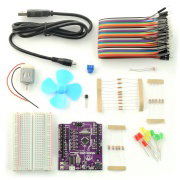
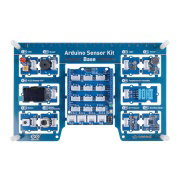
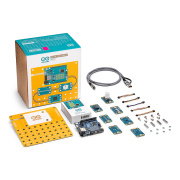
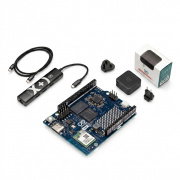
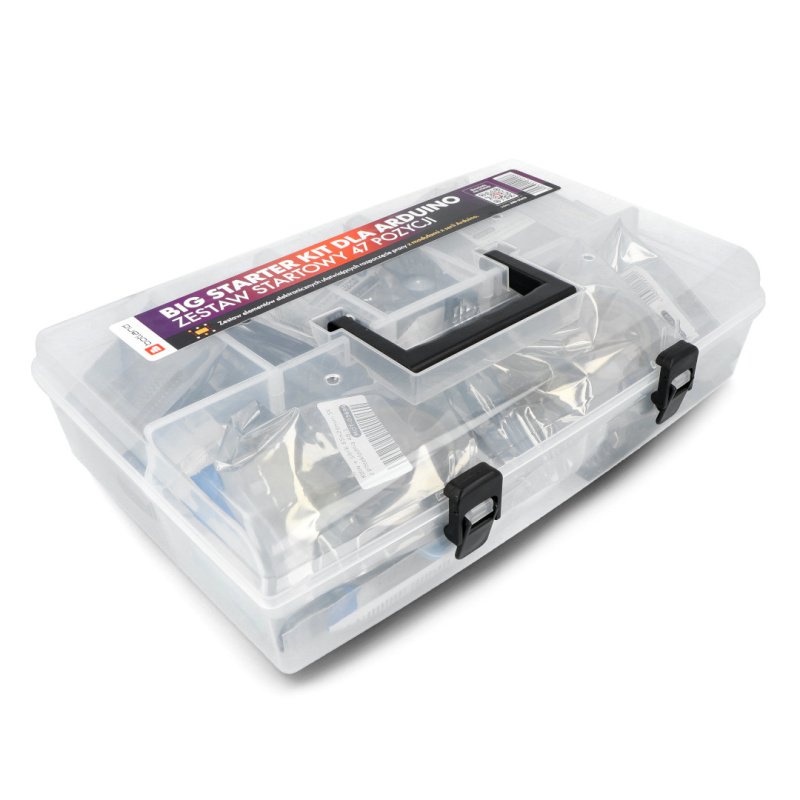
Big StarterKit for Arduino - 47 elements
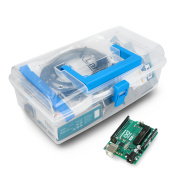
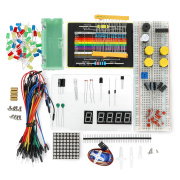
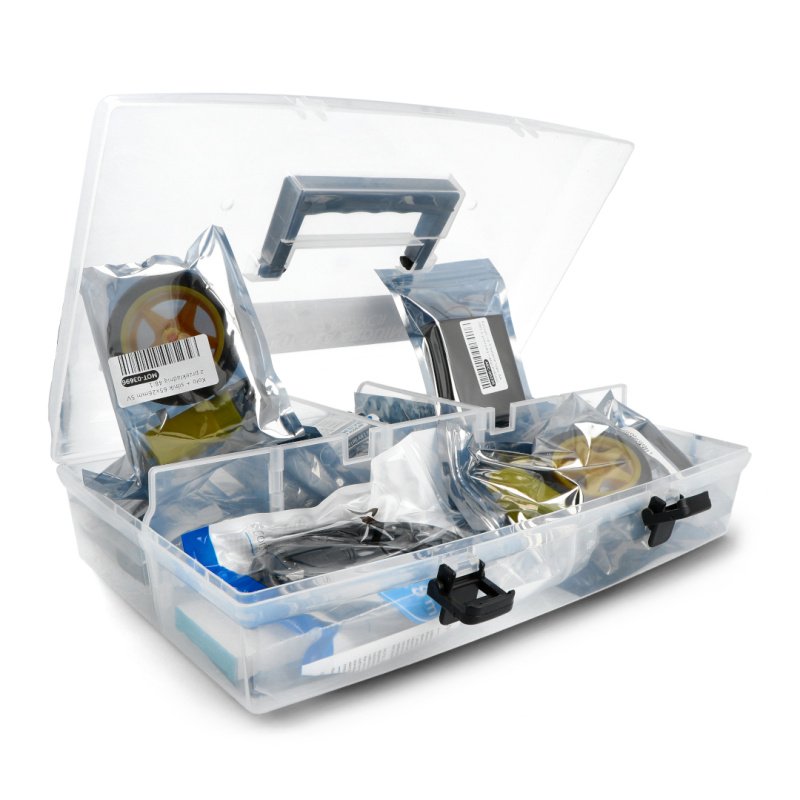
A set of electronic components that will help you get started with modules from the Arduino. Included are more than 45 items, including: LEDs, resistors, various sensors, chips, relay and LCD display, the engine with wheels and controller, large breadboard with the set of cables.
We could not load the price.
The promotional price does not combine with quantity discounts.

Botland is an official distributor of the Arduino development platform in Poland. We offer a wide choice of boards, modules and accessories from this popular brand, along with tutorials and a knowledge base for users. All Arduino products presented here are original.
Description
Simple language of programming and a friendly environment of Arduino has led to the fact that the tiles became very popular around the world. This set has more than 45 compatible elements that allow you to create several educational, practical projects based onArduino.
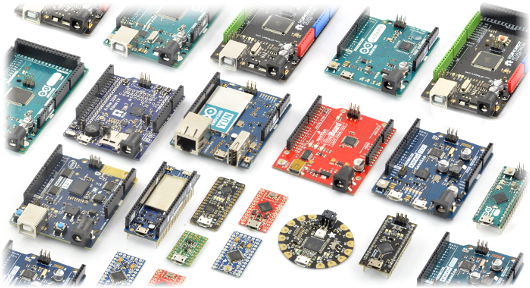
The set does not include the basic board Arduino you can purchase them separately. With this solution, the user decides which version to choose. The most popular ones are: |
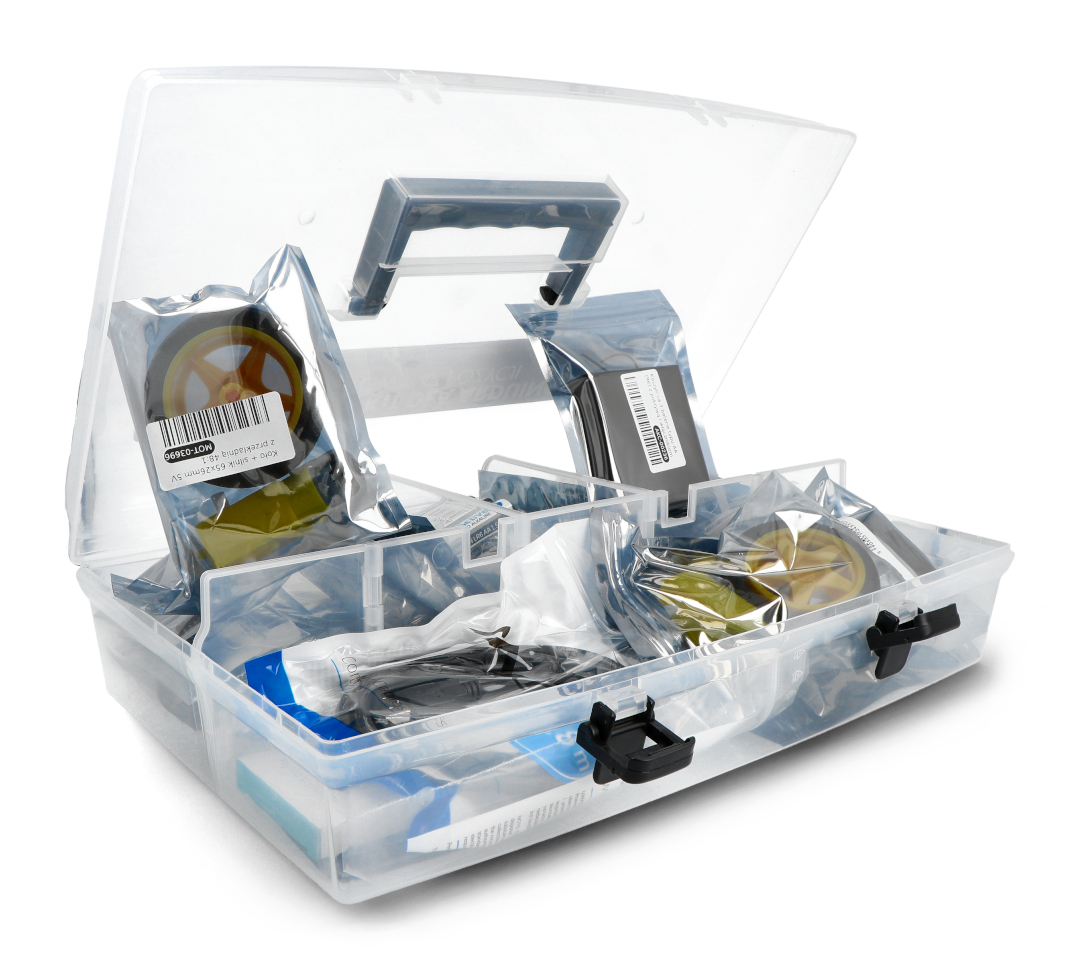
Large breadboard and connecting wires allow you to create the circuits. Buttons with LEDs and an easily readable LCD display enables you to create a user interface. Included are various sensors and motors with wheels and a controller that allow you to create a simple robot. With a relay, the user can control the devices with high power consumption, for example, LED strip.
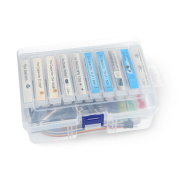
The kit comes in the organizer, which facilitates moving the elements.
The set consists of:
| L. p. | Photo | Description |
|---|---|---|
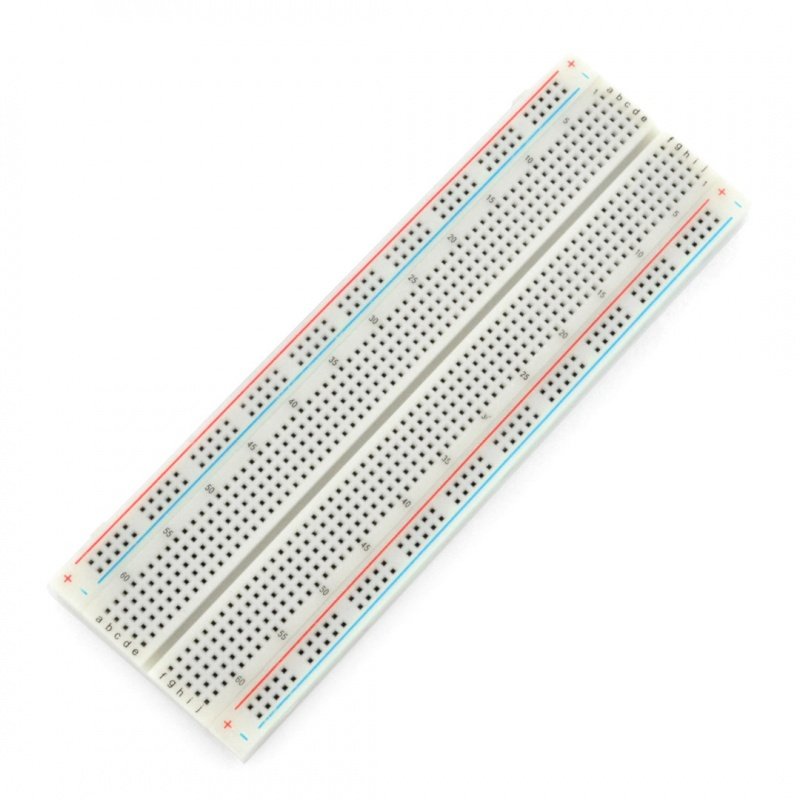
| 1 | 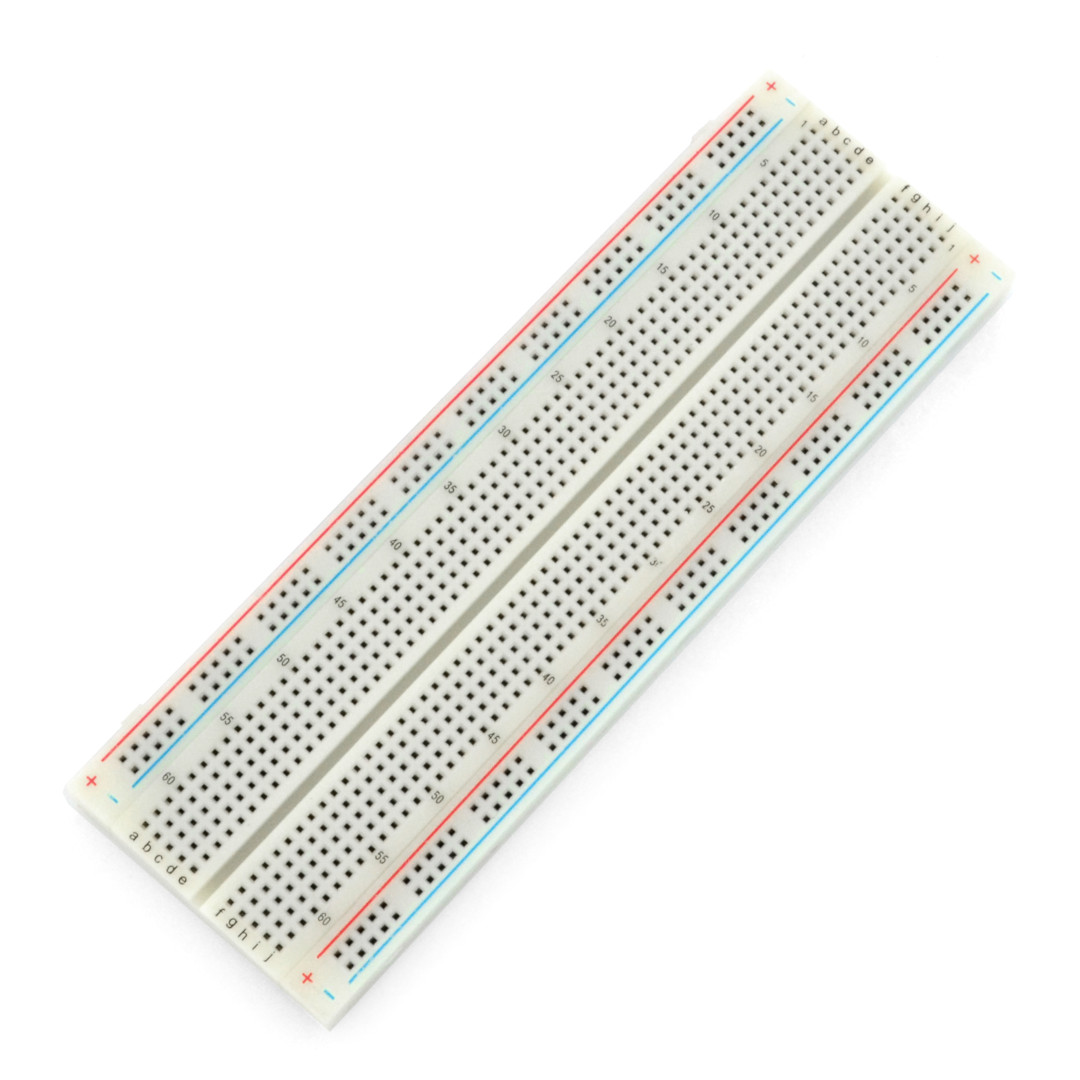 | Breadboard 830 fields- a large plate with separate supply lines, allowingyou to create layouts. |
| 2 | 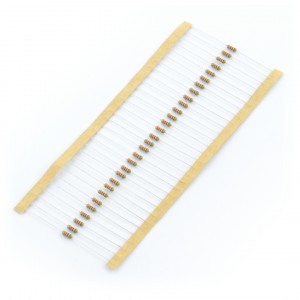 | A set of resistors (200 PCs)- 20 PCs. of the most popular values allowing, for example, to connect the LEDs. |
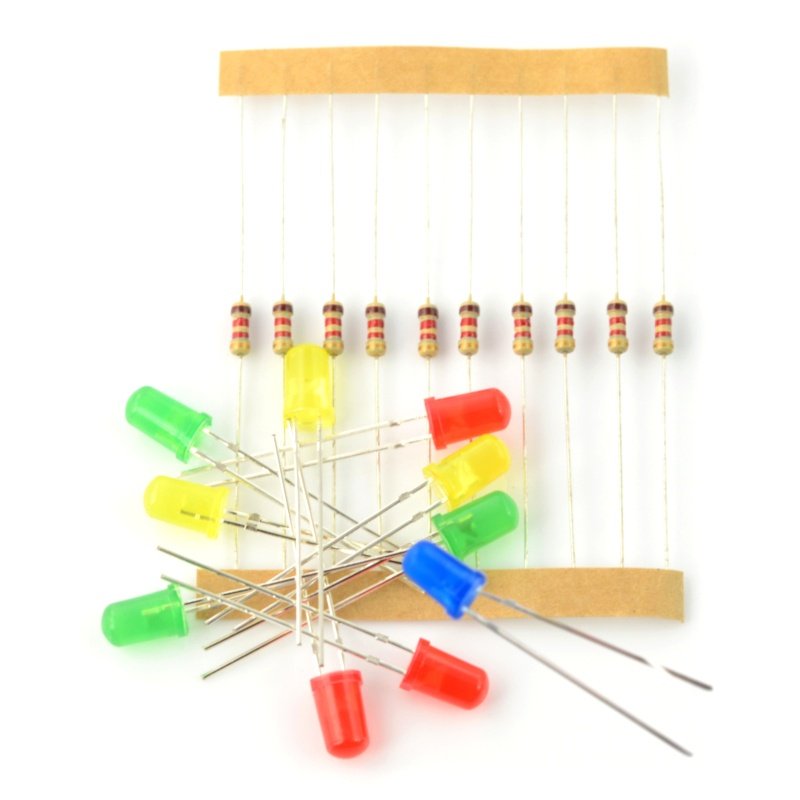
| 3 | 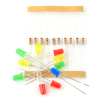 | A set of LEDs 5 mm, 10 pieces with resistors - the set includes: 10 PCs of resistors 1.2 kΩ and 3 PCs of green, red and yellow LEDs and 1 blue led |
| 4 | 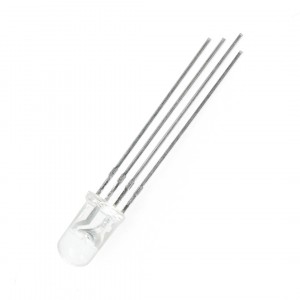 | Led RGB shared anode- LED with four I/O which can glow in all colors. |
| 5 | 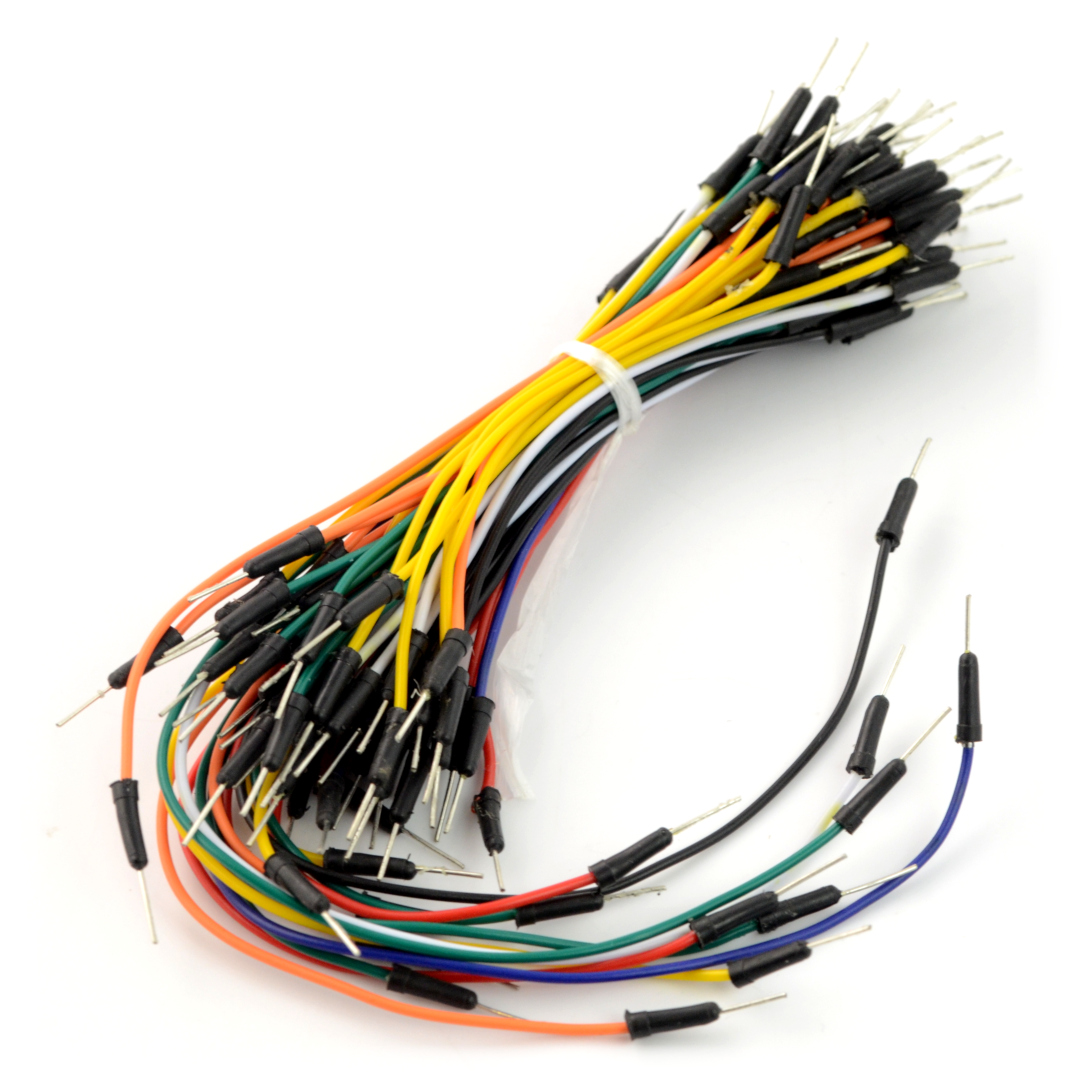 | Connecting wires 65 pieces male-male - can create connections on the breadboard and between board and Arduino. |
| 6 |  | Connecting wires male-female - 20 PCs - can create connections. |
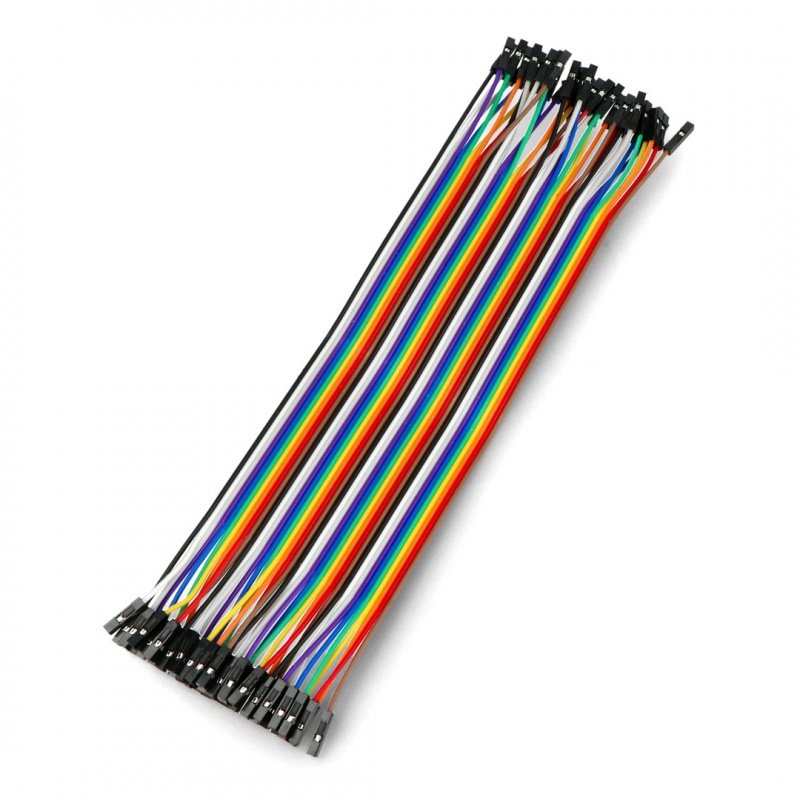
| 7 | | Connecting wires female-female - 20 PCs - can create connections. |
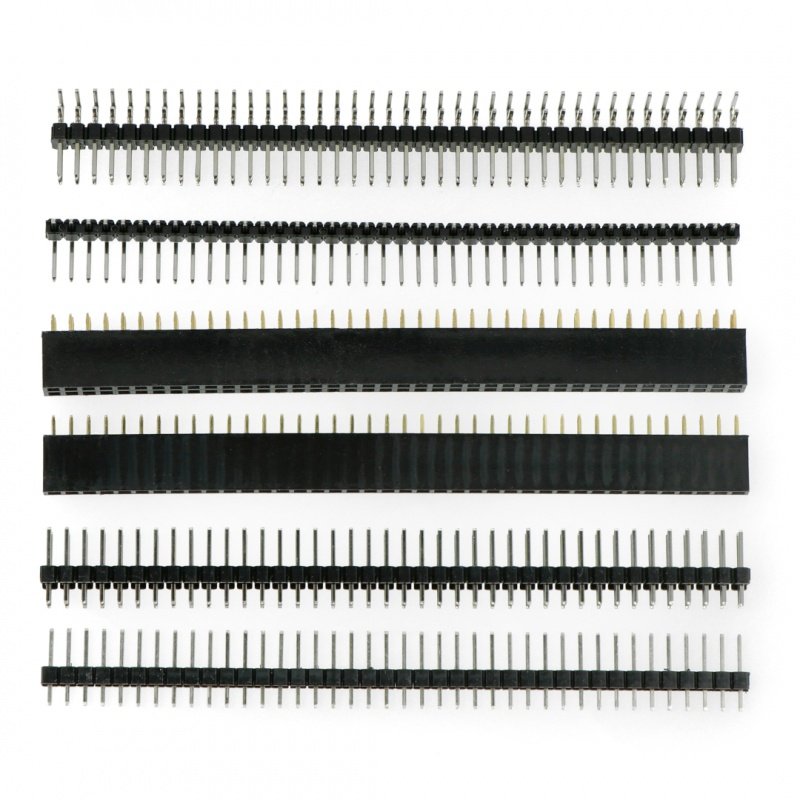
| 8 | 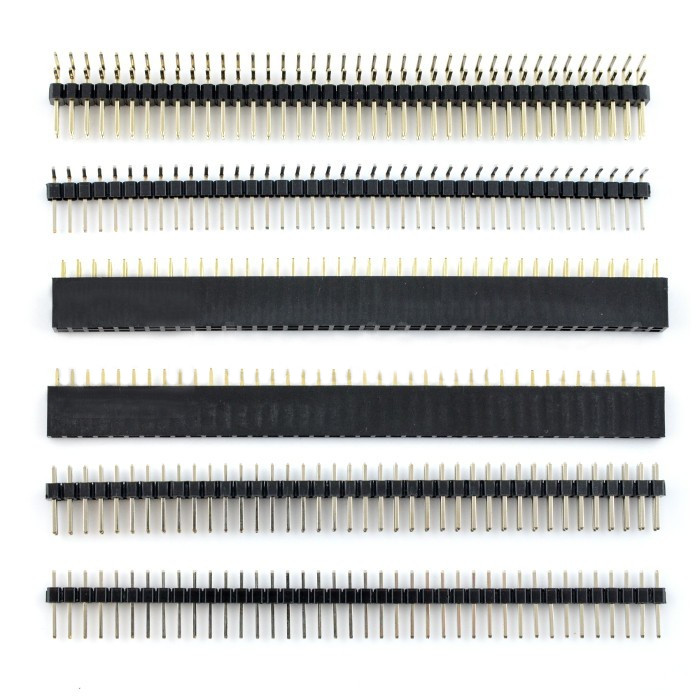 | Set of goldpin raster 2.54 mm- includes the popular connectors goldpin raster 2.54 mm: straight male strip 1x40 and 2x40, male angle strip 1x40 and 2x40, female strip 1x40 and 2x40. |
| 9 | 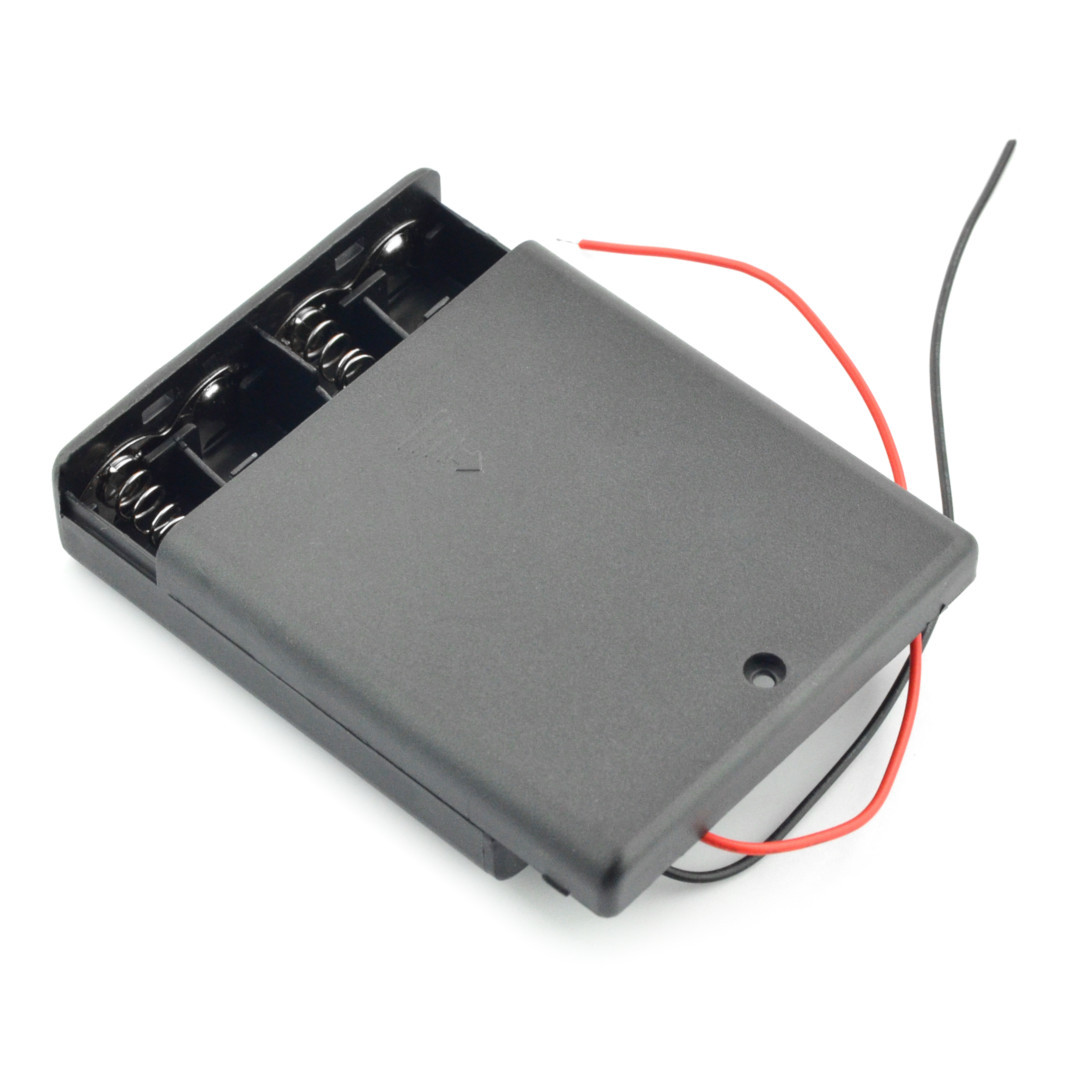 | Basket for 4 batteriestype AA (R6) with cover and switch |
| 10 |  | Four AA batteries. |
| 11 | 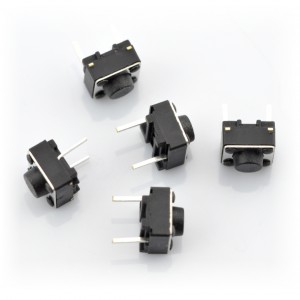 | Buttons of tact-switch type - 5 PCs. - simple buttons with connectors suitable for the breadboard, which is in the set. |
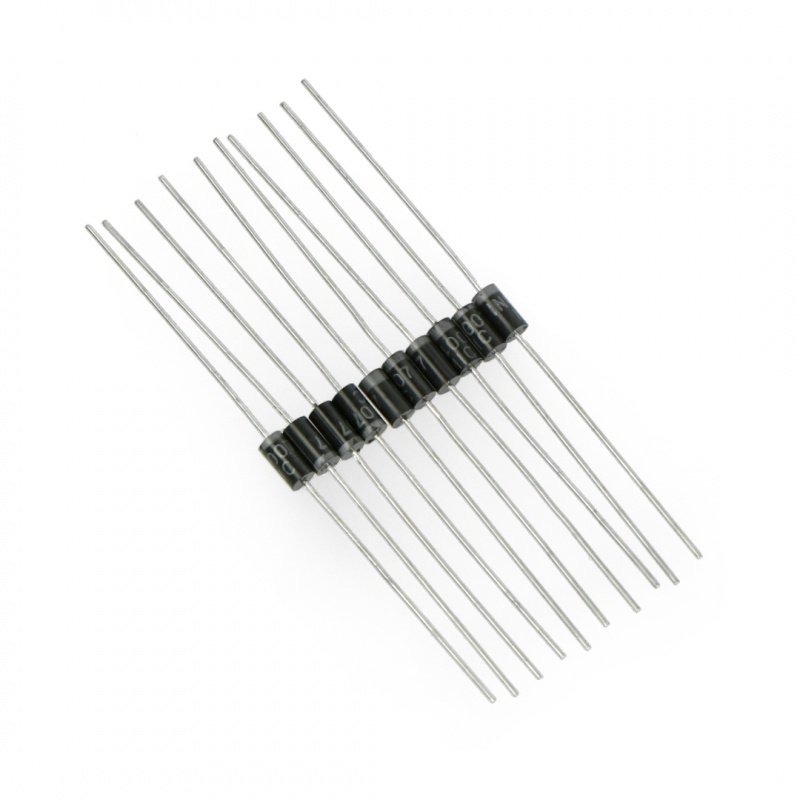
| 12 | 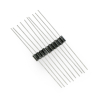 | Rectifier diode 1N40071 A / 1000 V - maximum working voltage 1000 V, current to 1 A. In a set are 10 PCs. |
| 13 | 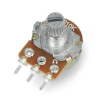 | Rotary potentiometer 10 kOhm linear- similar to buttons, connected to the analog I/O, can serve as a user's interface's element - simple knob. |
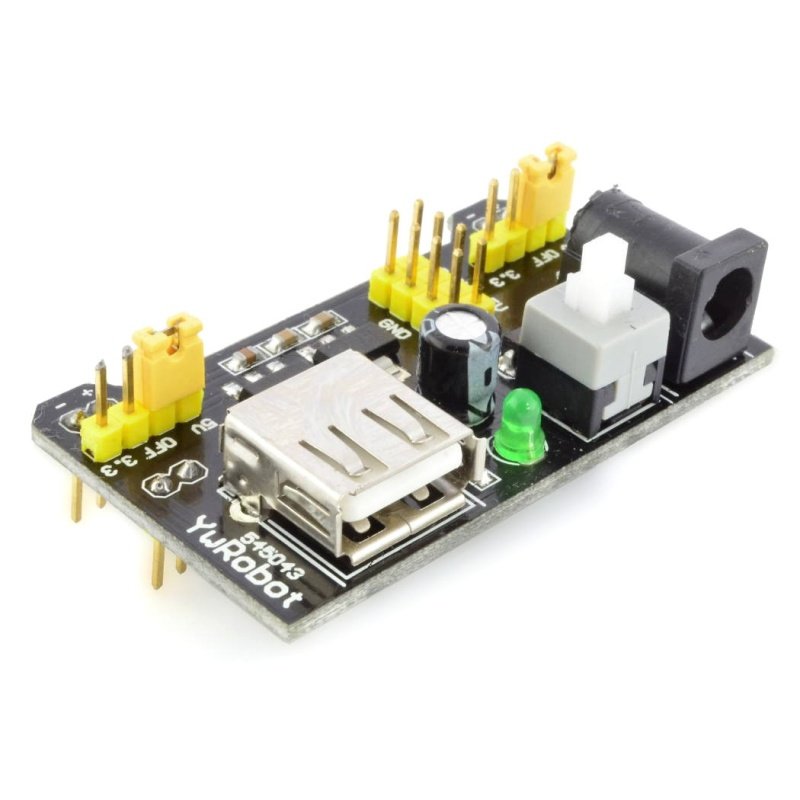
| 14 | 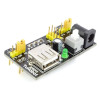 | Power supply module for MB102 breadboards- 3.3 V / 5 V - allows the connection of a power supply of 5 V or 3.3 V using the AC adapter. Features LED indicating the power-up. |
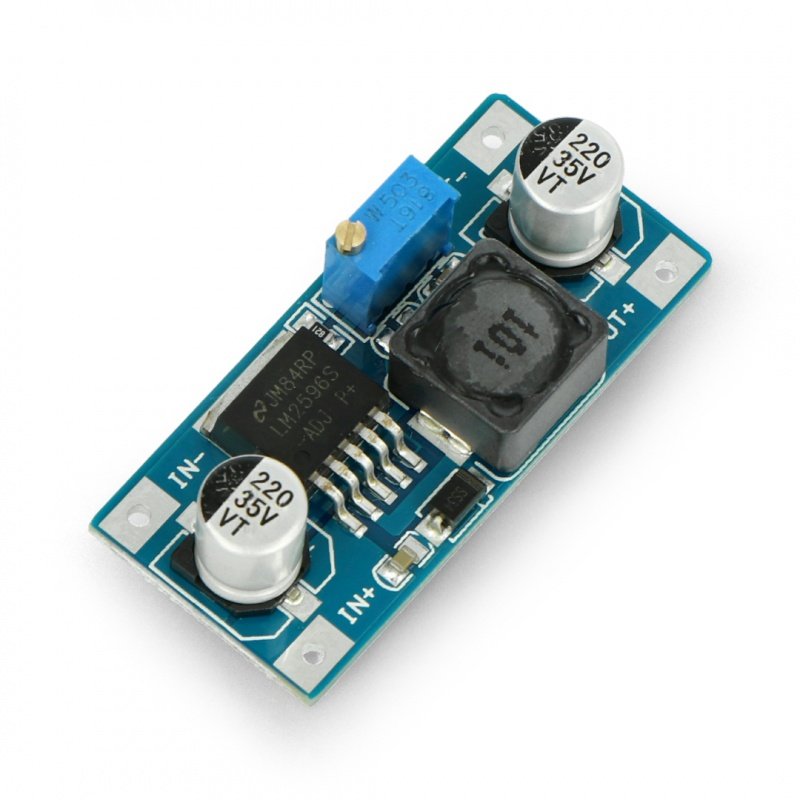
| 15 | 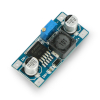 | Converter step down LM2596 3.2 V - 35 V / 3 A- can be used as the power supply - output voltage is adjustable with a potentiometer within the range from 3.2 V to 35 V. The input voltage is from 3.2 V to 40 V. |
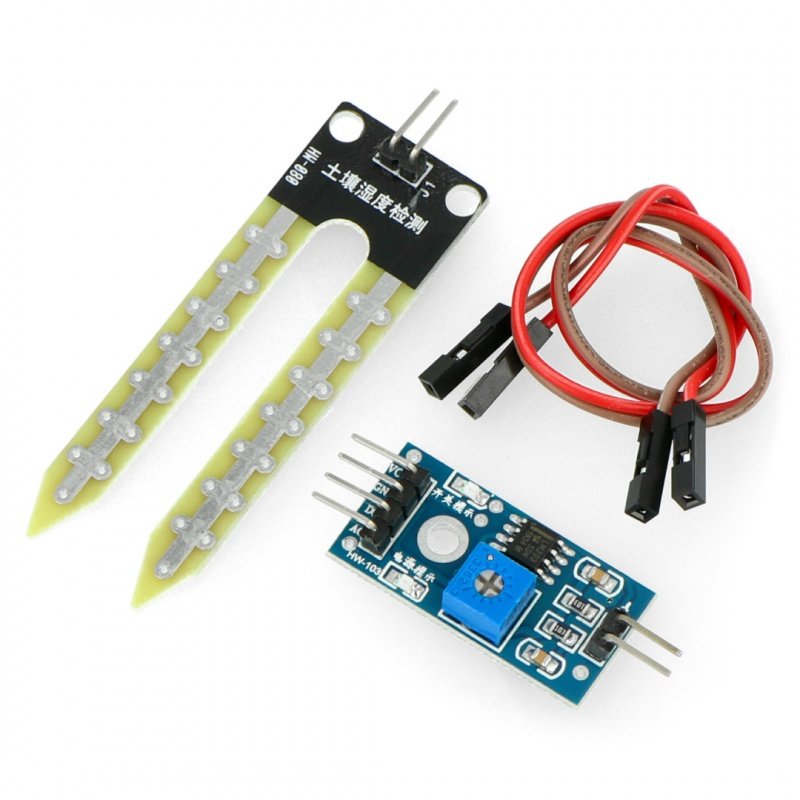
| 16 | 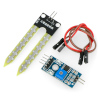 | The soil moisture sensor- is used to determine the moisture level of the soil. Has digital and analog output, making it compatible with Arduino. |
| 17 | 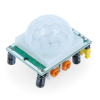 | PIR motion sensor HC-SR501- allows to detect movement. Used to detect objects in the premises, alarm and lightning systems. |
| 18 | 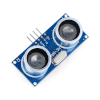 | Distance sensor- ultrasonic HC-SR04 operating in the range from 2 cm to 200 cm. The output is the signal, duration of which is proportional to the measured distance. |
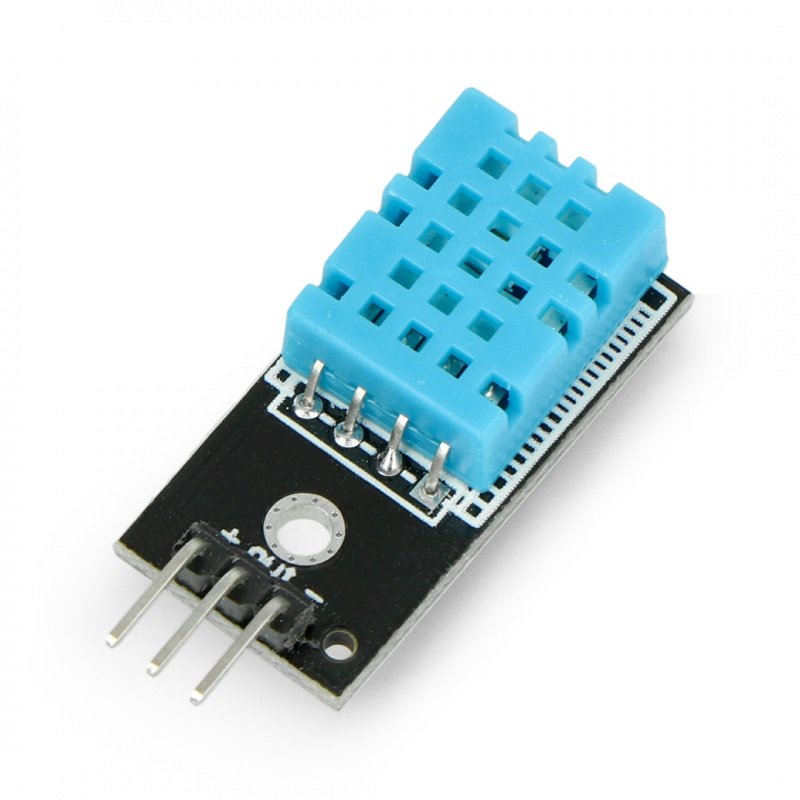
| 19 | 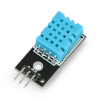 | The sensor of temperature and humidity DHT11- module + cables - is equipped with a digital interface. Measuring range: temperature 0-50 °C, humidity 20-90 %RH. |
| 20 | 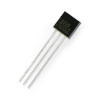 | The digital temperature sensor DS18B20 - popular, easy to use thermometer,connectedthrough the 1-wire bus. |
| 21 | | The analog temperature sensor LM35 - popular, easy to use thermometer connected to the analog inputs of the Arduino. |
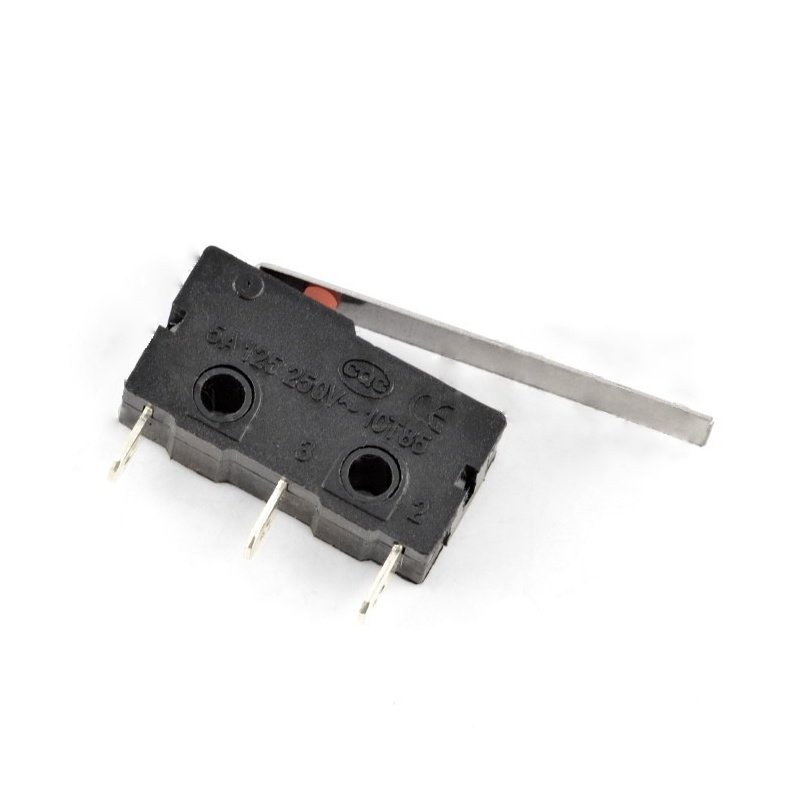
| 22 | 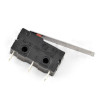 | Limit switchwith lever - simple short-circuit sensor. |
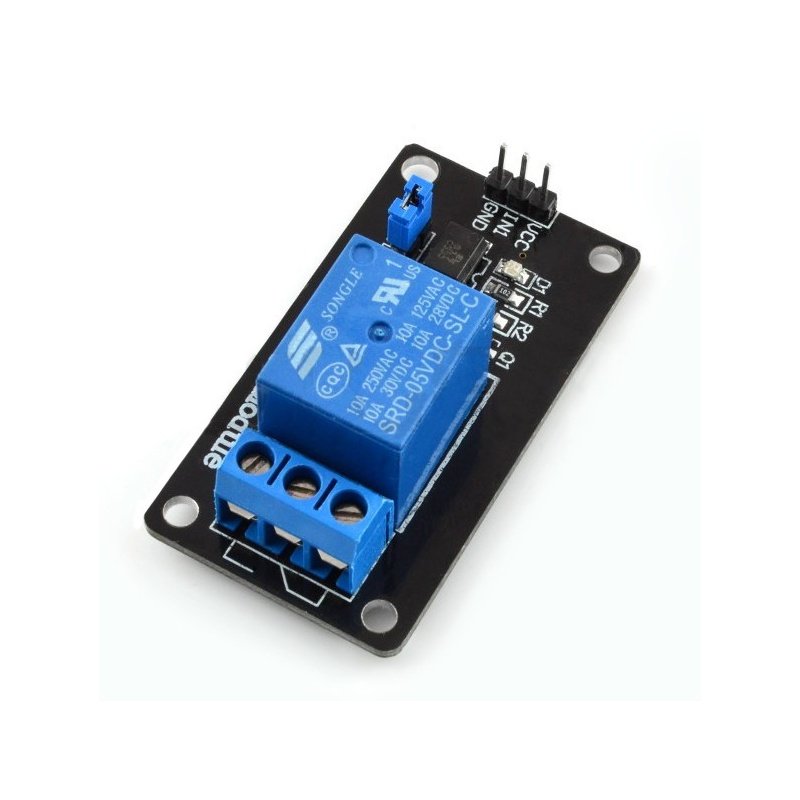
| 23 | 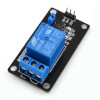 | Relay module with optoelectronic isolation - equipped with relay SRD-05 with coil 5 V and optical isolation. Allows you to control actuators through the Arduino pins. |
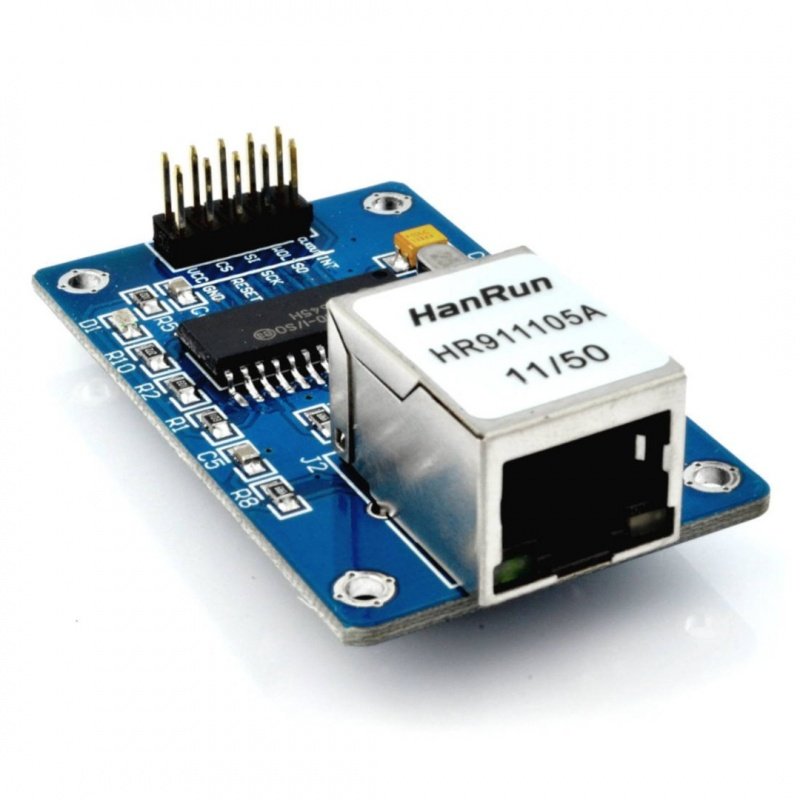
| 24 | 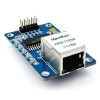 | Network Ethernet module ENC28J60- allows connecting Arduino to an Ethernet network via SPI interface. |
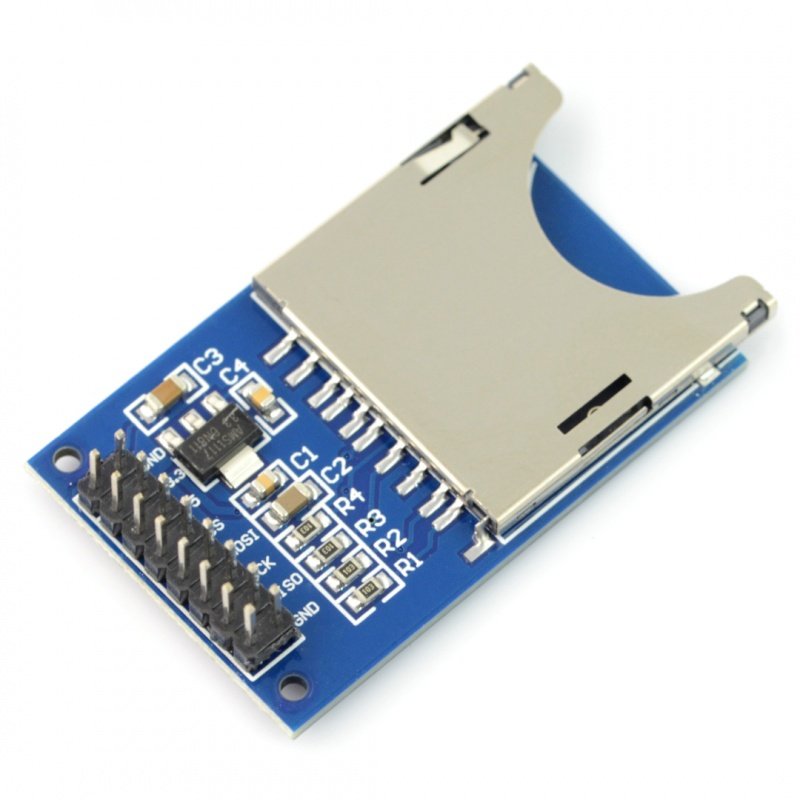
| 25 | 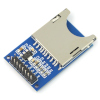 | Reader of SD card- SD cards work with 3.3 V voltage, you must use a voltage converter, which is in this set. |
| 26 | 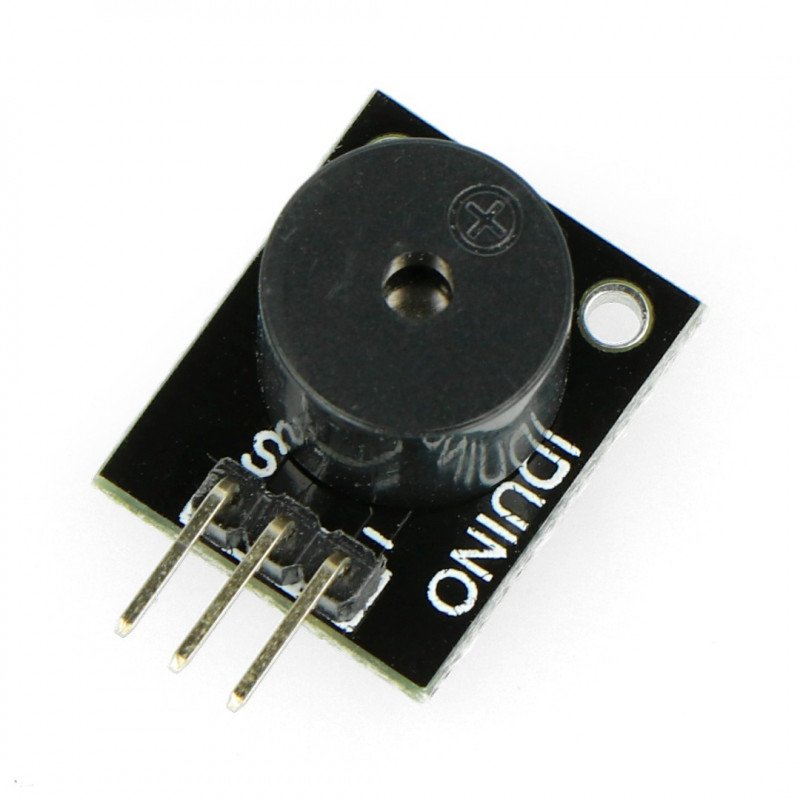 | Module with active buzzer with generator- allows to create audio signal with the stable voltage signal. |
| 27 | 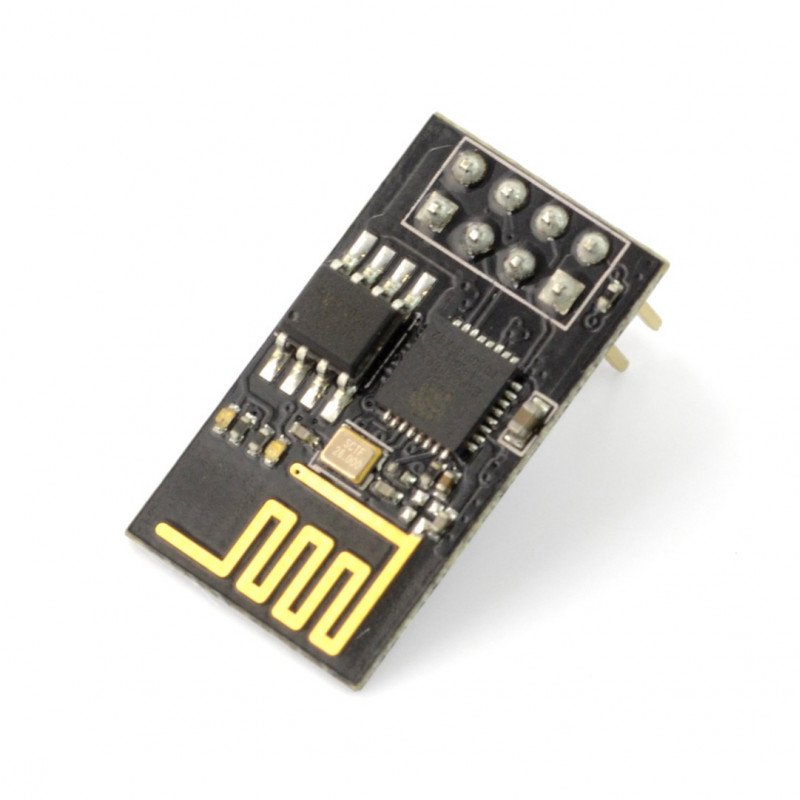 | Module wifi ESP-01 ESP8266- 3 GPIO 0.5 MB - allows you to connect the Arduino to your home network wi-fi. |
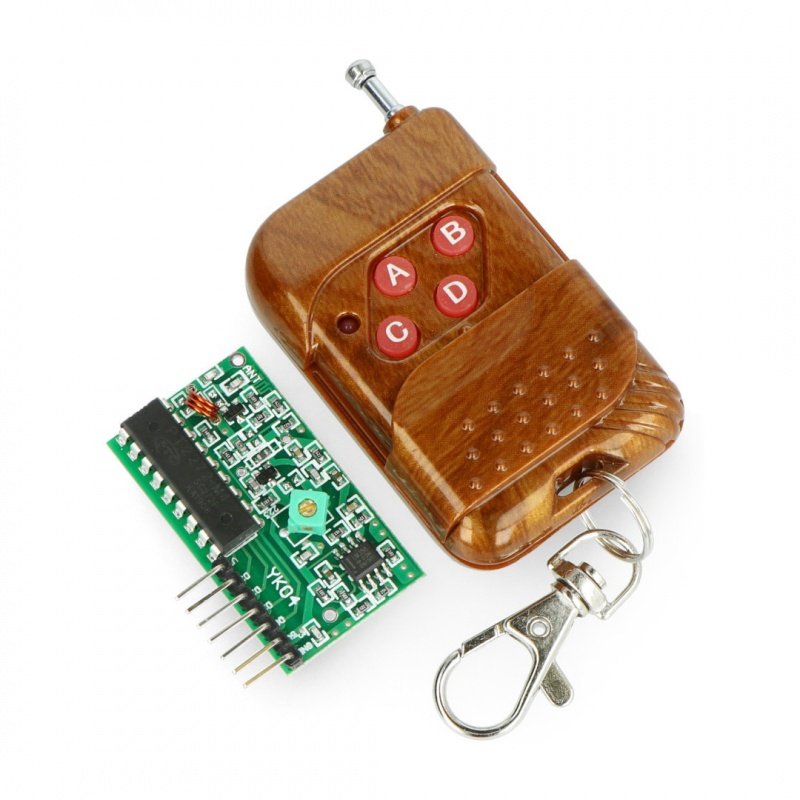
| 28 | 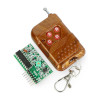 | A radio module 4 channels 315MHz + remote control- pressing the key causes the change in logic state on the I/O of the receiver. |
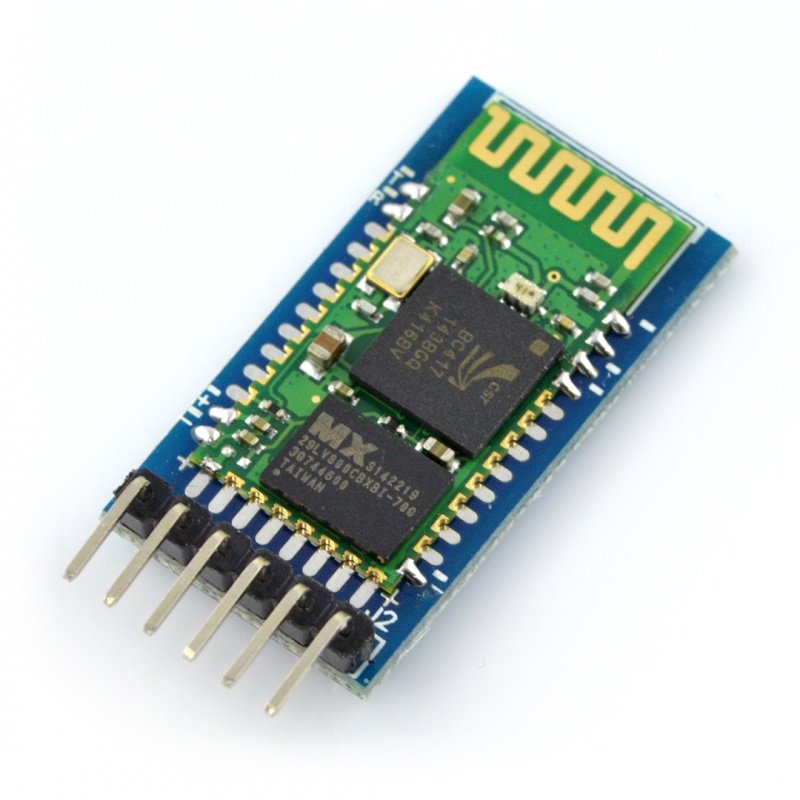
| 29 | 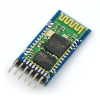 | Bluetooth module HC-05 v2- communicates via serial interface UART (RX pins, TX), supports the AT commands. Work with a voltage of 3.3 V, so there has to be a voltage converter applied, which is in this set. |
| 30 | 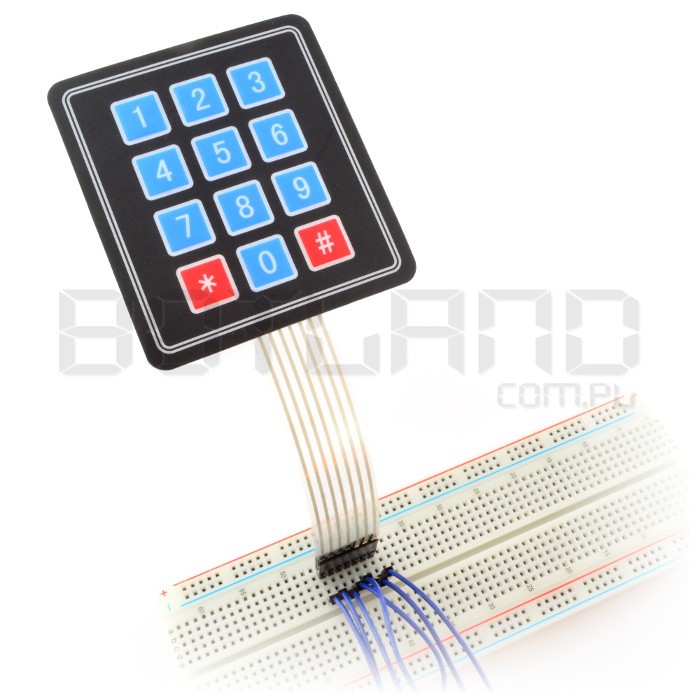 | Numeric keyboard- membrane, self-adhesive, equipped with 12 keys |
| 31 | 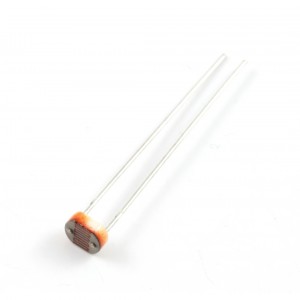 | Photoresistor - sensor for measuring the intensity of the incident light, allows, for example, to detect if the room is dark or light. |
| 32 |  | Ceramic capacitor- 100nF/50V THT - 10 pcs. |
| 33 | 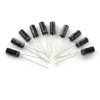 | Electrolytic capacitor100uF/35V 6x12mm 105C THT - 10 pcs. |
| 34 | 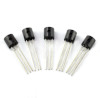 | Transistor NPN BC547 (5 PCs)- semiconductor systems, allowing, in particular, to control the elements that consume more current than a single pin of the microcontroller can provide. |
| 35 | 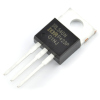 | Mosfet, type IRL540N TNT- unipolar transistor with high current of drain allows you to control devices with higher power consumption. |
| 36 | 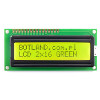 | LCD display 16x2with blue or green backlight - popular alphanumeric display with available library for Arduino with soldered goldpin connectors. |
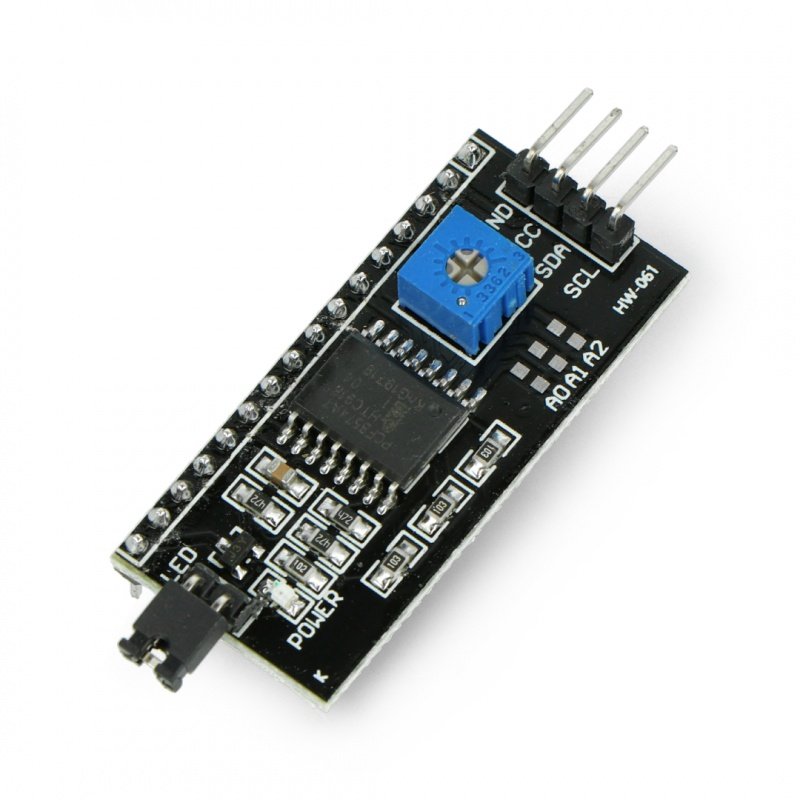
| 37 | 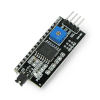 | The I2C Converterfor the popular display with controller HD44780 for example, 2x16 characters. Thanks to this system, to connect the screen, only two data lines and supply 5 Volts and mass are necessary. |
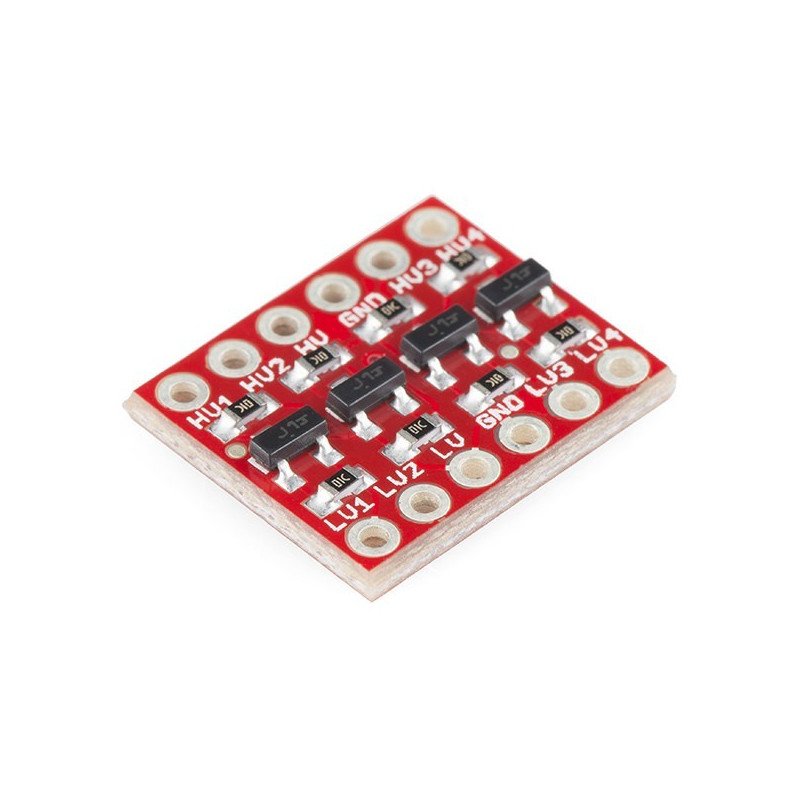
| 38 | 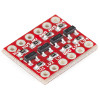 | Voltage Converter- a bidirectional 4-channeled - allows you to communicate between systems that use the most popular levels of voltages: 5 V and 3.3 V and 1.8 V and 2.8 V. Works in both directions at the same time. |
| 39 | 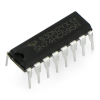 | The sliding registry - you can, for example, manage a larger number of LEDs,savingthus the digital I/Os of the Arduino. |
| 40 | | The PCF8574 expander - allows you to increase the number of I/Os of the Arduino |
| 41 | 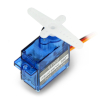 | Servo modeller, type micro - controlled by the PWM signal from the Arduino board. |
| 42 | 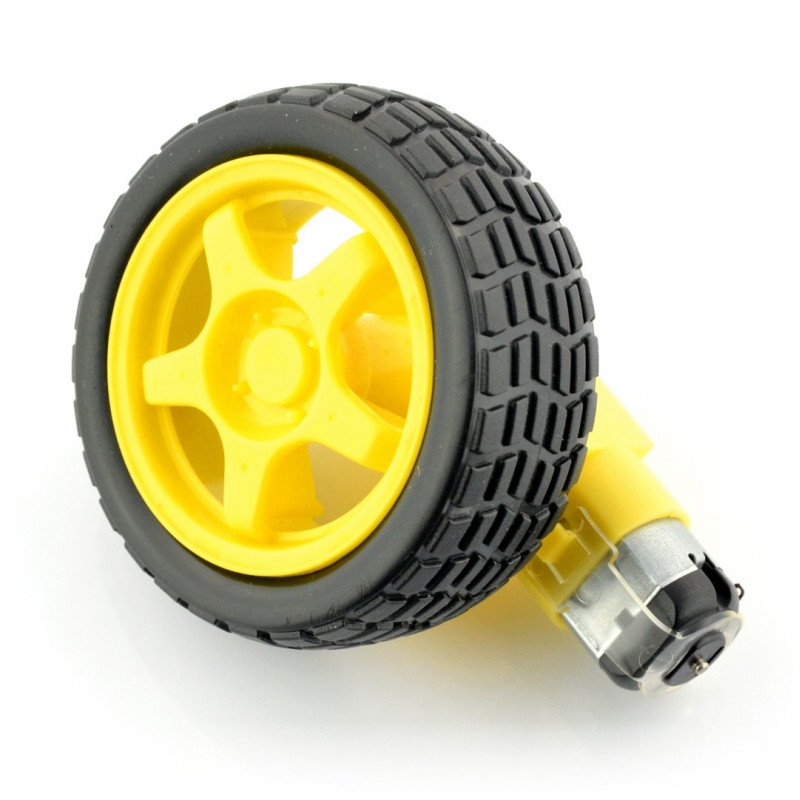 | Wheel with motor- 2 sets. - the tire diameter is 65 mm and its width is 26 mm. Rotates at about 80 rpm, the torque is 0.5 kg*cm. Powered by 5 Volts, and consumes 180 mA of current. |
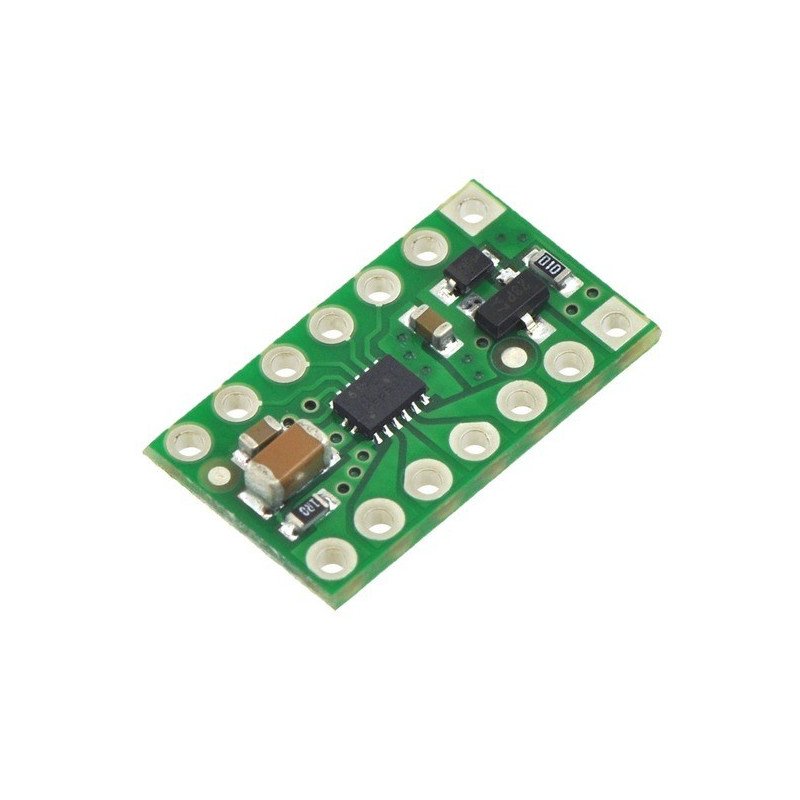
| 43 | 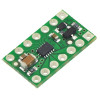 | DRV8835 - dual channel driver of motors- continuous current per channel 1.2 A (temporary, up to 1.5 A). Power from 2.0 to 11 V. The connectors in the set should be selfsoldered. |
| 44 |  | Impulsive power supply 12 Volts - stabilized AC power supply can be used to power the Arduino board.Before connecting, make sure that Your Arduino board can be powered by 12 Volts! |
| 45 |  | USB cable A-B of length 1m - serves to connect the Arduino to the computer. |
| 46 |  | Organizerfor easier carrying of the kit. |
The set does not include the basic board Arduino, you can purchase them separately. With this solution, the user decides which version to choose. The most popular ones are:
| Name | Value |
|---|---|
| StarterKit - module | Brak |
| StarterKit - subject | Arduino |
| Width | 35 cm |
| Height | 9 cm |
| Depth | 21 cm |
| Weight | 1.4 kg |
 GLS EU
Shipping in 24 hours
from €8.07
GLS EU
Shipping in 24 hours
from €8.07
 Raben
Delivery in 3–5 days, no inside delivery
from €96.75
Raben
Delivery in 3–5 days, no inside delivery
from €96.75
The full delivery terms are on the page Delivery and payment.
30 days to return, without giving a reason
If the product does not meet your expectations, you have 30 days from receiving the parcel to withdraw from the contract. The product only has to be complete. The right of return belongs to consumers (a purchase unrelated to business activity).
Complaints
If the product turns out to be faulty, you can make a claim under the guarantee or the statutory warranty. We handle claims without delay, at the latest within 14 working days of receiving the report together with the goods.
Be the first to ask a question about this product!
Instructions and documents
GPSR data
Product information
This product is a component intended for further assembly or prototyping. It is not a finished product within the meaning of the product safety regulations.
Products from the same category
See all