


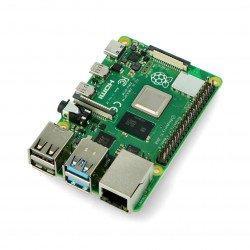
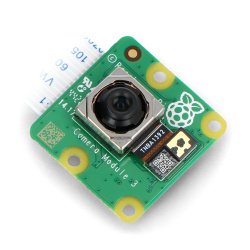


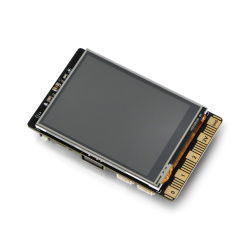


Raspberry Pi 4B is the latest board from the popular series of single-board computers. Compared to previous models in this series, the hardware of the latest Pi contains a lot of changes. You can use Raspberry Pi 4B not only as a regular desktop computer but also as a control unit for numerous physical applications. The PCB of the Pi 4B minicomputer also has a CSI connector that allows you to quickly connect the camera module. You can purchase dedicated mini camera modules for Arduino and Raspberry Pi in the Botland store. Each camera module is equipped with a ribbon cable terminated with a plug which is compatible with the CSI connector located on the Raspberry Pi 4B board. We also offer ribbon wire extenders and camera lenses. If you plan to use the camera in outdoor equipment, then it will certainly be good to ensure its proper protection against damage. For this reason, we have also prepared an offer of multi-coloured enclosures that are specially designed for the camera modules for minicomputers from the Raspberry Pi series.
- New
- New
- Reduced price
- Sale
- Sale
- Sale
- Reduced price
- Sale
Air quality / dust sensor PM1.0 / PM2.5 / PM10 - PMS3003 - 5 V UART
Index: DNG-13442
- Reduced price
- Sale
- Reduced price
- Sale
- Sale
- Sale

Raspberry Pi 4B cameras
Loading...

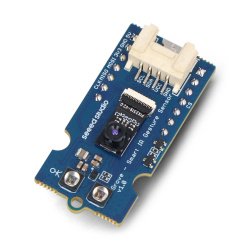
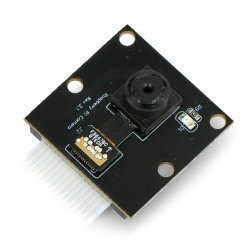
OdSeven Camera HD camera OV5647 5Mpx - for Raspberry Pi
Camera module with OV5647 sensor connected to a corresponding connector on a minicomputer Raspberry Pi in versions 4B, 3B+, 3B, 3, 2, B+, A+ and above A and B. The device has a...
Index: ODS-05619
Index: ODS-05619
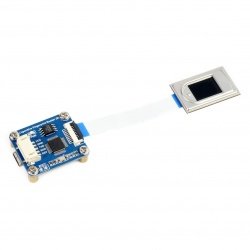
OdSeven Camera Module Sony IMX219 8MPx 77,6 degree - for Raspberry Pi
Camera module with sensor IMX219 with a resolution of 8 MPx and angle of 77,6°. The module has no PCB. It works with the official camera v2 for the Raspberry Pi.
Index: ODS-13465
Index: ODS-13465

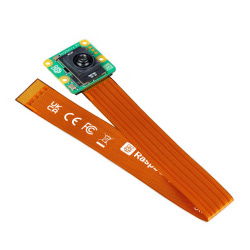
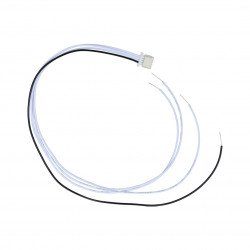
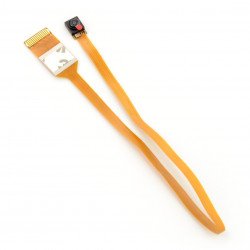
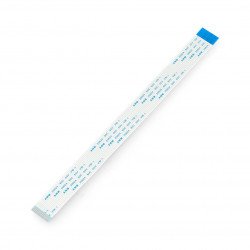
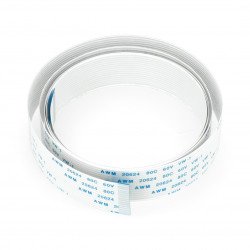
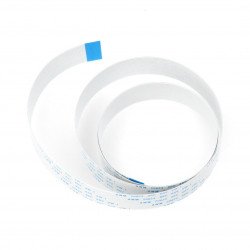
Raspberry Pi tape - camera 200cm 15 wires 1mm raster
A 200cm long ribbon connecting a Raspberry Pi minicomputer to a dedicated camera . The connector has 15 wires, 1 mm raster.
Index: ODS-03952
Index: ODS-03952
Raspberry Pi camera tape - 20cm 15-core 1mm raster
Tape with a length of 20 cm connecting the minicomputer Raspberry Pi with the dedicated camera. The connector has 15 veins, pitch is 1 mm.
Index: RPI-01908
Index: RPI-01908
Camera HD G camera OV5647 5Mpx - wide-angle - for Raspberry Pi - Waveshare 10344
The module with a wide-angle camera (160°) connects to the dedicated Raspberry Pi mini-computer connector in versions 3, 2, B+, A+ and older A and B. The device has a 1/4 " CCD...
Index: WSR-04524
Index: WSR-04524
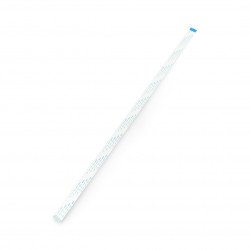
Raspberry Pi camera tape - 30cm 15-core 1mm raster
Tape with a length of 30 cm connecting the minicomputer Raspberry Pi with the dedicated camera. The connector has 15 veins, pitch is 1 mm.
Index: RPI-01909
Index: RPI-01909
Raspberry Pi tape - camera 100cm 15 wires 1mm raster
Tape with a length of 100 cm connecting the minicomputer Raspberry Pi with the dedicated camera. The connector has 15 veins, pitch is 1 mm.
Index: RPI-03949
Index: RPI-03949
Raspberry Pi camera tape - 50cm 15 wires 1mm raster
Tape with a length of 50 cm connecting the minicomputer Raspberry Pi with the dedicated camera. The connector has 15 veins, pitch is 1 mm.
Index: ODS-02961
Index: ODS-02961
Raspberry Pi tape - camera 75cm 15 wires 1mm raster
Tape with a length of 75 cm connecting the minicomputer Raspberry Pi with the dedicated camera. The connector has 15 veins, pitch is 1 mm.
Index: RPI-02931
Index: RPI-02931

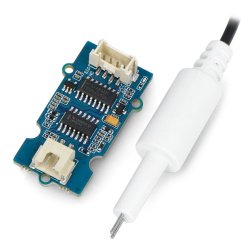
Raspberry Pi NoIR Camera HD v2 8MPx - original night camera for Raspberry Pi
Module with the camera, sensitive to infrared light for Raspberry Pi minicomputer version 3, 2, B+. The device has a matrix with a resolution of 8 Mpx, supports HD mode, 1080p,...
Index: RPI-06128
Index: RPI-06128
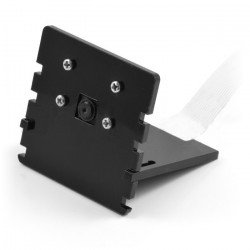
Raspberry Pi camera holder - black
Two-piece holder for Rasperry Pi camera with the ability to adjust the angle of inclination. The camera is attached with four screws (included).
Index: RPI-02104
Index: RPI-02104

Raspberry Pi camera ribbon wire - 60cm 15 wires 1mm raster
Tape with a length of 60 cm connecting the minicomputer Raspberry Pi with the dedicated camera. The connector has 15 veins, pitch is 1 mm.
Index: RPI-02440
Index: RPI-02440
Raspberry Pi camera ribbon wire - 45cm 15 wires 1mm raster
Tape with a length of 45.7 cm connecting the minicomputer Raspberry Pi with the dedicated camera. The connector has 15 veins, pitch is 1 mm.
Index: RPI-02442
Index: RPI-02442

Camera HD B OV5647 5Mpx - with focus adjustment for Raspberry Pi - Waveshare 8193
Camera module with adjustable focus, connected to the appropriate connector of minicomputer Raspberry Pi, version Zero / Zero 2, 4B, 3, 2, B+, A+ and older A and B. The device...
Index: WSR-04471
Index: WSR-04471
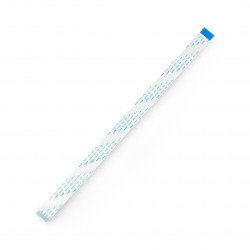
Raspberry Pi camera tape - 10cm 15-core 1mm raster
Tape with a length of 10 cm connecting the minicomputer Raspberry Pi with the dedicated camera. The connector has 15 veins, pitch is 1 mm.
Index: RPI-01905
Index: RPI-01905
Camera HD D OV5647 5Mpx camera - for Raspberry Pi - Waveshare 11297
Camera module with OV5647 sensor, connected to a special connector of minicomputer Raspberry Pi, version 3, 2, B+, A+ and older A and B. The device has a matrix CCD 1/4" with...
Index: WSR-05620
Index: WSR-05620
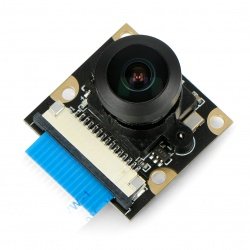
Camera RpiCam OV5647 5MPx - night fisheye 160° - for Raspberry Pi
Module with the camera connected to a corresponding connector on the minicomputer Raspberry Pi version 3, 2, B+, A+ and above A and B. The device has a matrix CCD 1/4", the...
Index: ODS-12759
Index: ODS-12759
- Reduced price
- SPECIAL OFFERS

Raspberry Pi Camera Board Case with 1/4'' Tripod Mount - Adafruit 3253
Plastic case protects the camera of a minicomputer Raspberry Pi. It provides easy mounting of the device with a "click". It has a 1/4" thread for mounting a tripod.
Index: ADA-07920
Index: ADA-07920
Camera HD Night Vision H OV5647 5Mpx - wide angle IR for Raspberry Pi + IR modules - Waveshare 10703
Module with wide angle camera (160 °) is connected to the selected connector of minicomputer Raspberry Pi version 3, 2, B+, A+ and older A and B. The device has a matrix CCD...
Index: WSR-04523
Index: WSR-04523
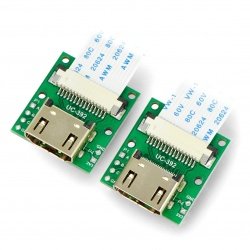
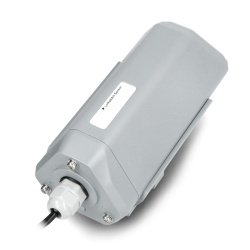
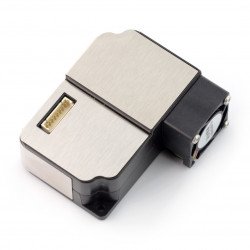
CSI - HDMI adapter for Raspberry Pi cameras
CSI - HDMI adapter is designed to connect camera Raspberry at large distances via HDMI cable, while maintaining the speed and lack of interference of the CSI interface. Thanks...
Index: ACM-11691
Index: ACM-11691
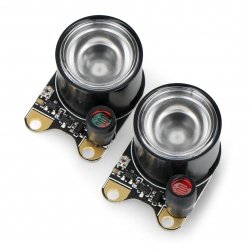
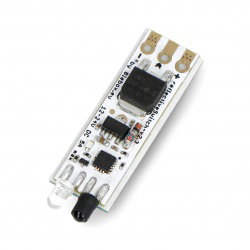
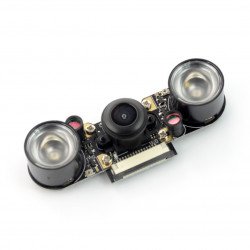
IR 850nm 3W LED backlight module - wide angle - 2 pcs.
A set of two backlight modules, equipped with IR LEDs 850nm 3W. On the boards there are photoresistors that allow you to adjust the light depending on the brightness of the...
Index: ODS-04520
Index: ODS-04520
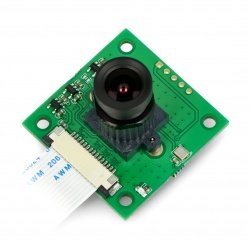
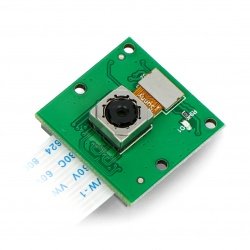
ArduCam OV5647 5Mpx camera with HX-27227 M12x0.5 lens - for Raspberry Pi
Camera module with OV5647 sensor equipped with HX-27227 M12x0.5 lens, with parameters: focal length 4.0 mm, angle 56 °, iris 1.8, 1/2.7 format. Connected to dedicated...
Index: ACM-06634
Index: ACM-06634

OdSeven Camera HD IR-CUT OV5647 5Mpx - day/night IR for Raspberry Pi + IR modules
Module with the camera, connected to a dedicated connector of minicomputer Raspberry Pi, version 4, 3, 2, B+, A+. It has a matrix CCD 1/4" with the resolution of 5 Mpx,...
Index: ODS-07599
Index: ODS-07599
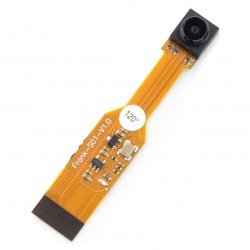
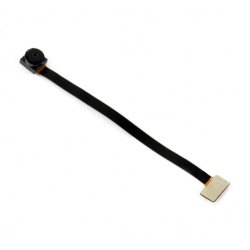
Camera ZeroCam OV5647 5MPx - wide-angled 120° for Raspberry Pi Zero
Module with the camera compatible with Raspberry Pi Zero v1.3. The device has a matrix OV5647 with a resolution of 5 Mpx 2592 x 1944 px, supports HD 1080p at 30 K/sec. The...
Index: ODS-12748
Index: ODS-12748
See also
Raspberry Pi 4B - created for watching movies and photos...and recording too!
Raspberry Pi 4B is the latest model of the most popular single-board minicomputer series in the world. The designers have implemented a lot of hardware changes. Now the latest Raspberry Pi model offers more possibilities - even compared to its predecessors, such as Pi 3B+. The new main processor - Broadcom BCM2711 is especially noticeable. Similarly to the BCM2837B0 chip in the Pi 3B+ model, it is a 64-bit quad-core design, but the clock frequency is tweaked up from 1,4GHz to 1,5GHz. The processor was made as an SoC (System-on-Chip) and in one package it does incorporate a GPU. The Broadcom Video Core VI chip is clocked at 500MHz and HD 1080p and 4K image processing. In addition, Raspberry Pi 4B is available in three versions of RAM memory - 1GB, 2GB and 4GB. A computer equipped in this way works perfectly with various peripheral devices, including a small camera module for taking photos and capturing videos in very good quality.
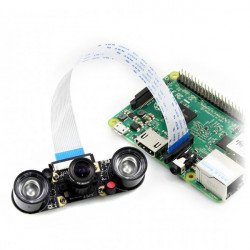
How to connect the camera module with Raspberry Pi 4B?
Camera modules that are made specially for the Raspberry Pi 4B single board minicomputer are also electronic devices. When assembling them, increased care should be taken due to the possible risk of damage due to electrostatic discharge (ESD). Before unpacking the camera module from the box, make sure you got rid of the electrostatic charge, which you can potentially have on your hands. Just touch a radiator, heat sink or another object that is grounded. In the Botland store offer, we also have antistatic wristbands, which should be connected to the terminal of protection earth in the electrical outlet (only TN-S network). Camera modules for Raspberry Pi are pre-packed in a cardboard box and a bag made of antistatic plastic. After unpacking the camera module, you need to loosen the CSI connector and connect the end of the ribbon cable to it. The CSI (Camera Serial Interface) connector on the Raspberry Pi has been built-in between the 3,5mm TRS audio output and one of the two of the micro HDMI outputs. After connecting the ribbon cable, you have to latch-up the CSI connector - Now you're ready to make your first movie with a Raspberry Pi!
Camera modules for Raspberry Pi 4B - ease of use and amazing image quality!
After connecting the camera module to a Raspberry Pi 4B computer board, the Raspbian Operating System automatically detects the device thanks to the pre-loaded software containing the necessary set of drivers and plugins. The cameras offered by our store allow you to record movies in HD quality. Thanks to this, you can build useful projects, such as a security alarm system with monitoring or a macro focus rail for taking time-lapse photography. The Botland store offer also includes many interesting accessories complementing the cameras. Depending on the type of application you want to use the camera for, we offer a wide range of lenses and filters. If you want to perform video capturing in the darkness, then you will be interested in cameras with night vision function such as ArduCam OV5647 with 5Mpix lens.