Over 500,000 customers already trust us. With us you get:
same-day shipping for products marked “24h shipping”
our own service centre in Poland
30 days to return and free delivery in Poland from PLN 500
4.9/5 on TrustMate and 4.9/5 on Google (almost 4,000 reviews)
VAT invoice, leasing and instalments for businesses
For businesses
individual quote for larger quantities
VAT invoice
For schools and universities
orders based on requests for quotation
help with choosing kits for your lab

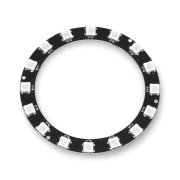
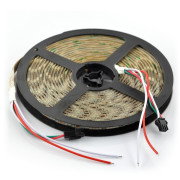
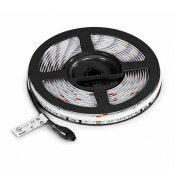
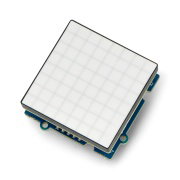
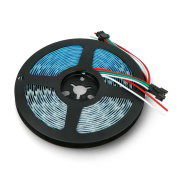
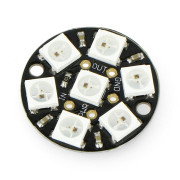
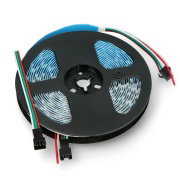
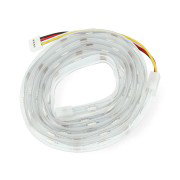
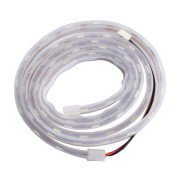
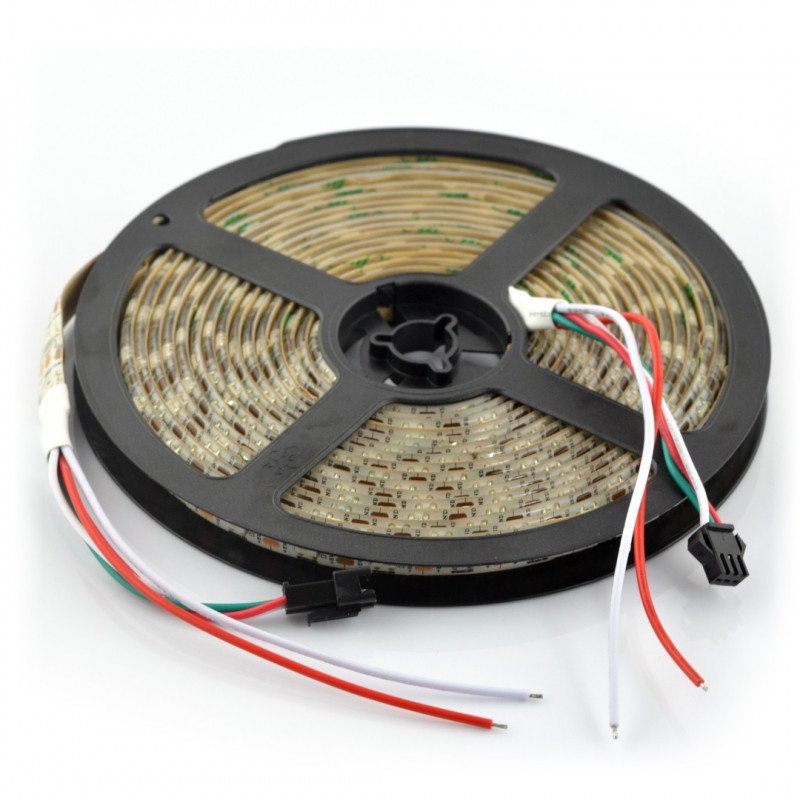
RGB LED strip WS2812B - digital, addressed - IP65 60 LED/m, 18W/m, 5V - 5m
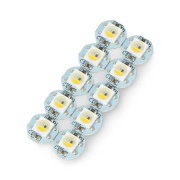
Individually address RGB LEDs located in a 5 m strip with a density of 60 diodes per meter. Each pixel may emit a color from 24-bit palette. One microcontroller's pin is enough to control the module.
We could not load the price.
The promotional price does not combine with quantity discounts.
Description
Individually address RGB LEDs located in a 5 m strip with a density of 60 diodes per meter. Each pixel may emit a color from 24-bit palette. One microcontroller's pin is enough to control the module.(for example,Arduino).
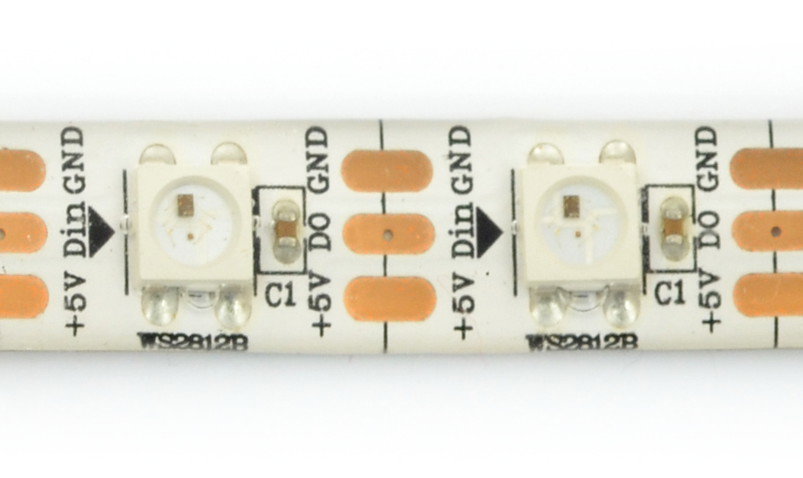
The LEDs are arranged densely, at a distance of about. 17 mm, because of this, the brightness is very high. High power, however, requires powerful power supply. The system is powered by 5 Volts, consumes approx. 3.5 A for each meter (18 W). The chain has the possibility of crossing each diode.
The used communication protocol allows the serial connection of the LEDs. Another chain should be connected to the output connector, combining with each other, respectively, 5V, GND and DOUT with DIN. The manufacturer notes that when working with more than 500 LEDs, it may not be enough RAM in the system the Arduino Uno. You should also note that every following matrix will require increasing the performance of power source.
Connection
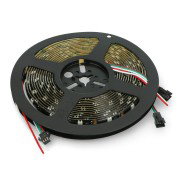
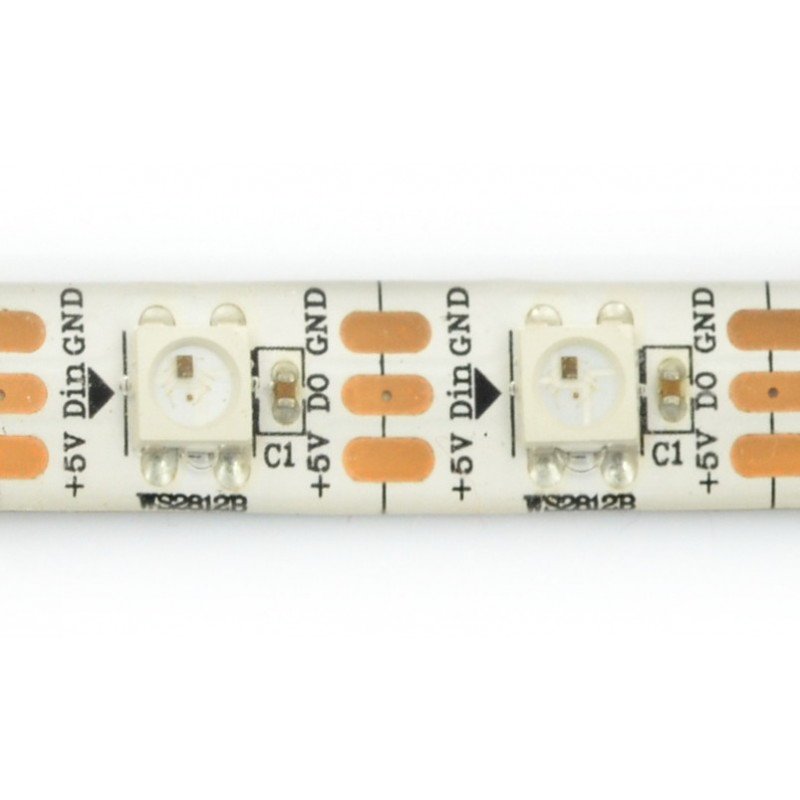
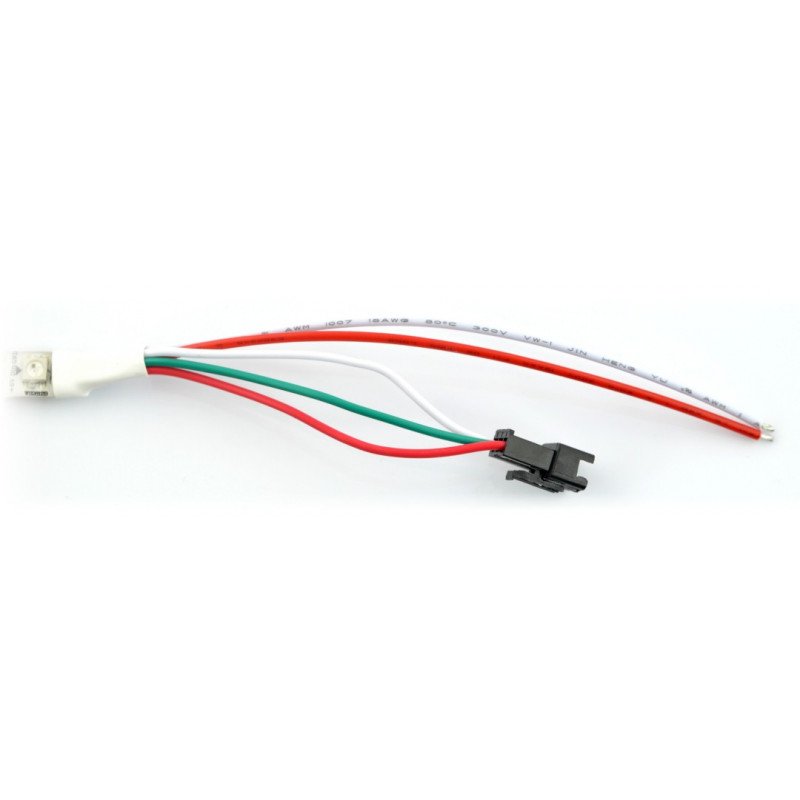
The device has a 3-pin connector consisting of the following I/Os:
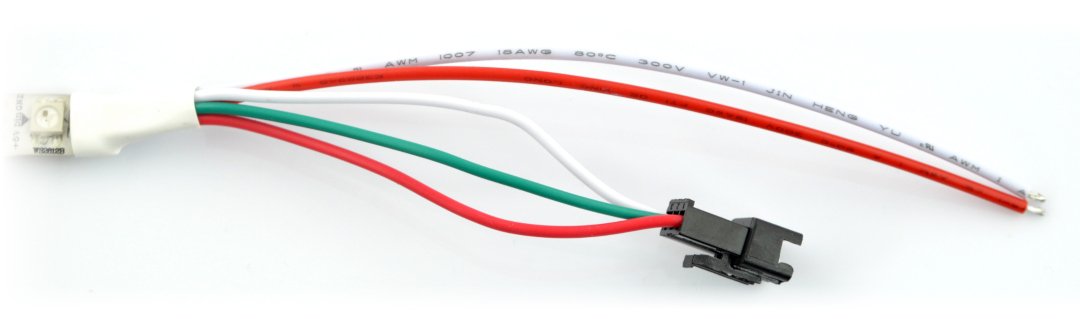
- GND (white wire)- module's weight
- 5 V (red wire)- voltage supply, for one matrix, should be connected the source with load current of at least 3.5 A at each meter of chain
- DIN (green wire)- digital control signal controlled from the microcontroller
Connection
- GND (white wire): - module's weight
- 5 V (red wire): - voltage supply, for one matrix, should be connected the source with load current of at least 3.5 A at each meter of chain
- DIN (green wire): - digital control signal controlled from the microcontroller
The product is compatible with Arduino and Raspberry Pi
|
Installation of the Adafruit library for Arduino:
- 1.: Download the library fromthe website GtitHubby clicking the buttonDownload ZIP
- 2.: Unzip the downloaded ZIP file, the result should be the folder that contains the files: Adafruit_NeoPixel.cpp, Adafruit_NeoPixel.h and other subfolders
- 3.: Rename the main folder to: Adafruit_NeoPixel
- 4.: Move the entire folder to the directory that contains the Arduino libraries, by default, should be in the path: /Documents/Arduino/Libraries
- 5.: Start the Arduino IDE again, the library will appear in the menu: File -> Examples
First run - example simple
First run - example simple
- 1.: Run the test program by choosing in the Arduino environment:
- File -> Examples -> Adafruit_Neopixel -> simple
- 2.: Select the pin which will control the LEDs. By default, it is pin 6:
- Line 11#define PIN 6
- 3.: Select the number of pixels that must be controlled. By default, it is pin 16:
- 4.:
- Line 14#define NUMPIXELS 16
- 5.: Upload the program into Arduino. Pixels should attach itself, one after another, to the amount specified in line 14.
- 6.: If you want to change the glow color, enter different values into the function:
- Line 40pixels.setPixelColor(and pixels.Color(0,150,0))
In parenthesis are the components of RGB, the maximum value of each is 255
- Line 40pixels.setPixelColor(and pixels.Color(0,150,0))
- 7.: Change of the speed of individual pixels' start, is possible by editing the value:
- Line 21int delayval = 500;
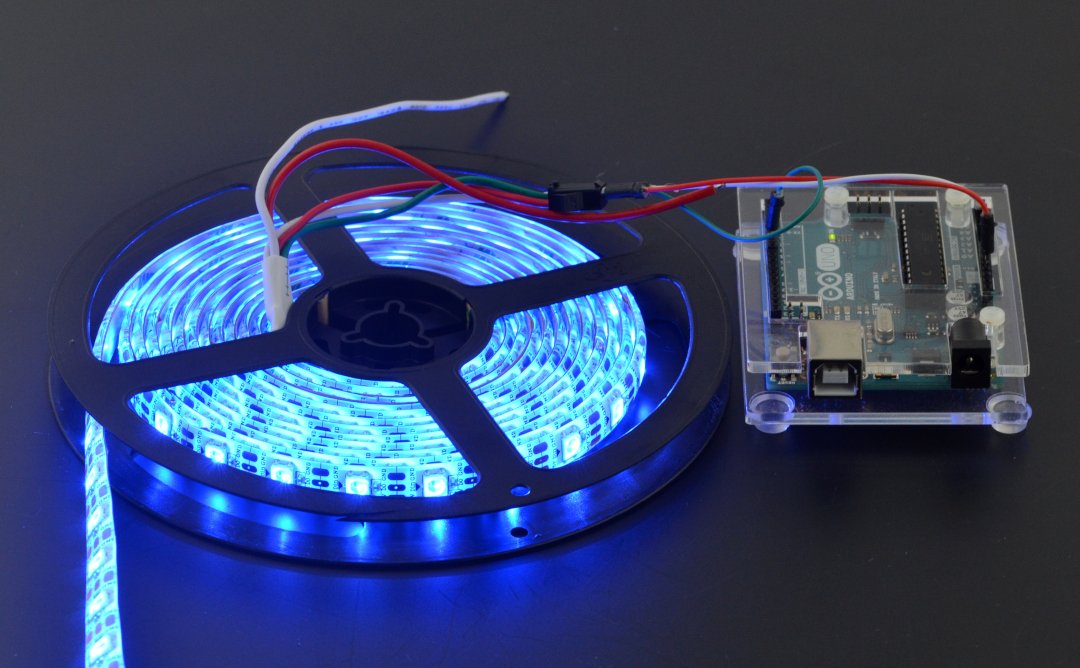
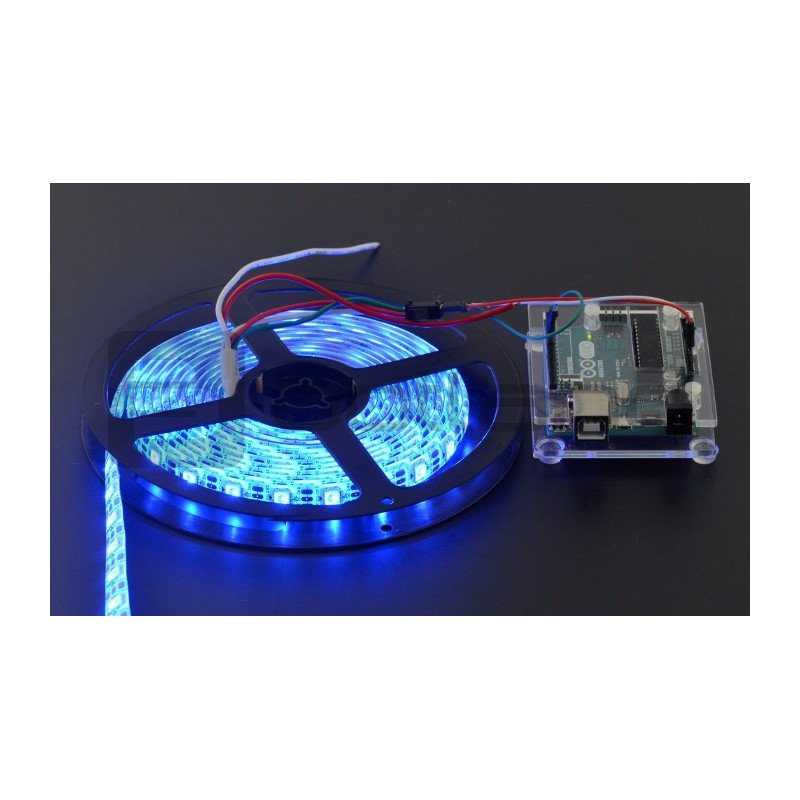
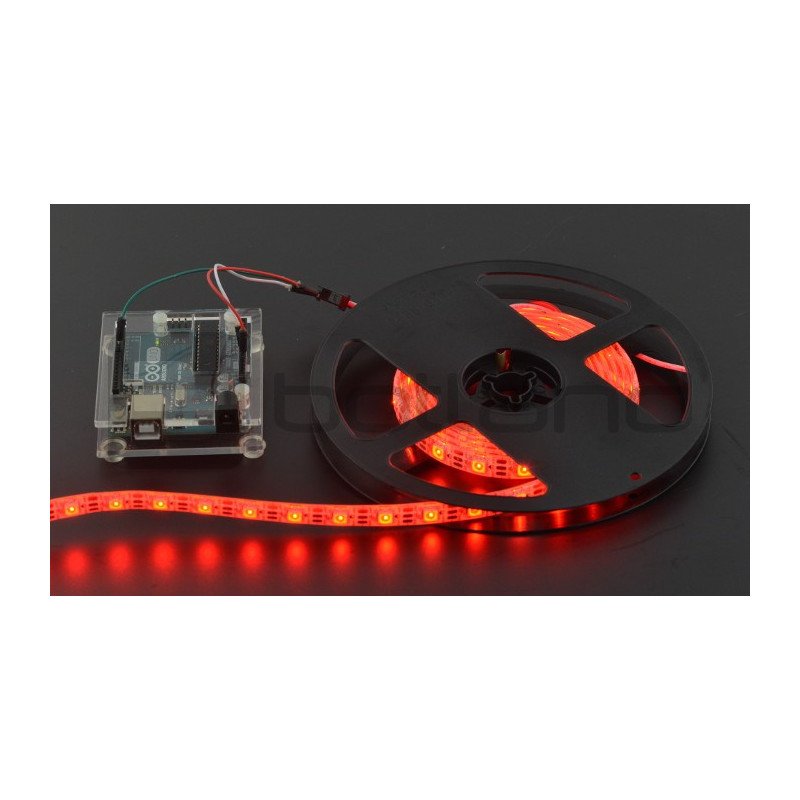
Strip WS2812 LED in combination with anArduino Uno.
Specification
- Supply voltage: 5 V
- Power: 18 W/m
- Current consumption: 3.5 A for 1 meter of chain for a single diode for color white,
- The LEDs used in the LED-RGB-SMD5050 WS2812b
- Addressed pixel: 1 led RGB
- Resistance to external conditions: IP65 (silicone cover)
- Chain length: 5 m
- Chain width: 10 mm
Useful links
| Name | Value |
|---|---|
| Cable length | 5.0 m |
| Voltage to | 5.0 V |
| Voltage from | 5.0 V |
| Voltage nominal | 5 V |
| Nominal power | 18 W |
| Tightness class | IP65 |
| LED - color | RGB |
| LED - type | WS2812B |
| LED - digital | yes |
| LED - LEDs | 60 per meter |
| LED lens | clear |
| LED wavelength | RGB |
| Width | 18 cm |
| Height | 1.1 cm |
| Depth | 21 cm |
| Weight | 0.226 kg |
 GLS
Shipping in 24 hours
from €8.07
The full delivery terms are on the page Delivery and payment.
30 days to return, without giving a reason
If the product does not meet your expectations, you have 30 days from receiving the parcel to withdraw from the contract. The product only has to be complete. The right of return belongs to consumers (a purchase unrelated to business activity).
Complaints
If the product turns out to be faulty, you can make a claim under the guarantee or the statutory warranty. We handle claims without delay, at the latest within 14 working days of receiving the report together with the goods.
Question: Hello, will these 5m of tape power only the Arduino Uno? (do we connect only these 3 cables connected by a plug?) from what are these two additional ones. I'm a bit fresh and I'm afraid to burn the board.
To control from the Arduino, connect the signal wire to the Arduino's digital pin and connect the Arduino's ground to the LED strip.
Two wires (red and white) are used to connect power to the strip. It is recommended to use a resistor between the signal wire and the Arduino digital pin, and a capacitor at the strip power supply (between + and -).
For more information, see the detailed Adafruit NeoPixel tutorial:
https://learn.adafruit.com/adafruit-neopixel-uberguide
Question: Hello Need 8m of LED tape addressed. It will mainly glow white. I have an Arduino Uno that I would like to use to control this tape, but I don't know if it will be suitable, I suspect I would have to use an external power supply for the tapes, since the Arduino won't handle 8 meters. What power supply would I need to buy, and is it reasonable to use the Arduino Uno to control this tape? Greetings
https://botland.com.pl/162-zasilacze?napiecie-wyjsciowe=5-0-v&moc-nominalna=90-w
Instructions and documents
GPSR data
Product information
This product is a component intended for further assembly or prototyping. It is not a finished product within the meaning of the product safety regulations.
Products from the same category
See all